Problem Steps Recorder is a tool you can use to record problems on your Windows 10 PC and send to your friend to get help from him for solving. In fact, this tool records the interactions on the screen you make. So if you have got any problem with your Windows 10 system the Problem Steps Recorder can be proved a good helper.
These days most of our difficulties are solved through cell phones and emails. In these circumstances, the Problem Steps Recorder can perform better rather than those resources.
I always keep bugging my siblings and friends whenever I face any problem in my system. And every time they deal the solution in a calm mood. The method is there since Windows 7 which records the action that you deal with an application. It records every steps and stores screen via screen interaction. This tool is called Problem Steps Recorder. Suppose you are having some troubles in your Windows 10 system and you want to rectify the errors through a certain process. And you want to let others also know about the process. If you allow this tool then it will record each and every action that you go through to complete the task. The recording will be saved as a ZIP file. You will get the screenshots of every action along with the details.
You may like to Read
- Top 5 online Screen Recording Websites
- Screenbird – Best online Screen Recorder with Cloud Sharing Feature
How to Use Problem Steps Recorder in Windows 10
- Go to the Search field of Windows 10 Start Menu.
- Type psr in the Search field and click Enter key on your keyboard.
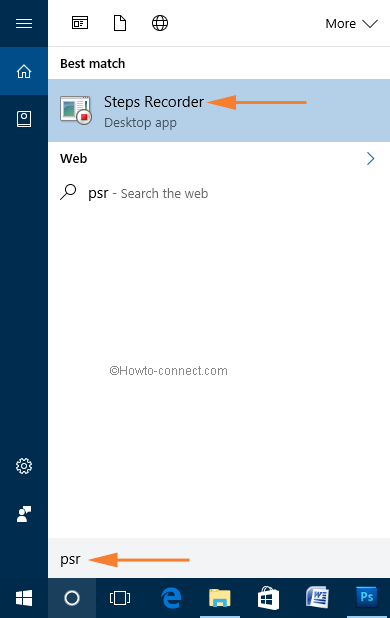
- Now select Steps Recorder from the arrived options.
- You can also open Steps Recorder from the Start Menu.
- Launch the Start Menu of your Windows 10.
- Select All Apps.
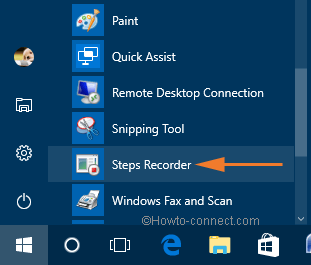
- Access Windows Accessories.
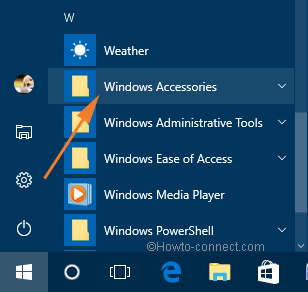
- You will find Steps Recorder under Windows Accessories.
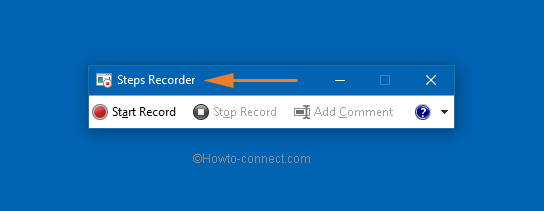
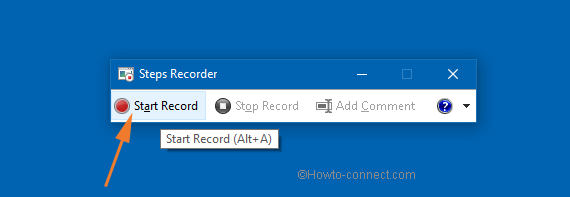
- A small Steps Recorder dialog box will pop up on the screen.
- Click on the Start Record option to start the recording.
- It will take screenshots of the each and every action that you are doing.
- Click Add Comment if you wish to add a text.
- Once the work is finished click on Stop Record
- The recording will be stopped and you will get the details of the recording.
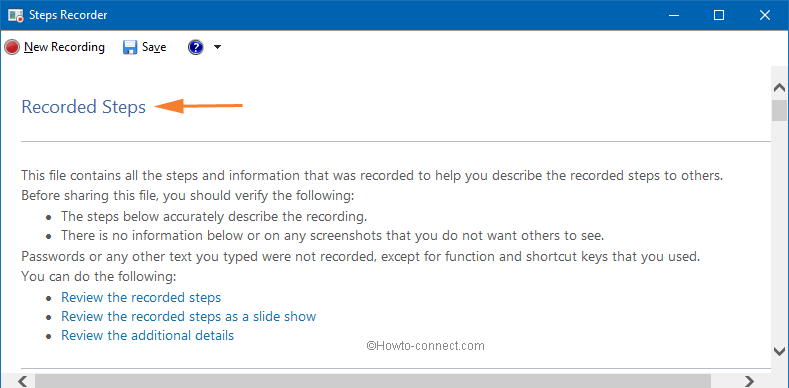
- There you can see each and every action that you have performed in screenshots.
- Go through the images carefully.
- Click on the Save option to save the recording.
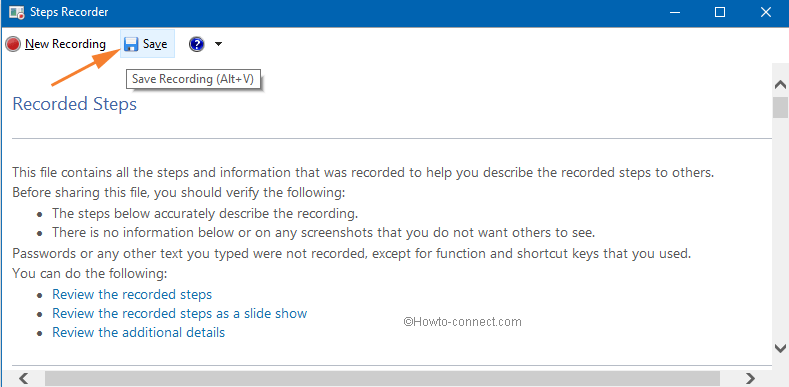
- The recording will be saved as a ZIP
- Store the recording in your desired location.
- Don’t forget to provide a name to your ZIP.
When using psr on Windows 10, it seems to only work intermittently.
I open the app as instructed and record my process. Once this is done, I stop the recording and save as instructed in this article.
BUT if I want to do another recording I cannot just click on the “New Recording” button and continue as this does not record anything – it gives a blank doc when stopping the recording. I have to close the app completely and then re-open it again and then I can record.
Is this caused by an incorrect setting or what? Please help as this is highly frustrating!
U must set an output .zip first… settings is under the arrow by ?
Hi, my step recorder isn’t showing my recordings after, I click stop record and nothing happens to save it, any suggestions? I’m on windows 10.