Taking a screenshot is the easiest way to capture specific details on the screen as an image. Whether to snip your memories or to save the pic of any transaction you did, this feature can be useful. Windows 11 facilitates multiple procedures to take screenshots, for example, with Keyboard shortcut, Snipping tool, Screen snip, and Game bar.
Now, thankfully for us, there are several ways to easily take quick screenshots in Windows 11, pretty much like its predecessor. Before you start looking for any third-party apps to save screen snaps, take a look at these simple options.
How to take screenshot in Windows 11
Here are 4 Best Ways to take Screenshot in Windows 11 –
1] Using Keyboard shortcuts
You probably know of this little key on your keyboard. There are multiple combinations of Print Screen that you can use to screenshot for different purposes.
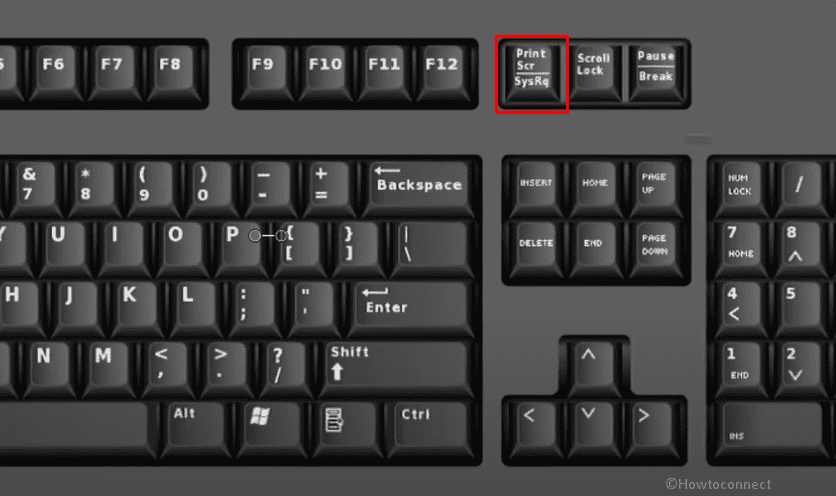
To copy the full screen
- Just press – Print Screen key.
- Go to the file (Word document, Paint, mail, etc) where you’d like to paste it.
- Press – Ctrl + V to paste the same.
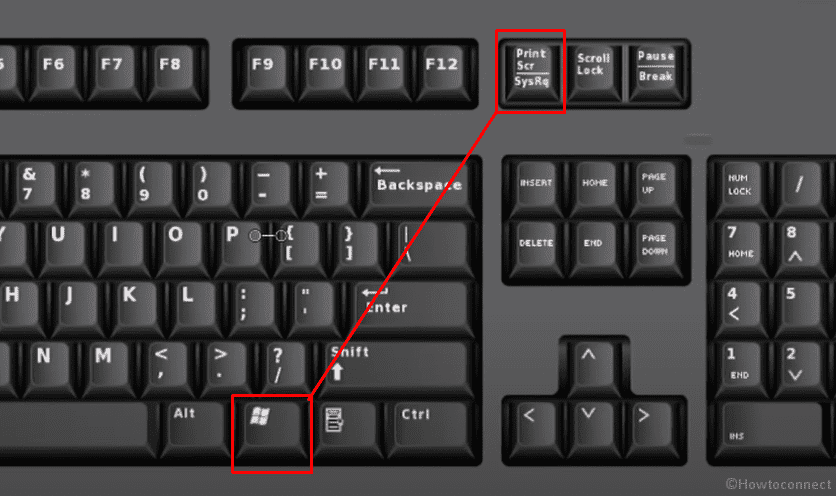
To save the screenshot as an image
- Press Windows + Print Screen key.
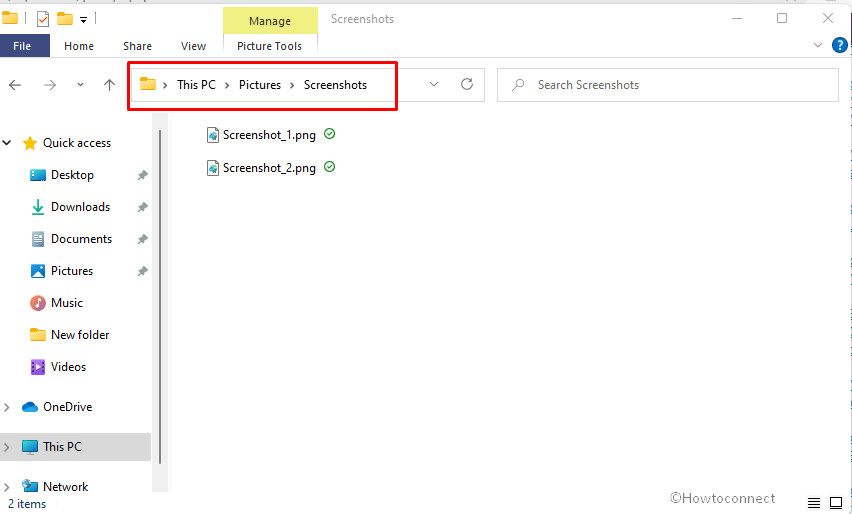
- Where screenshots are saved in Windows 11 – C:\Users\User-name\OneDrive\Pictures\Screenshots.
- For easy access to the folder you can go through – This PC > Pictures > Screenshots.
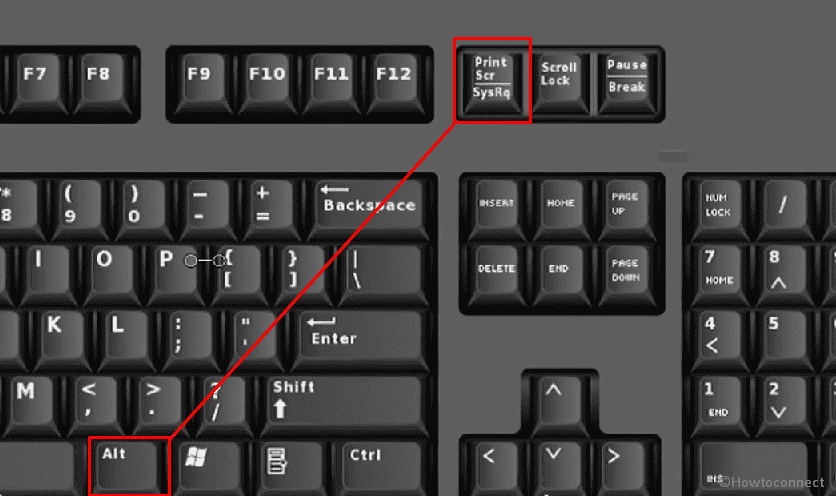
To copy only a portion of the screen
- Open the Application or program or app you want the screenshot.
- Press Alt + Print Screen.
- Open a Word document or Paint to paste the screenshot.
- Save the file.
2] Capture via Snipping tool Windows 11
Snipping tool is more useful when you are trying to capture a customized screenshot such as for a preferred area of particular shapes (rectangular), or other. Since Windows 11 bestows the tool just same as it was in the previous version you can take know the methods from here – Windows 10 – How to Use Snipping Tool – Capture Screenshot.
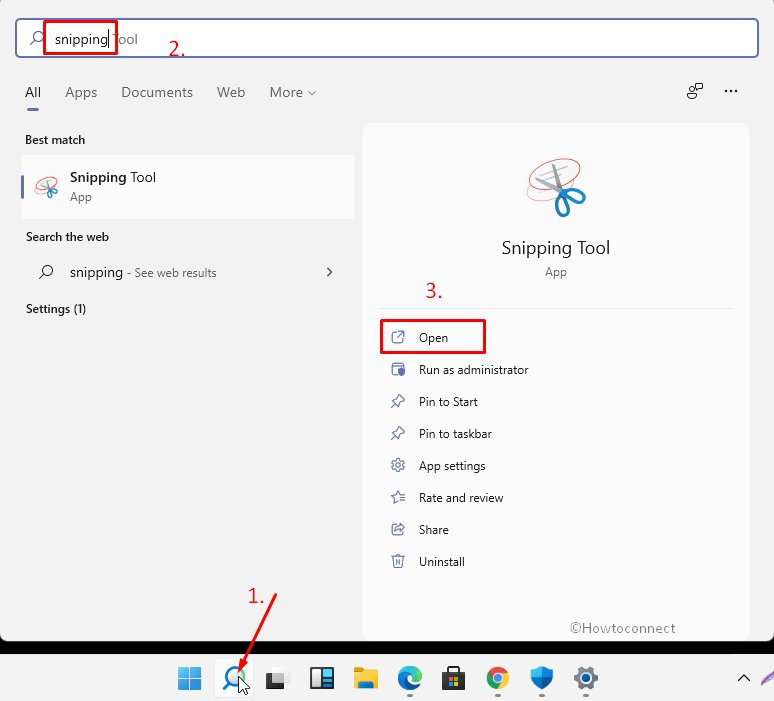
- Click the – Start.
- Type – snipping.
- Press – Enter or click – Open.
- Once Snipping tool appears, click – New.
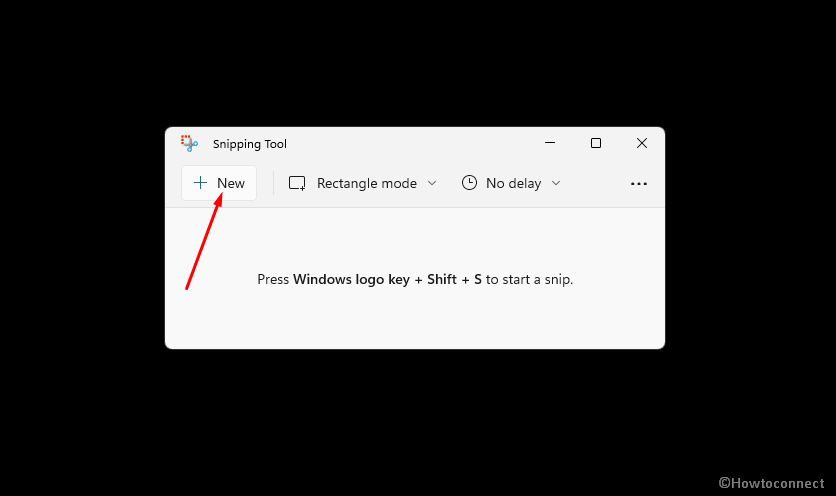
- By default rectangular is selected so, crop a region and that’s all.
- The screenshot will automatically open up with a window; modify using different tools showing on the toolbr and save in your desired location.
- If you want to change the shape of the snip, click – Mode then choose one from 4 choices which one you need.
- Moreover, click the See more 3 dots icon and select – Settings. for more customizations.
3] How to take Screenshot in Windows 11 Through the Game bar
You can use this method to take screenshots of the window.
- Press Windows + G to open the Xbox Game Bar
- Click on the Camera icon from the top left corner to take a screenshot.
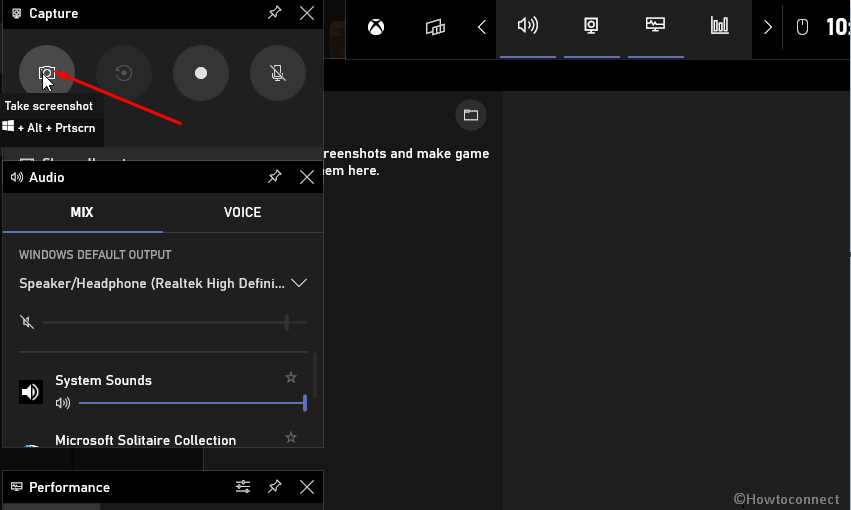
- Alternatively, press the keyboard shortcut – Windows + Alt + Print Screen.
- To see where the image is saved, go to – C:\Users\User-name\Videos\Captures.
4] With Lightshot
When looking to take screenshot in Windows 11 this isn’t a default tool to but you can use it with more intuitiveness. So I am unable to restrain myself to recommend you using Lightshot. The tool allows to capture screenshot with dedicated hotkey, including or exclude mouse cursor, keeping the selected area position and more. Most of all, the app is a lightweight program and occupies only 2.65 MB on disk. The Printscreen key is automatically set when you install the tool so you need to only press it.
- First, download Lightshot.
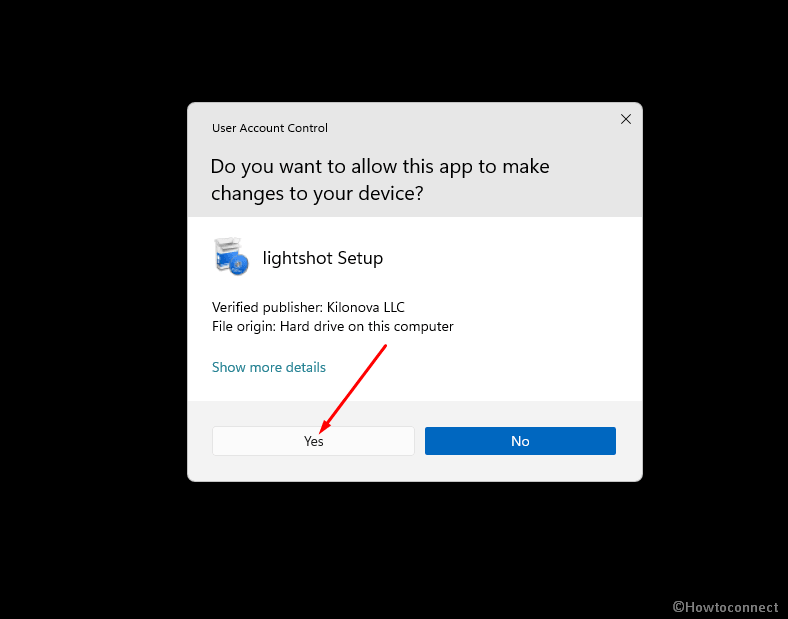
- Double click on – setup-lightshot.exe.
- When User account control pop up appears, click on – Yes.
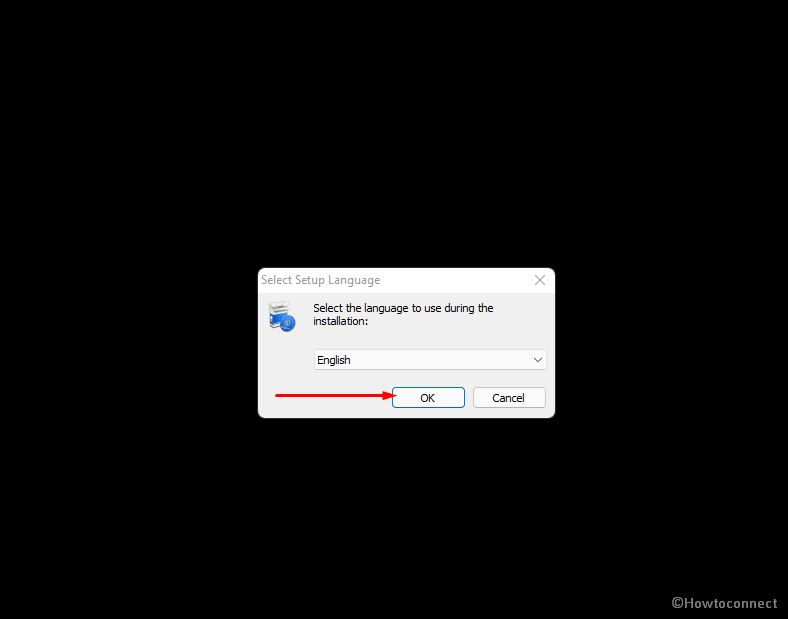
- Select – Language and click OK.
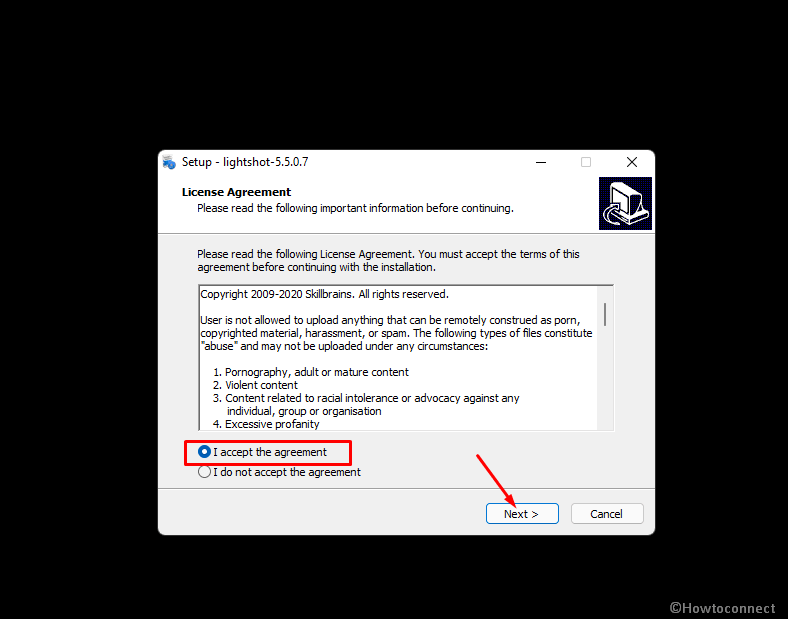
- Check the option – I accept the agreement and click Next.
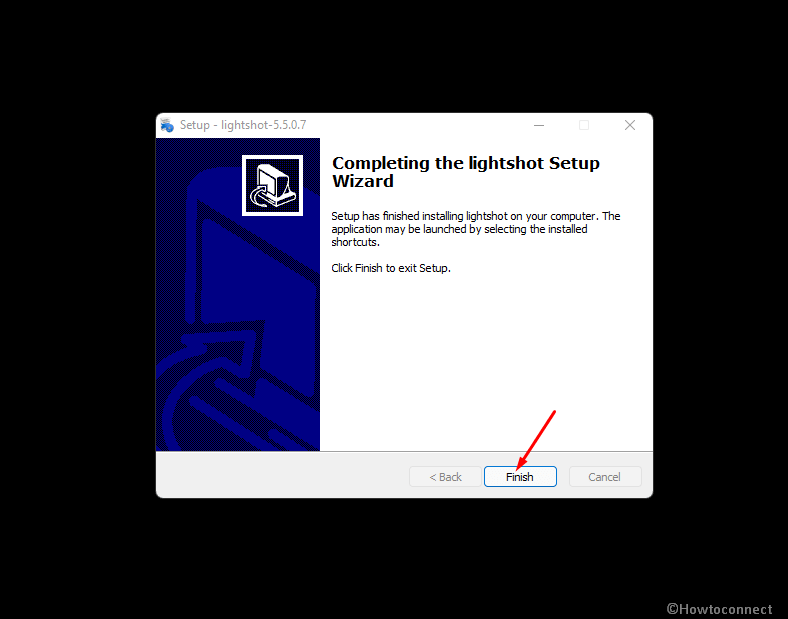
- Click – Finish.
- Lightshot is installed, now press the prt sc key on your keyboard.
- Drag and select the area you’d like to take the screenshot.
- Click on Save icon.
- Click “Save” on ‘Save as’ window.
Use different tools to customize your screenshot
You can use pen, line, arrow, rectangle marker, text, color tools to shape up your screenshot as per your need. Furthermore, the snapshots can be copied, printed, and uploaded to prnt.sc. This allows you to share a screenshot using a unique URL. When trying to change settings
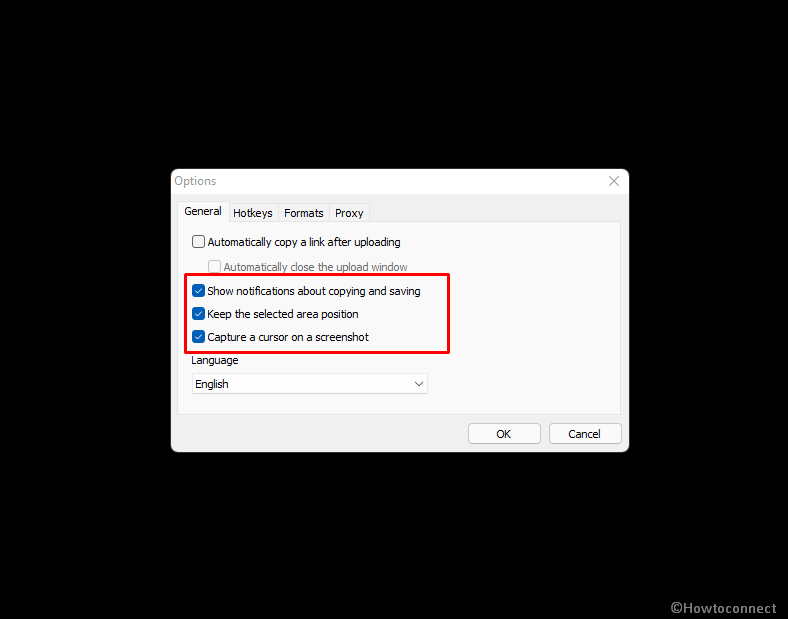
- Go to the System Tray and right-click on the Lightshot.
- Select – Options.
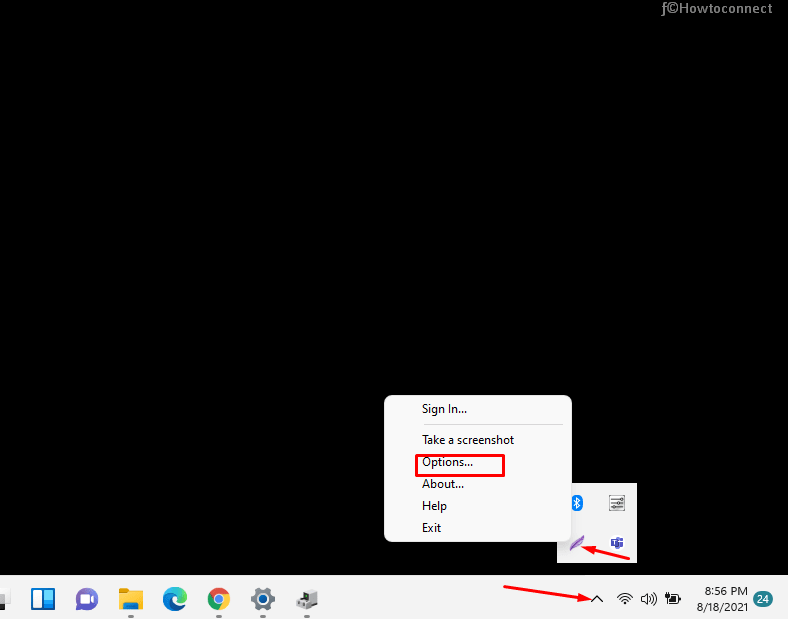
- On the Options window, check the box for – Capture cursor on a screenshot.
- This way the pointer will be captured automatically when taking screenshot.
- If you want to keep the selected area position for further use you can enable it by checking its box.
Methods list:
1] Using Keyboard shortcuts
2] Capture via Snipping tool
3] Through the Game bar
4] With Lightshot
That’s all!!