Windows 10 uses the indexing technology to perform very fast searches on your computer. It happens sometimes that there is an unusual file on your system that’s not being recognized by the index. This leads to distraction and you have to choose the app (which can run the file) each and every time you want to open that file. There is a way out there using which you can add any format to the index so that you can easily search for a file in windows just by its file type. Let’s see how to add certain file type to index in Windows 10.
How to Add Certain File Type To Index in Windows 10
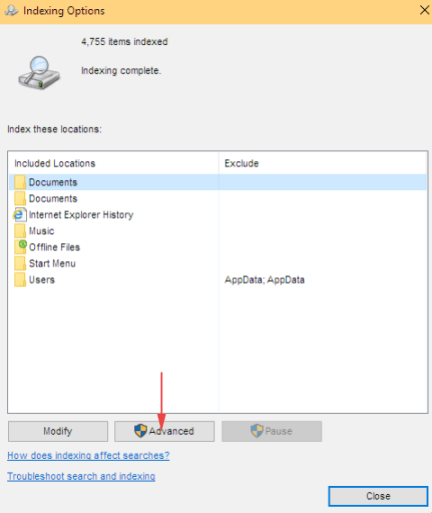
- Click on the Taskbar search and type here indexing options. This will show the same adjacent to its icon at the uppermost part under which control panel is written. Hit on Indexing Options.

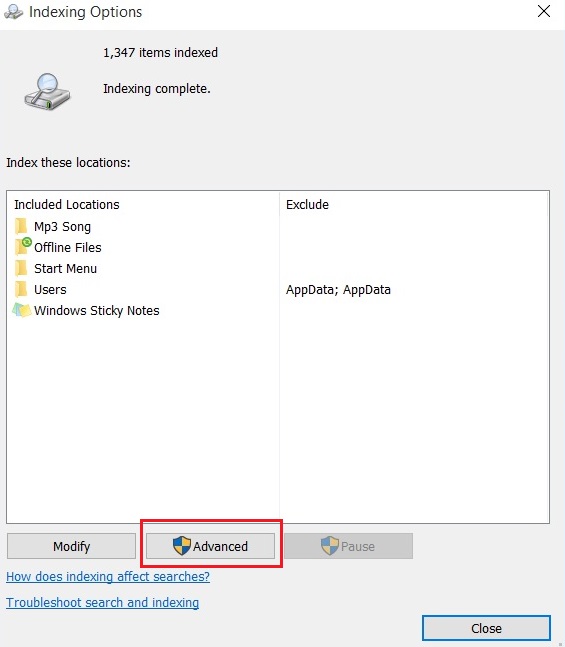
- In the indexing options wizard, go straight to the Advanced button and press it. If you are prompted for an administrator password, type the password and go for confirmation. A screenshot is just shown below.
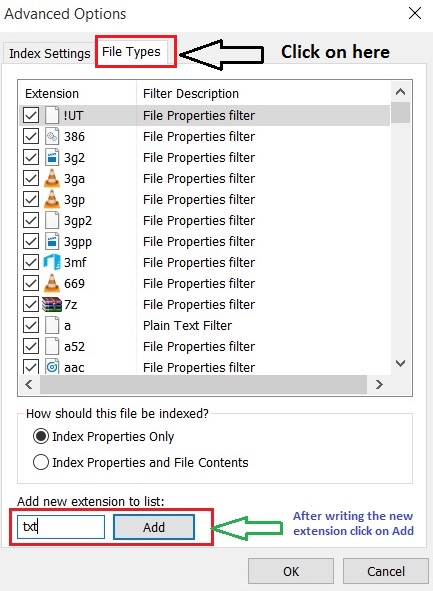
- In the advanced window, keypunch File Types tab at first. Note that, there are two choices present comprising How should this file be indexed just below. You are allowed to choose any one of the two available choices. In one case, only Index properties will be added, however, in the other case index properties and file contents both will be added.
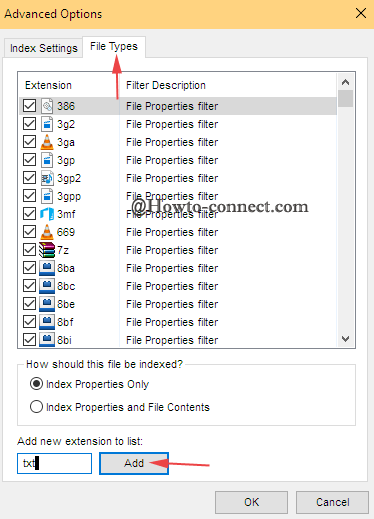
Just go for the Index Properties here and then go to the Add new extension to list. Here, write down the file format in the space provided and then press Add. This will add this file format among all other file extensions which are present already there on your computer.
That’s it. If you have any other query related to Windows 10, ask us in the comment box below.
nice article.