If you are annoyed with flickering pointer, here are 2 perfect ways for how to adjust Mouse Cursor Blink Rate in Windows 11 or 10. Commonly, when you use a pointing device, an arrow symbol is always there to represent the movement. But the sign of this mouse cursor changed its form based on the function you perform. For example, when you hover the pointer to navigate it will be an arrow but while choosing a link the symbol will be represented with a hand sign. Similarly, when you type anything a vertical bar appears on the screen that keeps fluttering. This is actually not a problem but if the blinking rate is too fast or slow then it may be distracting moreover pesky.
Usually, the operating system by default sets a standard cursor blink rate for your Windows 10 or 11 device. But if needed, the rate can be slowed, stopped, or speed up with a little tweak. There are two methods – either you can use to move the slider of Keyboard Properties or modify the string value of CursorBlinkRate through Registry editor.
Adjust Mouse Cursor Blink Rate in Windows 11 and 10
Here is How to Adjust Mouse Cursor Blink Rate in Windows 11 or 10 –
1] Through keyboard Properties
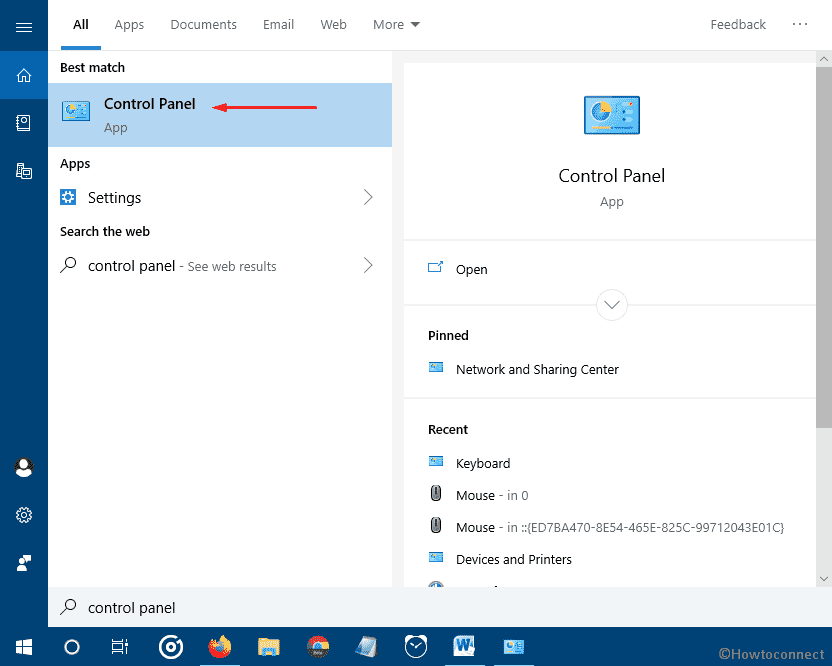
Step-1: Press Windows key and S together to bring up Windows search.
Step-2: Upon appearing, type control panel in the given field.
Step-3: When the result shows up, either click on Control panel or simply hit the Enter key.
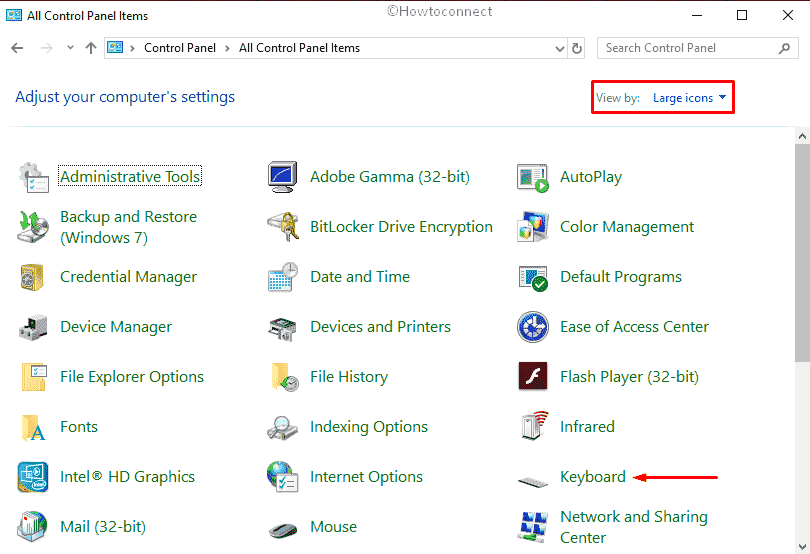
Step-4: Once it becomes visible, hover the pointer to View by option and set it to Large icons.
Step-5: Select Keyboard from the available list.
Step-6: On the newly arrived wizard, go to its bottom part and adjust the moving slider of Cursor blink rate according to your need.
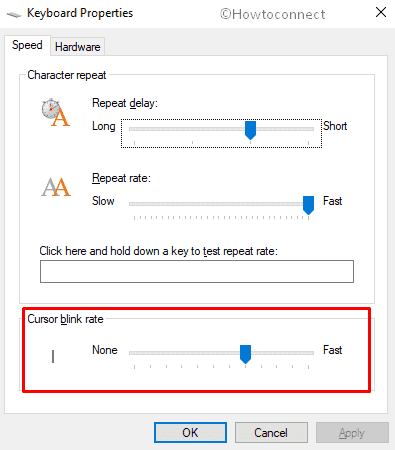
Step-7: In the end, click the Apply button and then OK to save the changes.
2] Via Registry Editor
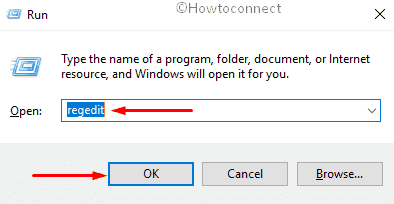
- Open Run Dialog box using the hotkey Windows+R.
- Once appears, type regedit in the void text field and click the OK button.
- If a UAC prompts up for your consent, click Yes.
- On the Registry Editor window, navigate the following path first –
HKEY_CURRENT_USER\Control Panel\Desktop
- From the right-pane locate CursorBlinkRate and double-click on the same to edit its value.
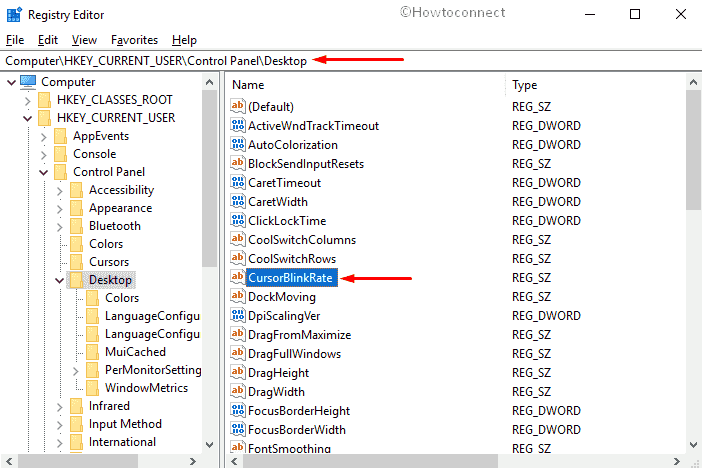
- Though the default Mouse Cursor Blink Rate is 530, you can put a number between 200 (faster) to 1200 (slower).
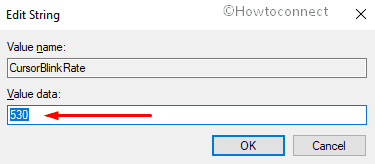
Note – If you put -1 in the Value data box, the mouse pointer will no longer blink.
- Once you are done, click the OK button to make the changes effective.
Methods:
1] Regulate mouse cursor flickering rate using keyboard Properties
2] Control blinking cursor rate with Registry Editor
That’s all!!