You might want to Allocate Processor Resources in Windows 10 for the better interaction of using services. A limited number of resources are available for a computer’s CPU that helps to run the device smoothly. These either allocate tasks between processors or manage multiple processes. By default, Windows 10 and the previous versions are designed to prior the Programs rather than Background services. However, you can adjust it easily through the Control Panel and Registry Editor.
The processor is a core of the hardware so it receives lots of different messages from the programs and digs out the best way to handle it by analyzing those request. It doesn’t matter if you have one processor or more, Windows will always split the task between them accordingly in order to ensure the best user experience. Though there is no way of dividing up the foreground and background services evenly, you can just change the preference. In this context we are are going to show you the method of adjusting Processor Resources which is super simple and can be done within a few minutes.
Allocate Processor Resources in Windows 10
Here is how to allocate Processor Resources in Windows 10 –
Through Performance Options
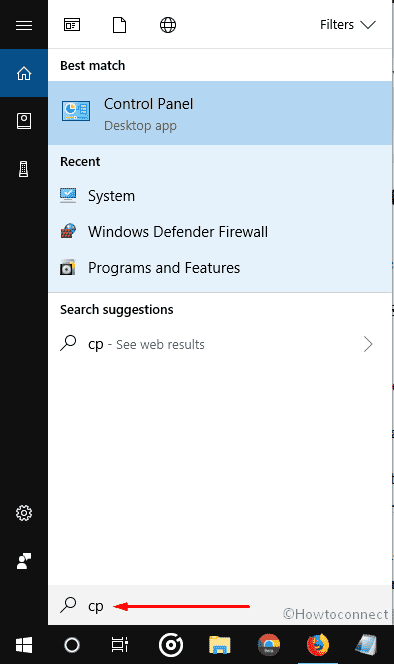
Step-1: Initially, Press Win+S together and type cp in the search box. When the result shows up, hit Enter to open Control Panel.
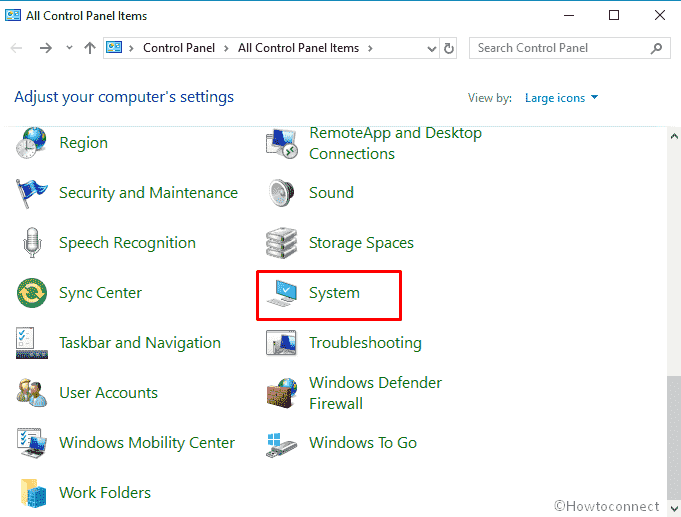
Step-2: Once it appears, click on System.
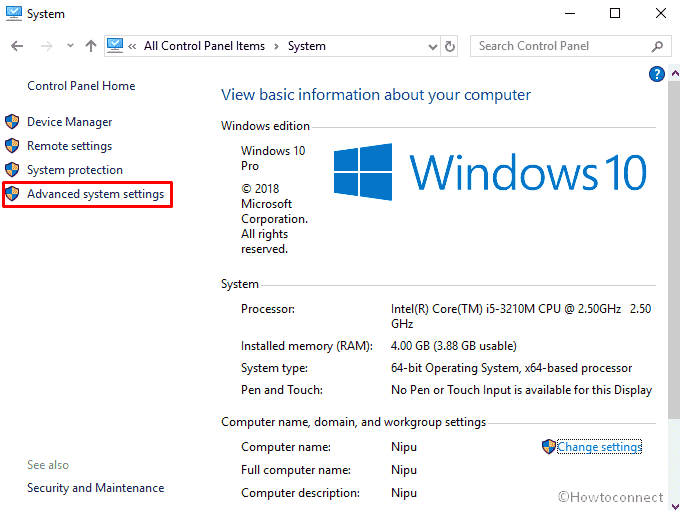
Step-3: Make a click on Advanced system settings from the left column.
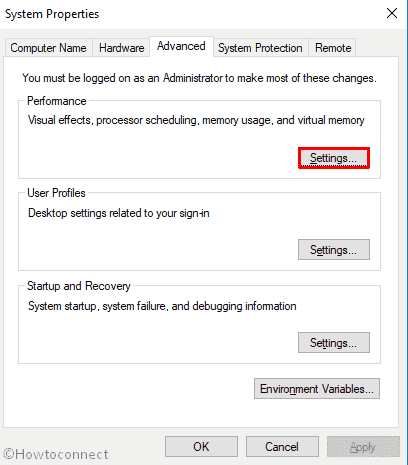
Step-4: A pop-up will prompt up named System Properties. Shift to the Advanced tab and select Settings located under the Performance section.
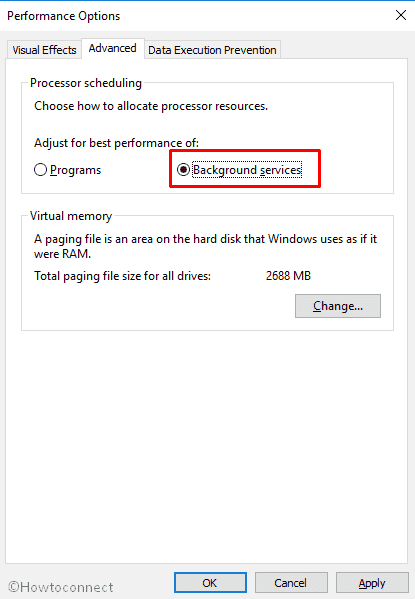
Step-5: This time, you will view Performance Options pop-up. Again move to Advanced tab and choose the best option accordingly. To enhance the foreground services, choose Programs radio button or click Background services.
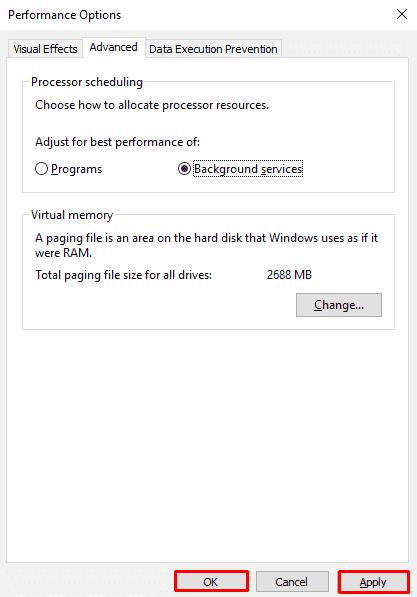
Step-6: In the end, click on Apply and then OK to keep the changes.
Use Registry Editor
You can also Allocate Processor Resources in Windows 10 through Registry Editor.
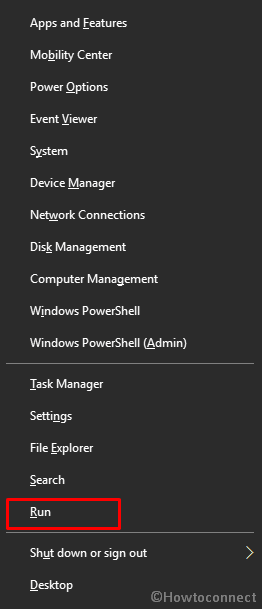
- Right click on Start button and select Run from the Win+X Menu.
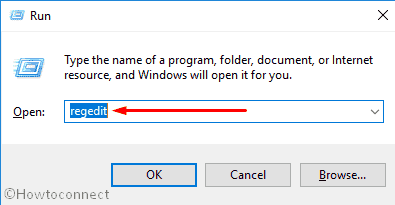
- Type regedit in the empty text box and hit Enter on your keyboard.
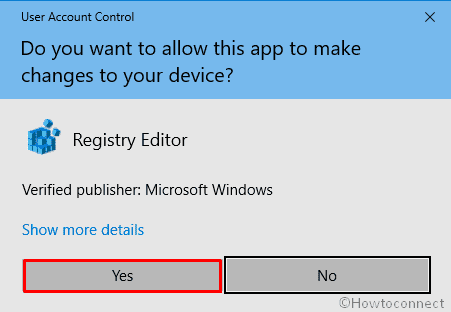
- If a UAC appears, give consent to access Registry Editor.
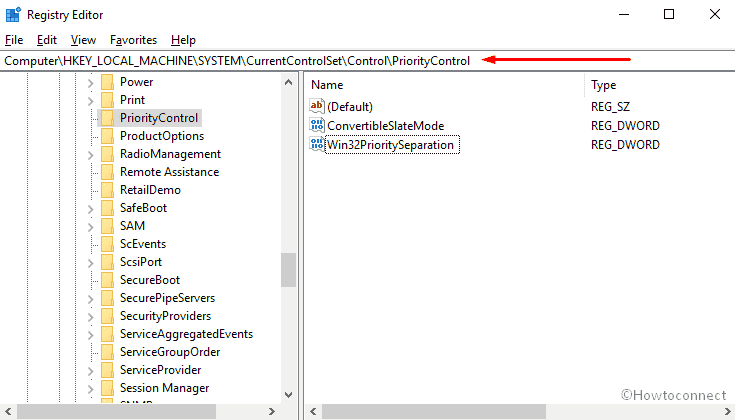
- Once the Registry Editor console roll up into the screen, navigate to the following path –
HKEY_LOCAL_MACHINE\SYSTEM\CurrentControlSet\Control\PriorityControl
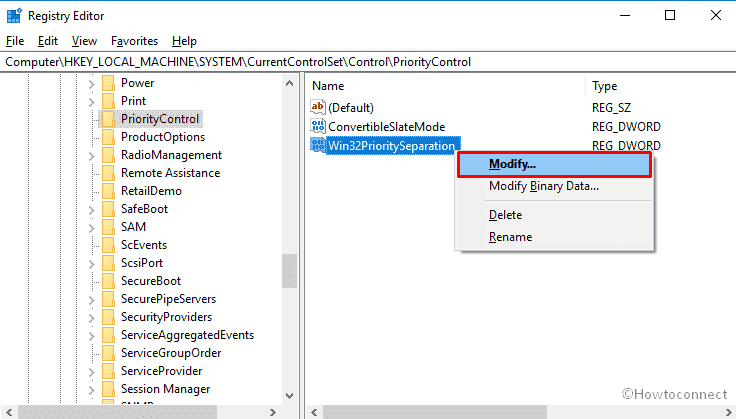
- Now, shift to the right pane. Do a right click on Win32PrioritySeparation and select Modify.
- By default, the value is 2. If you want to give preference to Programs, put 26 in the Value data box.
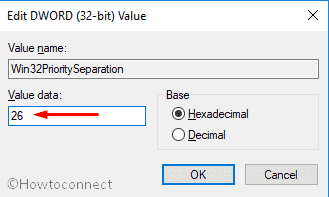
- And if you prefer Background services more, then the value will be 18.
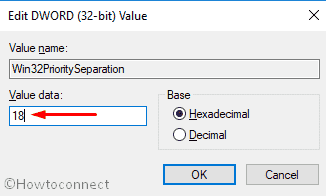
Note: The above values 26 and 18 are applicable if you choose Hexadecimal as the Base. But if you prefer Decimal, then set 38 for Programs and 24 for Background services.
- To make the changes applicable, ensure to Restart Windows 10 PC.
That is all!