Windows 10 version 1903 comes up with a new innovation Reserved Storage to set approximate 7 GB space aside. This quota can be used to store temp files, system cache and save the device from out of memory while getting an update. Keeping the disk space in your mind you can easily reduce Reserved Storage in Windows 10.
Microsoft announces that users can have about 7 GB of usable space from Reserved Storage. The allocation will be for Temporary files, Application Installation, System Caches. Moreover, the maximum accessible area will be there for Update files. Once a new upgrade is upfront, the operating system will automatically erase unnecessary previous files. The motive is to as to assign as much as space for the newly installed update components. Though the feature is quite handy, you might face storage limitation since the system will take up available space for update files you can’t manage it by modifying. Therefore, you can reduce the said area using the following procedures. Read –
Reduce Reserved Storage in Windows 10
Here is How to Check and Reduce Reserved Storage in Windows 10 –
Check Reserved Storage
Step-1: Press Win+ I hotkey to open Windows Settings.
Step-2: Click System.
Step-3: After reaching to the next page, choose Storage from the left pane and jump up to corresponding right side.
Step-4: Scroll down and hit the Show more link under Local Disc (C:) bar.
Step-5: Do a click on the System & reserved option from there.
Step-6: When the new page comes in, scroll down there and check the space under Reserved storage section.
Now, as you have come to know about the amount of space, you can reduce the same going through the following procedures –
Reduce Reserved Storage
Method-1: Uninstalling Optional Features
- Open Windows Settings as mentioned in the previous method.
- Click on Apps.
- Select Apps & features from left and move aside to right.
- Scroll down and follow the link showing the option Manage optional features.
- Once shifted to the next page, you will see all the optional features installed in your device. Select any from the list and hit the Uninstall option from the expanded tray.

To Reduce Reserved Storage in Windows 10, Do the same for others too if you feel necessary.
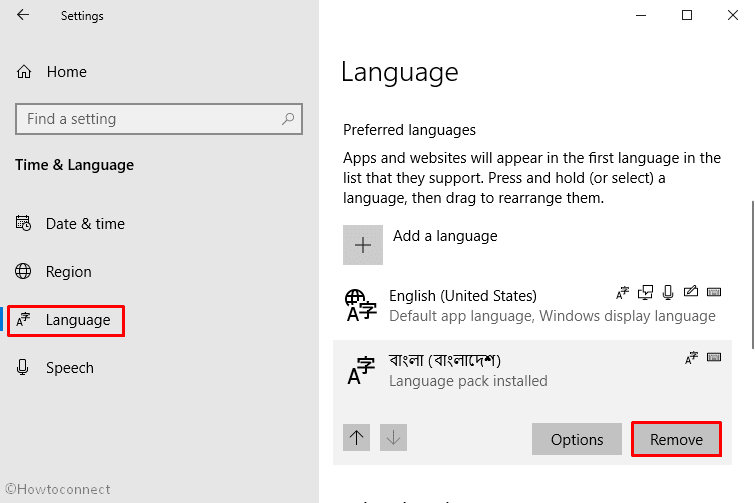
Method-2: Uninstalling the Installed languages
- Open the Settings app as shown in the first method.
- Select Time & Language.
- Choose Language option from the left and go alongside right.
- Scroll down and select the language you opt to Uninstall.
- Hit the Remove option from the extended tray for uninstalling the Language pack.
That’s all about How to Check and Reduce Reserved Storage in Windows 10. Hopefully, you will get you the necessary ideas from this handy explanation.