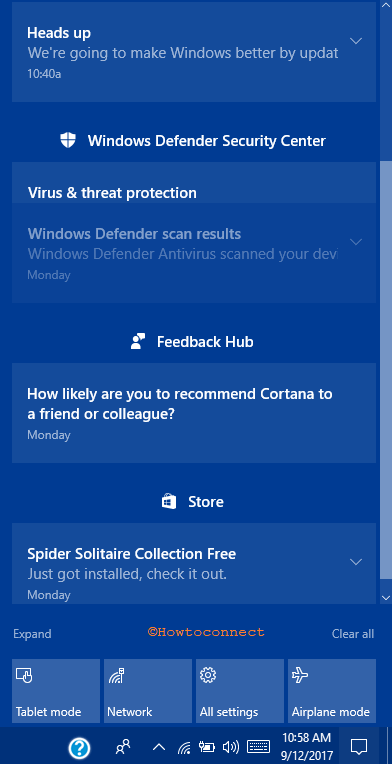
Crowded Action Center of Windows 10 presents unfresh feel to users. You might find no empty or clear space in this right side panel. The user, who maintains everything tidy on his computer must want to declutter the area.
Action Center comprises two sections – the top part shows notifications and the bottom displays Quick Actions. Notifications field looks pretty crowded because of frequent notifications from different sites, services, and settings. Quick Actions section includes several tiles which create a stuffy appearance. Fortunately, you can clean this right side panel in Windows 10 quite simply with minimal effort.
So, when you intend to Clean Crowded Action Center, you mean to clear out both the parts. Windows 10 offers various settings that help you to remove unessential notifications and also includes an option to configure Quick Actions.
Let us explore the ways and see their steps one after other.
How to Clean Crowded Action Center in Windows 10
1. Notification Area
Clear Notification Area one by one
The prime thing that most of you prefer is to remove a specific notification from this sidebar.
Step 1 – First and foremost, open Action Center and to do so click its icon on the far right of the taskbar. Instead, also press Windows + A keys altogether to launch the same.
Step 2 – Locate the notification you don’t wish to see in the panel and click the tiny X button as shown in the given screenshot.
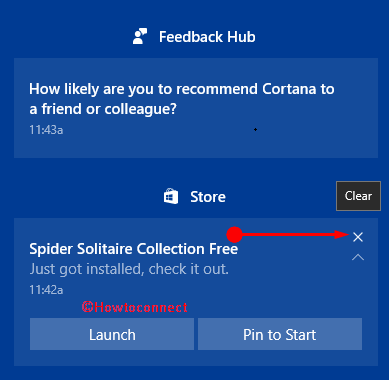
Step 3 – This immediately removes the selected banner from the panel.
Clear All Notifications in one Click
If you prefer to keep the upper portion of this panel always tidy, you have an option to clear all of them with one click. To do so, pursue the given steps.
Step 1 – Launch Action Center by pressing Win + A hotkeys and you can see Clear all button. Click on that button.
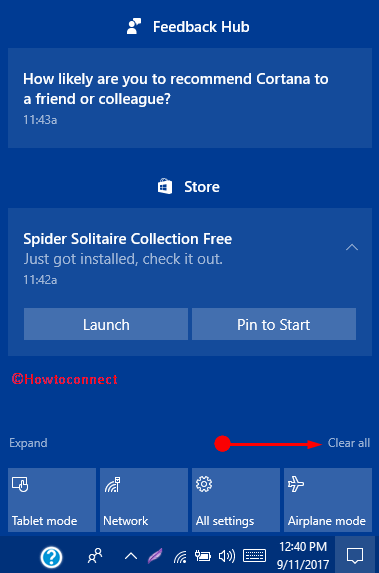
Step 2 – That’s it and all the banners from the panel get deleted in one go.
Delete All Notifications using Shortcuts
Few combination of keys also lets you delete all notifications of the panel to Clean Crowded Action Center in Windows 10.
Step 1 – Use keystrokes Windows and A jointly and let the right-side pane come into view.
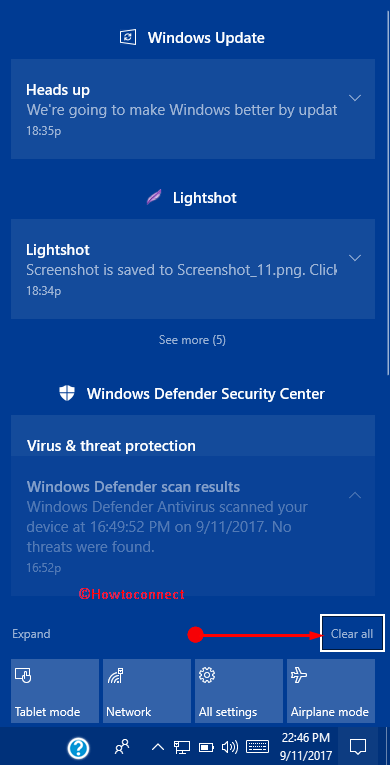
Step 2 – Now, press Shift and Tab keys altogether and this selects the Clear all button as in the below image. Lastly, press Space key on the keyboard and it will instantly Clean Crowded Action Center.
Reduce the Number of Notifications Visible in Action Center
Receiving a number of notifications from a certain application makes the Action Center crowded. So, once you reduce its number, the latest notification will only appear in the panel and not the previous ones. For example – My Facebook app frequently notifies me about the happenings which eventually pack the sidebar. So, Settings application includes an option to control this behavior.
Step 1 – Launch Settings application using key combinations Windows & I. Instead, also right-click Start and choose Settings options.
Step 2 – Select System when you see various tabs on the homepage of Settings.
Step 3 – Select Notifications & actions, the second section of the following page. Move to the right-hand pane and scroll down until you see the heading Get notifications from these senders.
Step 4 – Here, locate and choose the app which often shows a number of notifications, such as Facebook.
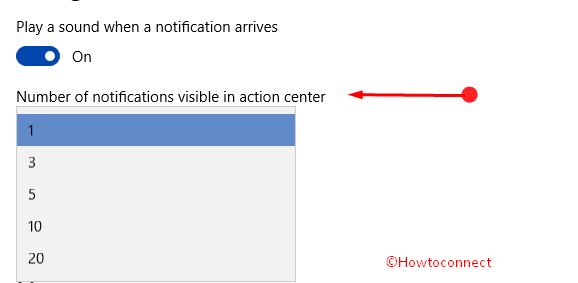
Step 5 – Click the drop-down underneath the option namely “Number of notifications visible in action center“. Choose the lowest number which you feel comfortable with and the panel will show that many banners only.
To know more about this feature, follow Determine App Notification Count to Show in Action Center Windows 10.
Don’t Show Notifications in Action Center
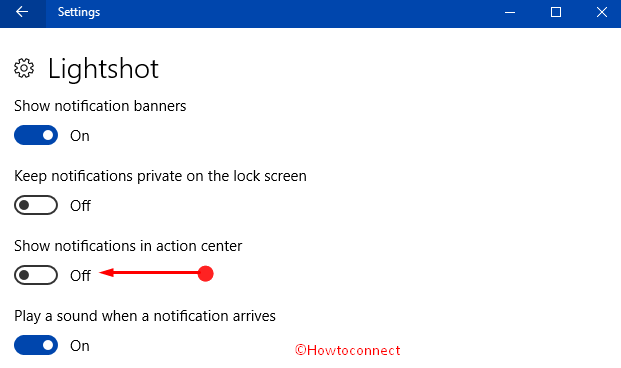
If you see that this right sidebar shows and holds unnecessary notifications, you can choose to stop them. For example – I use Lightshot, a small app to take a screenshot and once the task is over, it shows a banner. As I don’t prefer it to continuously display in this pane, am turning it Off.
Step 1 – Click Windows logo and go ahead with the Settings option. Choose System when you notice different icons on the main interface of the program.
Step 2 – Moving on, click Notifications & actions section on the left column of the next page.
Step 3 – On the right panel, come to section namely Get notifications from these senders and choose the application of your choice. Now, toggle Off the slider namely Show notifications in action center.
In this concern, you may like to know How to Disable / Enable App Notifications on Windows 10.
Disable Mobile device (via Cortana)
Many users who are using both Windows phone and the operating system often receive banners when the Mobile device is enabled. So, you can completely disable it or choose not to display its notifications the on panel.
Step 1 – To begin with, open Start Menu and click Settings icon. Choose System icon.
Step 2 – Here also, click Notifications & actions and move towards its right pane.
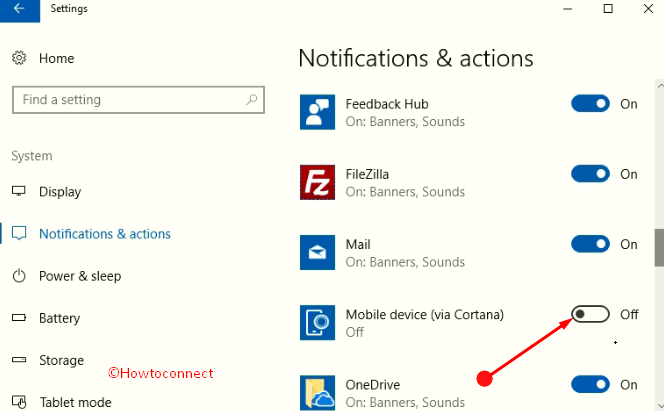
Step 3 – Lastly, switch Off the option namely “Mobile device (via Cortana)” if you don’t prefer to get its notifications on your PC time and again.
Step 4 – Instead, select Mobile device (via Cortana) and turn Off the setting Show notifications in action center. By doing so, you will only receive banners on the PC but they will not show on the side panel.
2. Quick Actions
Remove Unwanted Tiles
Just like me, if you also don’t use all Quick Actions, then turn off the unessential ones. Removing these will eventually Clean Crowded Action Center on Windows 10 OS.
Step 1 – Use the hotkeys Windows + I to see Settings program on the PC screen. As an alternative, click Start button and select Settings option.
Step 2 – Out of various icons on the Settings program, click System.
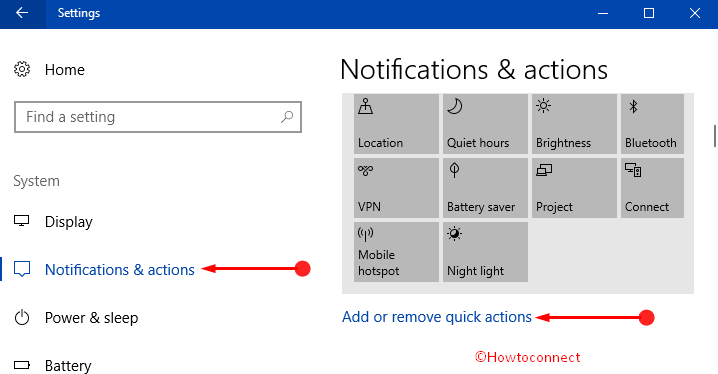
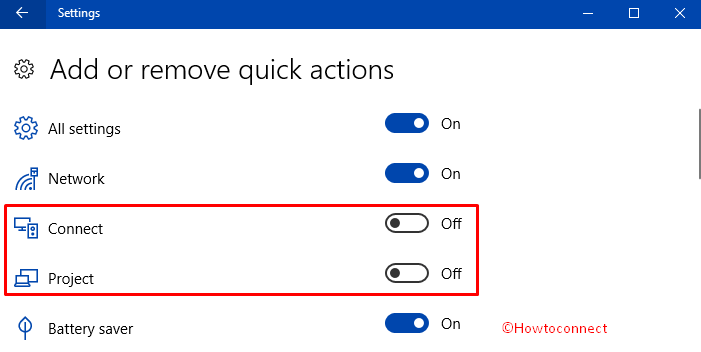
Step 3 – Choose Notifications & actions on the left sidebar of the next page. Shift to the corresponding right pane and click the option namely Add or remove quick actions.
Step 4 – Here, toggle Off the Quick Actions that you don’t use frequently.
Step 5 – Again get back to the Notifications & action page and you can see the selected ones. If you are keeping more than four buttons, you can smoothly arrange them as per preference. Just hold the button, drag it to the desired position and leave it.
For reference, you may like to read our full article to Remove or add Quick Actions Tiles in Windows 10.
Conclusion
So, you see that there are plenty of options to Clean Crowded Action Center in Windows 10. However, keeping this panel clean and tidy is what most users love to. If you have some more tips to retain this panel neatly, do write them to us.