Anytime you enquire about anything in Microsoft Edge, Bing responds instantly to your questions. This is because it is assigned as the default search engine. The history of the Bing behaves completely different with respect to its browsing information. When you clear off the browsing details of the Edge browser, you remove the browsing data but the queries you have entered in the Bing search remain unclear. Hence, focusing on this area we will showcase the steps for How to Clear Bing Search History on Edge browser.
The Bing search history is not limited to storing and showing the data, but it also bestows you an option to decide whether you prefer Bing to record your history or not. The Settings of Edge has a link to clear off the records of the entries done in Bing. So, let us now move to the main segment of the article How to Clear Bing Search History on Edge Browser and must also explore more related things of Bing history.
How to Clear Bing Search History on Edge Browser
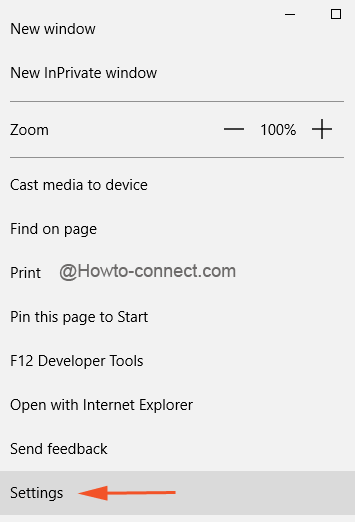
- The chief task is to spread the Edge browser and click on More button.

- This shows down a separate bar on the right side of the browser where click the last option of Settings.
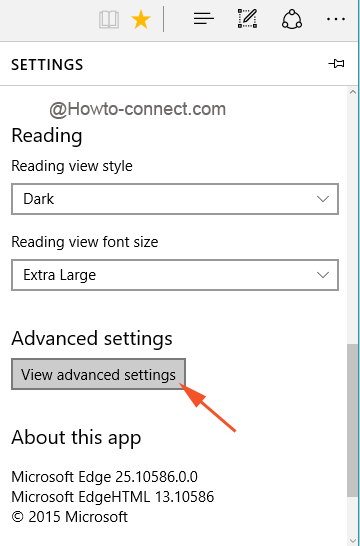
- Once more scroll to the extreme down to click on View advanced settings.
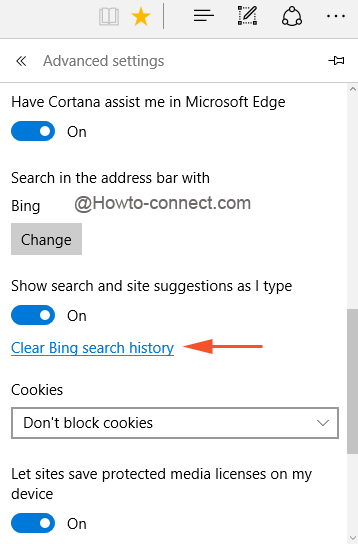
- Now, come down and you can notice a link Clear Bing search history.
- To discard the search records of Bing, click on that same link called Clear Bing search history.
- The above action will open up a new tab in the browser – Search History.
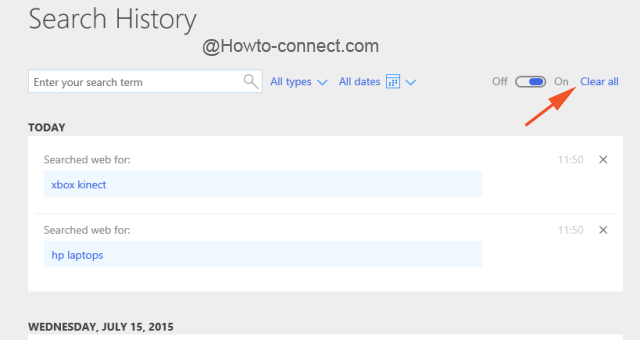
- The searches made on this engine will be filed there with the day, date, and time.
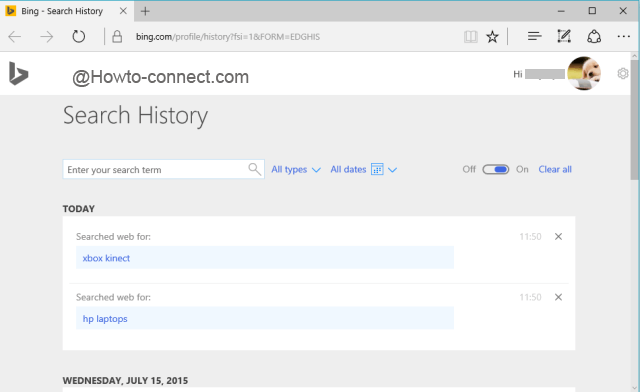
- Even you have erased the browsing data of the browser earlier, this search engine records are very much present and thus are observed here.
- There is a tiny slider on top with Off and On tweaks. If the slider is turned Off then Bing will not save the records searches carried in Bing and oppositely if it is toggled On, the searches will be stored.

- Now, if you have particular entries to clear off, click the X symbol of that respective entry and that same will be removed from the list.

- And when it comes for deleting the entire records of the Bing search, Clear all button will do that. Click on it.
- Click the Yes button and confirm the deletion process.

- And you are done!!!!
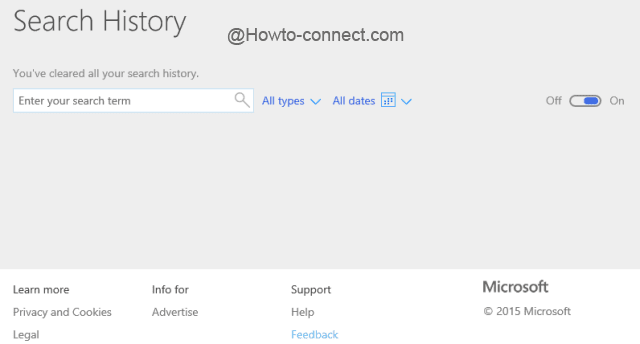
So, if you think to erase the browsing details will keep you safe from knowing your search records, it is better advised to remove the Bing search entries as well. Just follow the above steps and let us know if any more records are there to clear off on Windows 10.
