Though the tabbing system is a great feature, many users find it useless and want to Disable Sets for Specific App in Windows 10. The concept behind this multitasking ability is to provide all your task – web pages, documents, files, application accessible in a single click. But users who love to work in discrete Windows gets it inessential.
By launching Sets in Windows 10 April 2018 Update, Microsoft makes an attempt to change the work experience of users. It lets you run various apps in the same window just like browsers. However, the company has recently made some changes in this distinctness so that users don’t think they are been forced to use it. But out there are many users who prefer to rule out certain individual apps from using Sets. So, keeping them in mind, today we are going to discuss the way of disabling the feature for specific applications in Windows 10.
Disable Sets for Specific App in Windows 10
Here is How to Disable Sets for Specific App in Windows 10 –
Step-1: Start the procedure by making a simultaneous press on Win+I to open Windows Settings app.
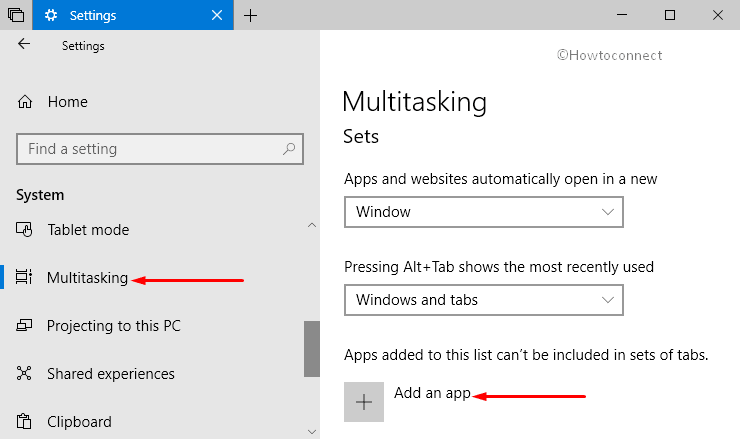
Step-2: Now, when the main interface of the application turns up select System. Then do a click on Multitasking from the left column of the following page.
You may like to read How to Use Sets New Tab Page Settings in Windows 10.
Step-3: On its right pane, go to the Sets section and make a click on + sign located beside Add an app (see snapshot).
Step-4: When the list of apps appears, choose the desired one and then perform a click on OK.

By doing so, you can easily Disable Sets for Specific App in Windows 10. You can repeat the process for more apps as well. Finally, restart that application to view the changes in it.
For reference, you can also go through our article to Disable Enable Sets in Windows 10 From Gpedit and Regedit.
In future, if you ever want to remove a specific app from the list to be included in Sets of tabs, do the following steps.
Open Settings and go to the System category.
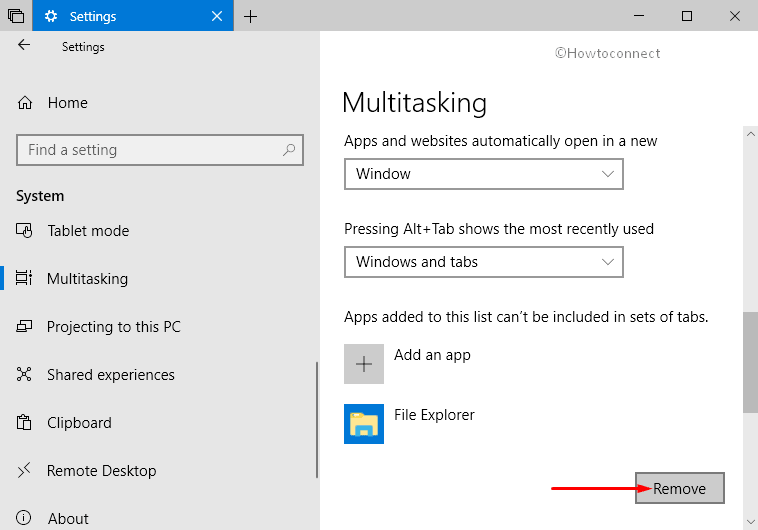
Select Multitasking on the left pane and switch to the adjacent right side. Here, underneath Sets section, you can see the apps for which Sets is disabled.
Choose the app and click Remove button (see snapshot).
That’s all.