Are you looking for a suitable way to Enable Bitlocker Drive Encryption Service Windows 10 and 11? If yes, then you are in the right place. Basically, the service helps to protect your data and prevent them from reaching a wrong hand. All the data in your system becomes unreadable after you enable BDESVC. As a result, people without proper authorization fail to unveil the same. Right now, BDESVC is available on Windows 11 or 10 Pro and Windows 11 or -10 Enterprise. But the service should be standard in every edition of Windows as data encryption is very important to keep the stored data protected.
Bitlocker Drive Encryption Service is well known for providing the OS a secure startup via conversion of data into a cipher or code. This equally works for full, fixed, or removable volume. Once you encrypt anything by enabling the service, the file becomes unreadable and nothing but the right encryption pin can clear the restrictions only.
Ways to Enable Bitlocker Drive Encryption Service
Here is how to enable Bitlocker Drive Encryption Service Windows 11 or 10 [BDESVC] –
Turn on BDESVC through Services Console
Step-1: Invoke Windows search bar by pressing Win+Q hotkey.
Step-2: Type “services.msc” in the available field and press Enter.
Step-3: When Services console prompts, find Bitlocker Drive Encryption Service from the list.
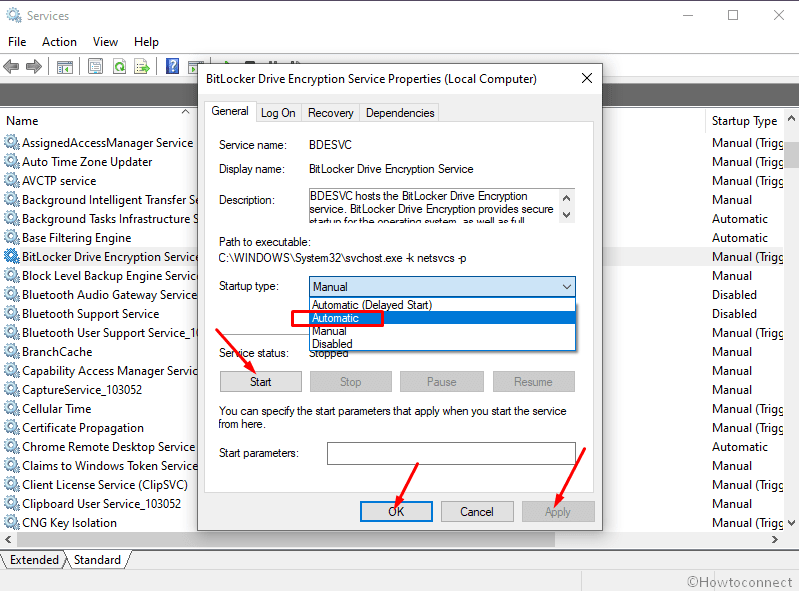
Step-4: Right-click on the same and select Properties.
Step-5: Against Startup type select “Automatic” via the options in the drop-down menu.
Step-6: In order to enable Bitlocker Drive Encryption Service, hit the Start button.
Step-7: At the end, click Apply followed by pressing OK button to keep the service turned on.
Enable Bitlocker Drive Encryption Service via Command Prompt
- Press Win+S at once and write cmd.exe.
- When Command Prompt shows up, choose Run as administrator.
- A UAC will prompt up, click Yes to give permission.
- On the black window, type the following and hit Enter –
net start BDESVC - Usually, the command Enable Bitlocker Drive Encryption Service right away but things will not be the same if the Startup type of this service is Disabled.
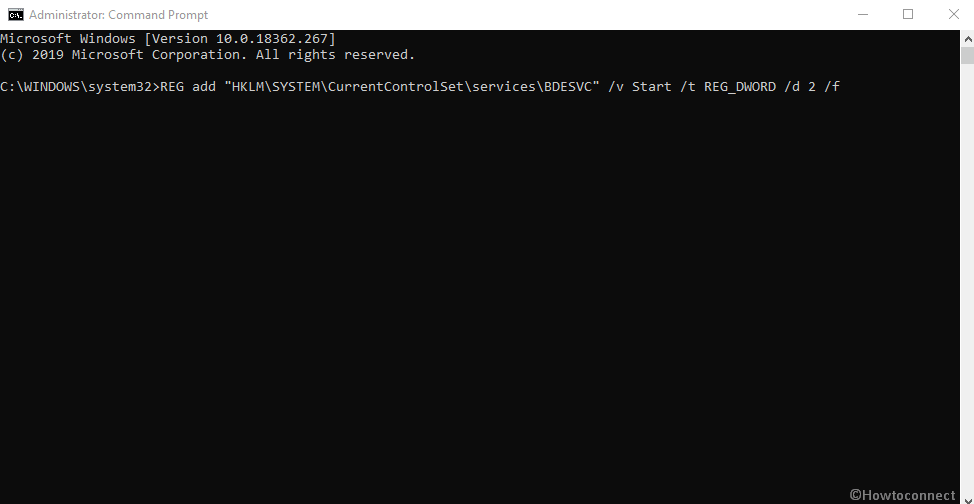
- In that case, you need to change the Startup type to either “Automatic” or “Manual”. To do so, run the underneath command –
Automatic –
REG add “HKLM\SYSTEM\CurrentControlSet\services\BDESVC” /v Start /t REG_DWORD /d 2 /f
Manual –
REG add “HKLM\SYSTEM\CurrentControlSet\services\BDESVC” /v Start /t REG_DWORD /d 3 /f
- Once you are done with changing the Startup Type, again run the following command in the same elevated Command Prompt –
net start BDESVC
Using Registry Editor
- Be careful while modifying the registry entries as the wrong operation might lead to serious troubles.
- Right-click on Start button and select Run from the Win+X menu.
- Type regedit.exe in the text field located adjacent to Open and press Enter.
- A UAC pop-up, click on Yes to approve your consent.
- When Registry Editor page rolls in, navigate the following path –
HKEY_LOCAL_MACHINE\SYSTEM\CurrentControlSet\Services\BDESVC
- After reaching there, you will see Start DWORD key in the right pane. Right-click on the same and select Modify.
- In the Value data box, put preferred value followed by clicking OK button.
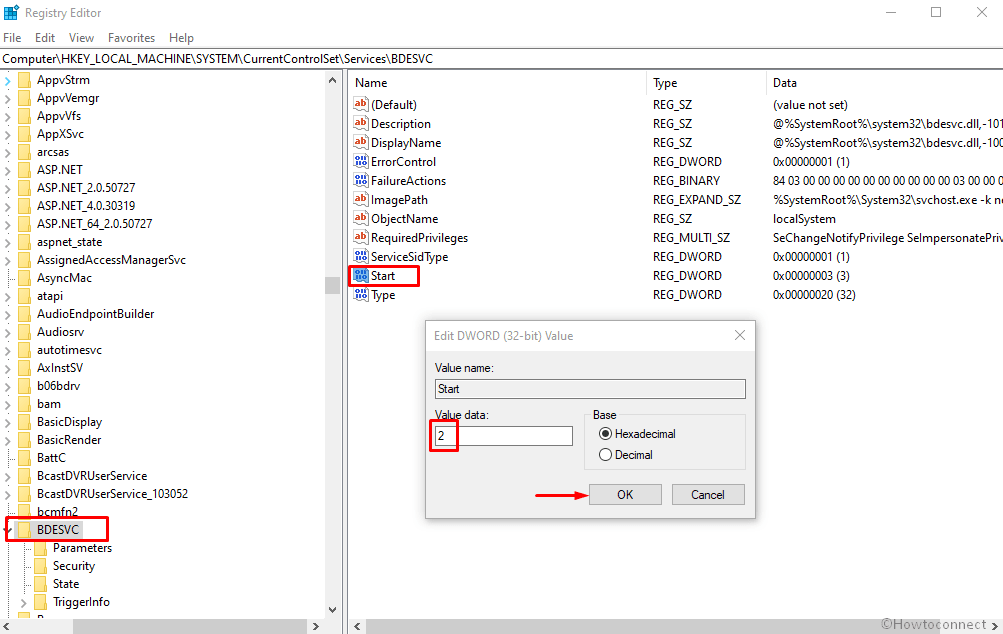
Automatic – 2, Manual – 3, Automatic (Delayed Start) – 2
Turn on Bitlocker Drive Encryption Service with the help of System Configuration
Step#1: Press Windows key+R keyboard shortcuts combination and let Run dialog box appear.
Step#2: Type “msconfig” in the given text box and click the “OK” button.
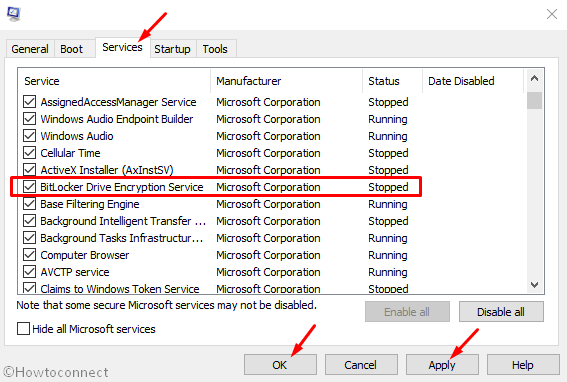
Step#3: System Configuration wizard will show up now; shift to its Services tab.
Step#4: Scroll down a bit to locate Bitlocker Drive Encryption Service. Once found, do a click on the checkbox of the same and put a tick mark.
Step#5: Thereafter, Click on Apply and then OK button.
Step#6: You might need to reboot the device so that the changes can take place.
That’s all!!!