Since when Microsoft released Windows 10, bugs and problems has been always stuck to it like glue. Critical error is one of the among that mainly gestures toward the Start menu not working with the code. The issue commonly occurs because of corrupted files moreover deletion of important system components. Once affected, not only the Start menu stops working but also other exploration features like Cortana and Taskbar search may come with unusual behavior. However, if you are conflicting with any kind of search issues, this walkthrough will guide you on how to fix critical Error Start Menu in Windows 10.
You know Start Menu is one of the most useful components of Windows 10 because it let you access installed apps and settings as fast as one’s legs can carry one. The moment it stops its functionality, things become really complicated and makes you unable to run the PC effectively. Though critical error message comes up with a self-explanation fix that claims the issue will be eradicated after next sign-in, most of the time it really doesn’t work. Therefore, you need to try out other workarounds in order to settle upon the problem.
Solutions to critical error Start menu Windows 10
Here is how to fix: Critical Error Start Menu Windows 10 –
Note – Before jump into the solutions, make sure to take incremental backup in Windows 10 otherwise you may lose important data if anything goes wrong.
1] Restart Windows 10 – most basic solution
If you are fortunate enough, only restarting the PC will do the trick to fix start menu critical error. Steps are as follows –
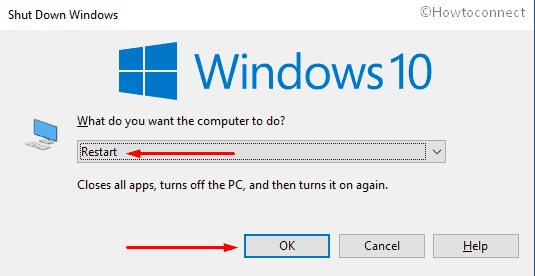
- Press Alt+f4 hotkey in one go to invoke Shut down Windows wizard.
- Upon appearing, choose Restart using the drop-down menu residing beneath What do you want the computer to do?
- Thereafter, click the OK button to reboot the PC.
2] Run SFC /Scannow command line
As we said, missing or corrupt system is the main culprit that bring forward critical error start menu Windows 10. Hence, you need to utilize system file checking utility to settle down this issue. To do so –
- Click on the Taskbar Search icon (or box) and type in cmd.exe.
- Once the result becomes visible, choose Run as administrator from the right column.
- A UAC will prompt up seeking your permission, click Yes button to get along.
- On the black panel, type the following command line eventually hit Enter to execute the same –
sfc /scannow
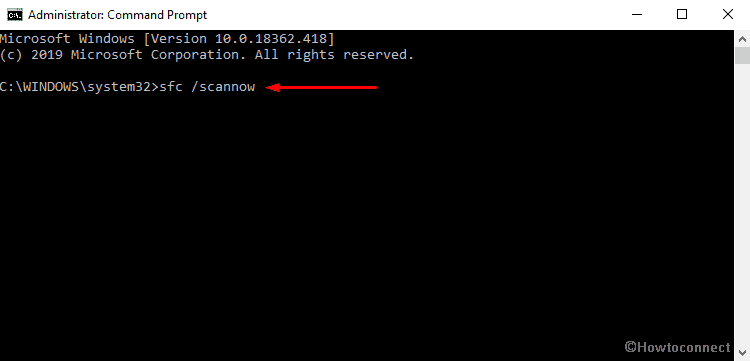
- Now the utility will start scanning your full system to detect the existence of corrupted files. Wait patiently and let the system do its job. If the utility finds any corruption in your PC, it will be solved automatically. But, in case of experiencing “Windows Resource Protection found corrupt files but was unable to fix some (or all) of them” message, you need to execute DISM tool. For that, type the following line in the same window and hit Enter –
DISM /Online /Cleanup-Image /RestoreHealth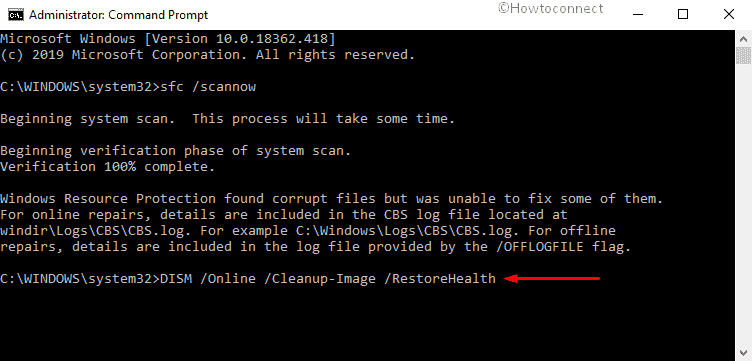
This command line will allow your operating system to download the correct image files and replace them with the faulty ones. Upon completion of full process, run the sfc /scannow once more and Restart your computer.
3] Uninstall a third-party antimalware program
Third-party antivirus sometimes prevents system components from continuing or being carried out properly. Furthermore, it often interferes with built-in antimalware and ends up causing many issues along with Windows 10 start menu critical error. Also, to stay away from such a situation, you should use one antivirus at a time. As Windows Security provides great protection, uninstalling the third-party one will be a pearl of wisdom. Here is how to proceed –
- Right-click on Start button and choose Run from the Power user menu.
- After showing up, type appwiz.cpl in the empty text bar and click OK.
- On Programs and Features window, look for the third-party antivirus program.
- Once found, click on the same and hit the Uninstall button from the top ribbon.
- To wipe out the program fully, follow the on-screen instructions you come across.
4] Create a new user account and switch to it
Some unexpected changes automatically made to your system may also cause critical error start menu in Windows 10. In such a case, making an additional user account with administrative privileges is the best option for resolving the issue. Here is the process you need to follow –
- Right-click on an empty space of Taskbar and select Task Manager from the available list.
- When it comes into the view, make sure the wizard is expanded or else click More details.
- Now click on File and subsequently choose Run new task.
- On the forthcoming wizard, put PowerShell in the given text field and check the box assigned for Create this task with administrative privileges.
- Hit the OK button to open elevated PowerShell and upon showing up, you run the following cmdlet –
net user Username Password /add
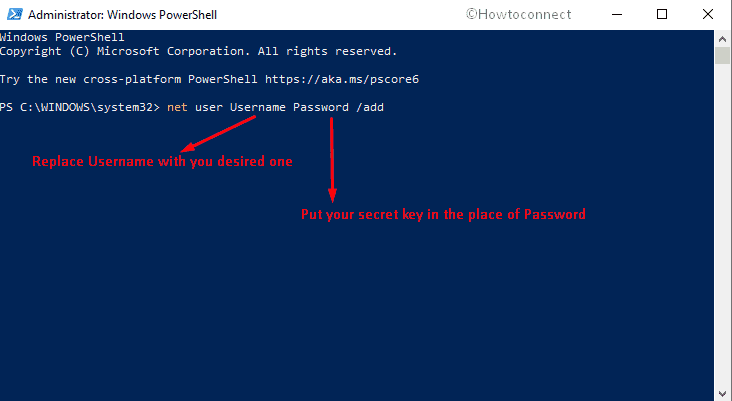
- Here, in the place of Username and Password, provide the desired one for your afresh account.
- After putting the command perfectly, Press Enter key to execute it.
- Now, Restart Windows 10 using any usual way and when it powers up, choose the currently created account to sign in.
5] Run Start menu Troubleshooter
Microsoft provided a tool named Start menu Troubleshooter but recently it has removed the same from the database. Fortunately, Softpedia still offers the troubleshooter in the System Miscellaneous archive. The tool fixes Critical Error Start Menu in only a single click. Here is how to use it –
- First of all, navigate a trustable page to download Start menu troubleshooter.
- After the downloading process finishes, visit the Downloads folder and double-click the item you just got.
- When it becomes apparent, click Next button to troubleshoot Start menu related issue.
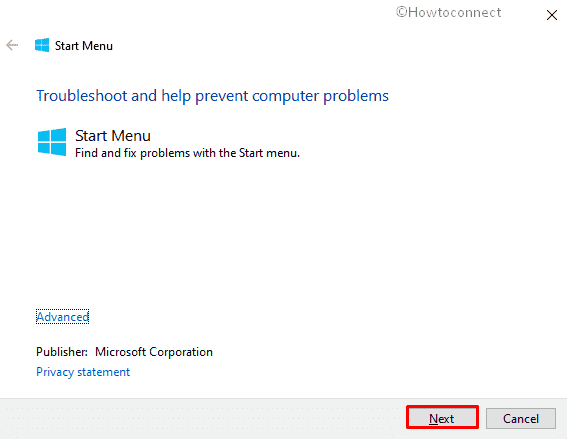
- After completion, apply the fix if the system suggests any.
6] Re-install Start menu
Critical error often shows up when the Start menu becomes corrupted and buggy. If so, you need to reinstall the app by executing a command in PowerShell. Here is the process –
- Press Windows key and Q to invoke Windows search.
- Type PowerShell in the search bar and when the result turns up, click Run as administrator from the right column.
- When a User Control Account becomes apparent, hit the Yes button.
- On PowerShell window, copy the following command line and paste it beside blinking PS C:\WINDOWS\system32> –
Get-appxpackage -all *shellexperience* -packagetype bundle |% {add-appxpackage -register -disabledevelopmentmode ($_.installlocation + “\appxmetadata\appxbundlemanifest.xml”)}
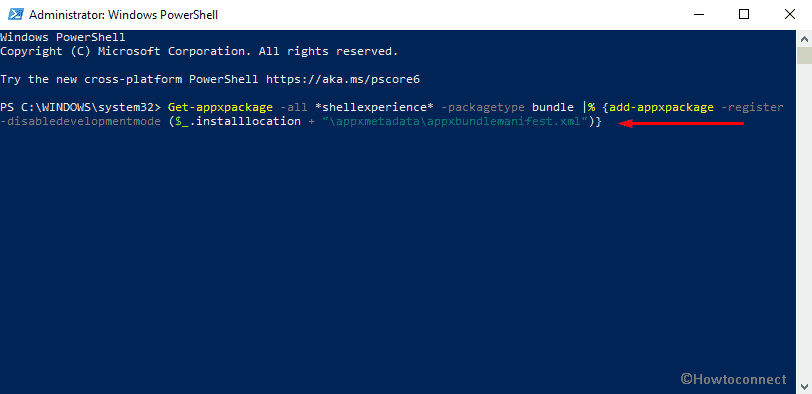
- Press Enter key.
- On completion, restart the PC.
7] Boot into the Safe mode
One of the most effortless ways to fix critical error start menu Windows 10 is entering into the Safe mode. For that, you need to go through the below steps –
- Open Run dialog box by pressing Win+R hotkey in one go.
- Type msconfig in the text bar and hit the Enter key.
- When System Configuration window comes into the sight, shift to its the Boot tab.
- Hover the cursor to Boot options area and check the box of Safe boot.
- When all the grayed out options become active, click the radio button assigned for Minimal.
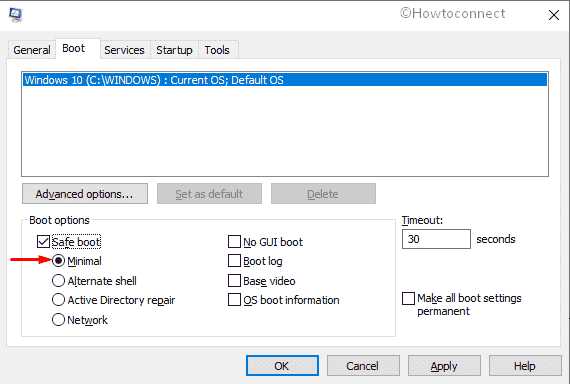
- Thereafter, click the Apply button followed by clicking OK to save the changes.
- Now, press Alt+f4 eventually choose Restart using the drop-down menu and hit the OK button.
- Once the system completes its first cycle of rebooting, continuously press F8 key until the next page comes up.
- On the forthcoming page, select the Safe Mode option.
- Boot into Safe Mode on the subsequent move.
8] Take out the battery for a while
Surprisingly, many people affected with Windows 10 critical error reported that only removing the battery from the device solved the problem. It might sound awkward but still, you can give it a try. If your laptop has a concealed battery, skip this method and move to the next one.
- At first, shut down Windows 10 PC.
- Next, unplug the power cable and then remove the battery.
- Wait for 5-10 minutes and after that power up the device.
9] Disable Internet Explorer
In order to fix this issue, you need to disable Internet Explorer and for that, follow these steps –
- Open Control Panel first and when it shows up, select Programs and Features from the available list.
- After being visible, click Turn Windows features on or off link from the left column.
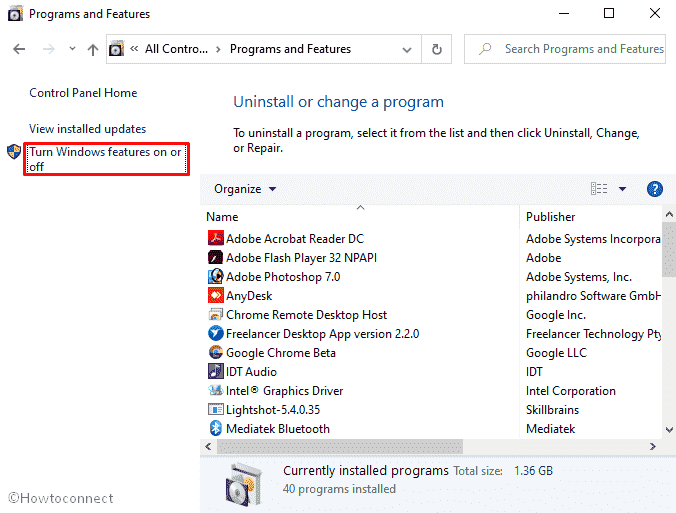
- A wizard will now come up named Windows Features, locate Internet Explorer 11 from there and uncheck the box located beside it.
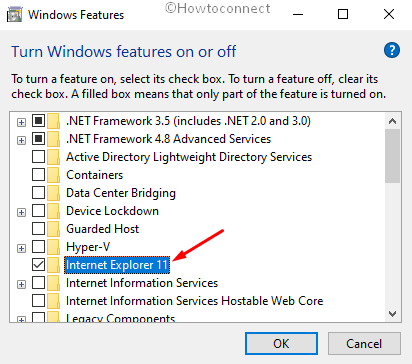
- A warning message will roll out, click Yes to continue.
- Lastly, restart your computer and check if critical error start menu Windows 10 is resolved.
10] Obliterate TileDataLayer directory
A substantial number of people reported that Start menu critical error turns up just after connecting Microsoft account with the local one. In such an instance, you need to switch to a different administrator account and then wipe out TileDataLayer directory.
- At first, enable Administrator account that you will use to sign in next time.
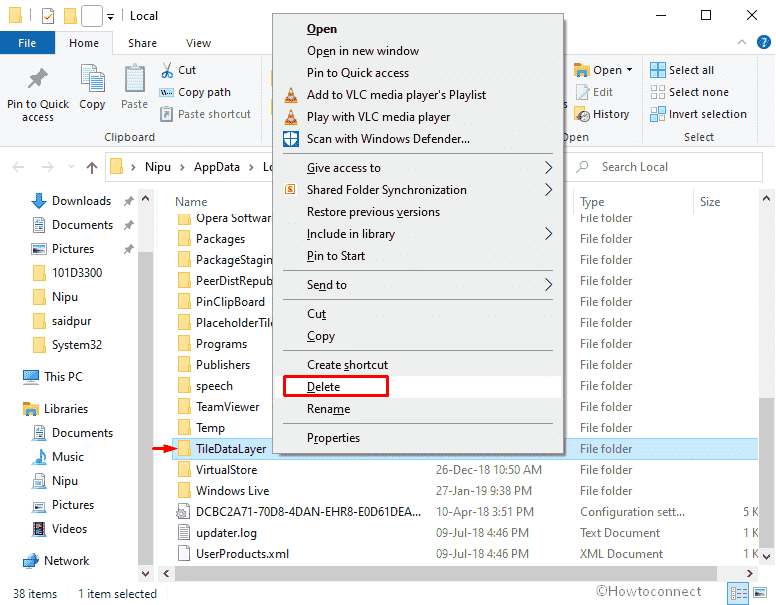
- Then, press Windows logo + R together and put %localappdata% in the empty text field.
- Click OK button to head over to Local folder.
- On the current page, look for TileDataLayer folder, right-click on the same once found and select Delete.
- Now, restart the PC and this time sign in with the administrative account you have enabled in previous steps.
11] Update Windows 10
Usually, Microsoft provides updates on a regular interval that includes fixes of reported issues. So, there is a high chance of getting rid of check critical error start menu Windows 10 if you install the latest update. Here is how –
- Open Windows Settings app by pressing Win & I keys at the same time.
- When it comes into the view, locate Update & Security and click on it.
- After the subsequent page loads, shift to right pane and make a click on Check for updates button even though you see You’re up to date.
- If the system gets any available patch, click the Download button to initiate the process of getting them.
- At what time the downloading ends, the installation will start automatically.
- Keep your eyes on the screen for further instructions and follow them accordingly.
12] Put an end of Local Security Authority Process
To settle down Start menu critical error, you need to end the process of Local Security Authority (lsass.exe). To do so, the built-in Task Manager will be handy in this regard.
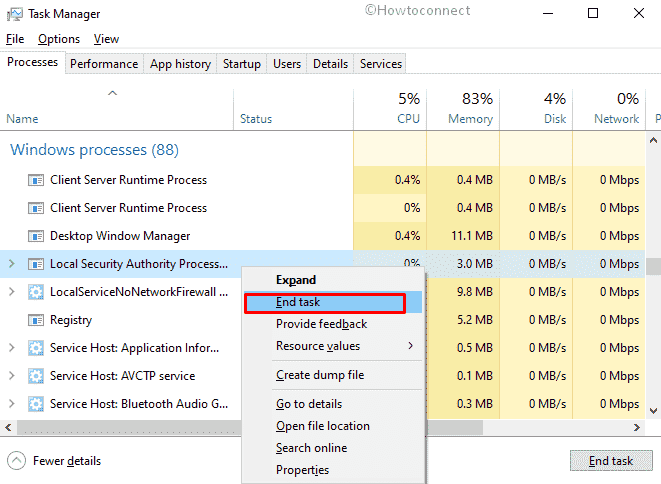
- Open Task Manager by pressing Ctrl + Shift + Esc.
- When it comes up with Processes tab opened, scroll down to locate Local Security Authority Process.
- Once found, right-click on it and choose End task.
- After that, close Task Manager and restart your computer. After powering up, check if critical error start menu Windows 10 still exists.
13] Perform a clean boot
Third-party programs often conflict with the function of Start menu and end up causing critical error. Therefore, performing a clean boot will be wise as it starts the computer with the necessary Microsoft apps only. By doing so, if you find out a third-party app is responsible for this, update the same or uninstall it to fix the issue permanently.
- Press Win+X and choose Run from the quick link menu.
- In its text bar, type control and click the OK button.
- When Control Panel becomes visible, set its View by option to small icons and choose Administrative Tools from the available options.
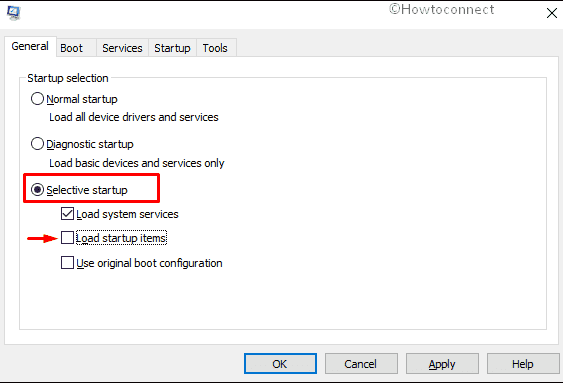
- On the upcoming page, locate System Configuration and double-clicking on the same.
- Next, click the radio button contrary to Selective startup and untick the box assigned for Load startup items.
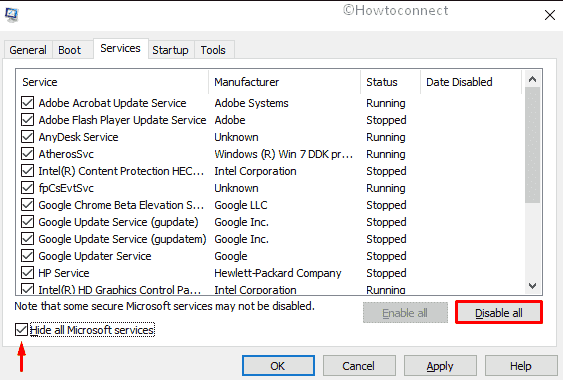
- Now, jump to Services tab. Select the checkbox associated with Hide all Microsoft services and hit Disable all button.
- Thereafter, move to the Startup tab and click Open Task Manager link.
- When it shows up with Startup tab revealed, right-click on each item listed here and choose Disable for all.
- After doing so, go back to the System Configuration wizard and click the Apply button followed by OK to implement the changes.
14] Revert back to error-free state of your operating system
If the above methods didn’t provide success for you, the last thing you can do is using system restore. This will help your Windows OS to get back the previous state when the PC was working fine. Here is the process you need to follow –
- Unfold Windows search by clicking on the icon located in Taskbar.
- Type rstrui in the field and hit Enter.
- When System Restore wizard manifests itself, click Next button from the bottom.
- On the consequent page, select the last restore point and again hit Next.
- Finally, click the Finish button to initiate the procedure of restoring Windows.
Methods:
1] Restart Windows 10
2] Run sfc/ scannow command line
3] Uninstall third-party antimalware
4] Create a new user account and switch to it
5] Run Start menu Troubleshooter
6] Re-install Start menu
7] Boot into the Safe mode
8] Take out the battery for a while
9] Disable Internet Explorer
10] Obliterate TileDataLayer directory
11] Make your Windows 10 updated
12] Put an end of Local Security Authority Process
13 Perform a clean boot
14] Revert back to error-free state of your operating system
That’s all!!