Many users are complaining about memory.dump related error messages in the Windows 10, 8.1 system. For a beginner user, it can be truly difficult to find out what is the main cause behind this issue inside the Windows 10, 8.1 version. On this page, we will be talking about how to fix memory.dump error on Windows 10, 8.1.

Memory.dump error on Windows 10, 8.1
Here, check out the following possible solutions or tips to fix and solve memory.dump errors on Windows 8.1
Turn on automatic update feature in Windows 10, 8.1
However, on Windows 10, by default automatic update but have you ever performed the process of automatic update on your Windows 10, 8 system? Actually, the wrong update process is the primary cause to come across the memory.dump error. To fix this issue, you need to turn on the automatic update feature forever on a windows 8.1 system.
Manual update to system driver
Manually update all the installed system drivers like video, USB, and audio to its latest version using the internet. Often outdated system drivers are the causes behind memory.dump error. To fix memory.dump error on windows 10, 8.1 system,
- Go to Device Manager and right click on the opted driver (for example – video driver) which you want to update.
- Next, select Update Driver Software option from the right context menu panel.
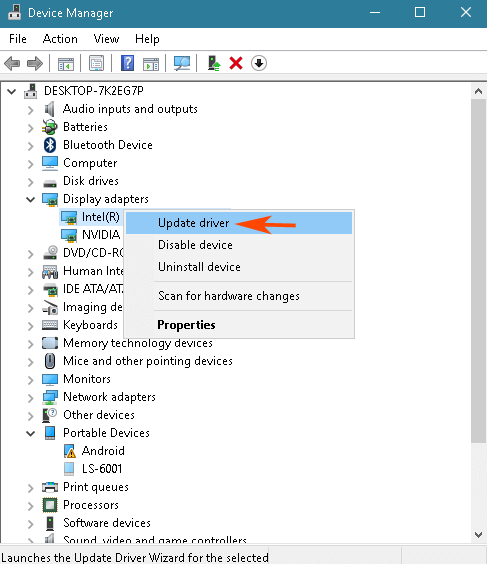
- Next, click on Search for automatically updated driver software link.
- Now it will try to search the latest driver software and install it to your windows 10, 8.1 system.
Besides, you can download and install of latest chipsets drivers from the manufacturer’s website.
Flash BIOS chips
Flash outdated BIOS version to the latest version. The BIOS flashing related all updates information available at your motherboard manufacturer’s website or BIOS chips manufacturer company’s website.
Scan corrupted system files and repair
Run System File Checker command to track all the corrupted system files and repair it. To do it,
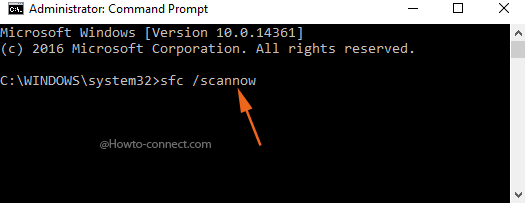
- Launch command prompt with Admin privilege by pressing the shortcut (Win + X) and click on Command Prompt (Admin) option.
- In Command prompt window, type Sfc /scannow command and press enter button. This command will start a scan process of system files and restore the corrupted system files immediately. In addition, it can also fix other issues of your windows 10, 8.1 system.
Disable Fast Startup Feature
Hybrid Shutdown or Fast startup feature has been added in Windows 8 for a quicker startup in Windows 10, 8. But the number of people has complained about Hybrid shutdown included several issues on window 8 because both features are responsible for creating memory.dump errors on the windows 10 8 system. To disable the Hybrid shutdown feature on windows 10, 8.1 version,
- Go to Power options from the control panel.
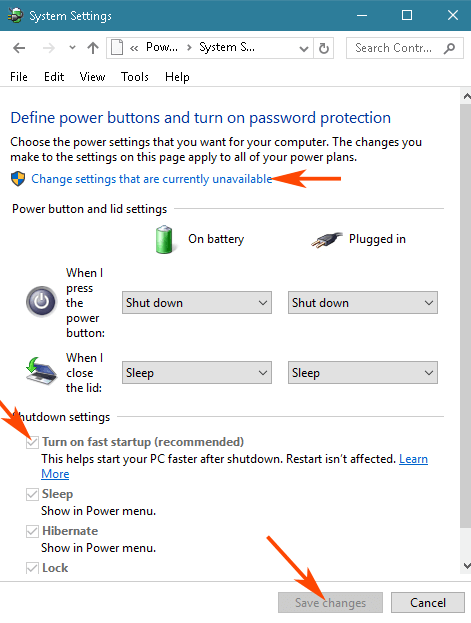
- In the right section of the currently visible Window, select “Choose what the power button does” option.
- Subsequently, on the appearing System settings window, press the link indicating “Change settings that are currently unavailable”
- Next, look for Turn on fast startup (recommended) option under Shutdown settings sections and uncheck this option.
Conclusion
Perform a deep scan for removing bad sectors, other memory errors from hard disk using hard disk utility tools. If same issues are found again and no other ways assist in killing this error then finally delete all hard disk partitions and fresh install of Windows 10, 8.1 with bootable DVD.