BSOD errors are common particularly for Windows 10 running devices and occur during several circumstances. One such annoying and hard to interpret is SYSTEM EXIT OWNED MUTEX. The stop code is further accompanied by a bug check value of 0x00000039 which Microsoft comprehends that the worker routine returned without releasing the mutex object that it owned. Though the giant software tries to simplify it by decoding it but for common users, it is hard to understand.
Various unwanted and unknown events take place in the operating system that makes the Blue Screen of Death happen. These errors reboot the PC in loops without any possibilities to log in, causing a system failure. So in this article, I would try to decipher all the causes and applicable workarounds to get rid of this BSOD.
SYSTEM EXIT OWNED MUTEX
Here is how to fix SYSTEM EXIT OWNED MUTEX BSOD error Windows 10 –
1] Check for Windows Update
You all know that Microsoft releases updates quite frequently which offers several new features, fixes for bugs and issues, and some changes as well. But when you don’t keep your operating system up to date, you are likely to encounter various issues. When the system goes out of date, it fails to deal with certain situations and as a result, you may receive SYSTEM EXIT OWNED MUTEX error. So, the applicable solution is to check for updates and install the same if there are any.
- Press Win+I to access the Settings app. Navigate to Update & security.
- Select Windows Update on the left sidebar.
- In the right, click Check for updates.
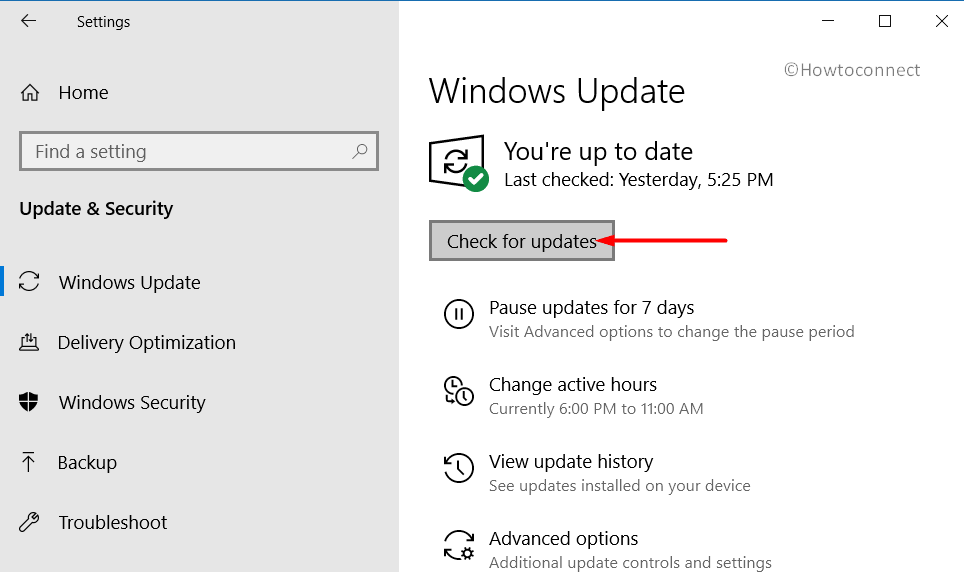
- Click Download once the updates are available. If they require a reboot, do the same to successfully install the updates.
2] Reinstall Audio Driver to Fix SYSTEM EXIT OWNED MUTEX
In several forums, people helped by pointing that reinstalling the audio drivers worked for them. Instead of simply updating the driver, you need to first remove it. Audio drivers have also been one of the reasons for BSOD and SYSTEM EXIT OWNED MUTEX is no exception. So let us see how to deploy this simple yet effective workaround –
- Open Run dialog box by using the key combination “Win logo+R”.
- Insert the command devmgmt.msc and click OK.
- In the Device Manager console, expand Audio inputs and outputs.
- Right-click on the devices listed one by one and select the Uninstall device.
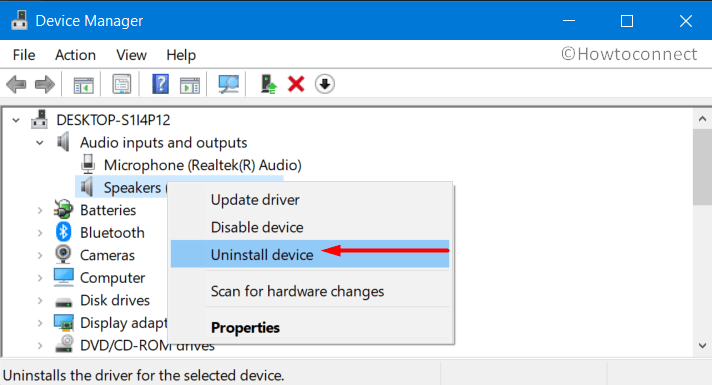
- Choose the box Delete the driver software for this device, click OK.
- Once you remove the driver, reboot the PC.
- Upon startup, the error will be fixed and with no sound problems, you can continue with the default drivers.
3] Repair Corrupted System Files
System files are the core components of an OS and when they go missing, get broken, or goes faulty then you are likely to encounter BSOD issues. These complications can occur when there occurs a major change in the system which is not compatible with the normal functioning of the PC. In such cases, running the built-in command-line tool will help you to retrieve those missing files. System File Checker was specifically designed to deal with these situations and this is how you can deploy it –
- Type cmd.exe on the taskbar search. Hover over Command Prompt and click “Run as administrator”.
- Click Yes on the UAC popup.
- In the elevated Command Prompt window, insert the following and hit Enter.
- The scan would take a little longer time, so wait until it gets over. For better results, reboot the computer and see for the error.
4] Disconnect Non-essential External Peripherals
One of the common cause of a BSOD has always been external devices. Sometimes a conflict occurs within the system when unwanted external devices (like printers, scanners) are connected to the PC. So remove the unnecessary devices and only keep the ones that you are using such as mouse and keyboard. After you unplug them, check for the error SYSTEM EXIT OWNED MUTEX.
5] Disable Unwanted Services and Startup Programs
Many background apps are there that start with Windows and whose impacts on the system is pretty high. You can simply Disable Unwanted Startup Programs if you don’t prefer to function them just after the boot. Performing a clean boot would help you in this regard. It would stop all the unwanted services and gives you the ability to turn off the startup programs as well. So with a minimum set of applications, the device will boot and if SYSTEM EXIT OWNED MUTEX error does not show up, then it is the background programs that are creating the mess.
- Right-click on Start and choose Run. Type in msconfig and click OK.
- Deselect “Load startup items” checkbox and shift to the Services tab.
- Here, choose the box “Hide all Microsoft services” and hit the Disable all button.
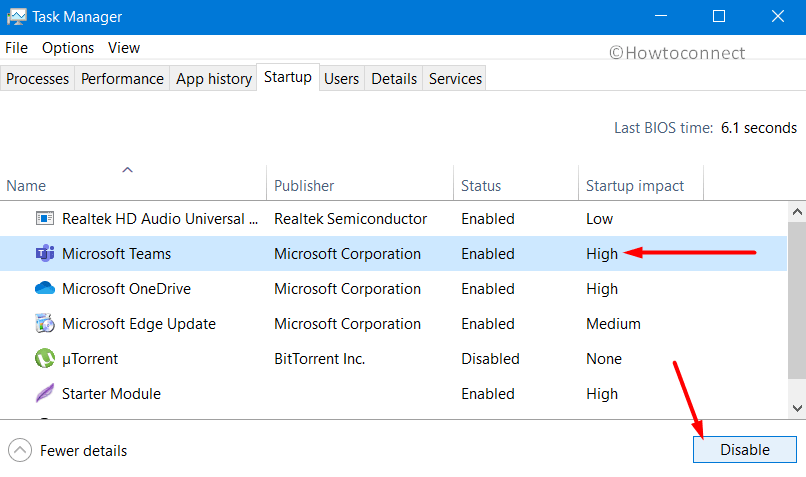
- Move to the Startup tab and click the link reading Open Task Manager.
- Go through the list of background apps and their startup impact on the computer. Select the app and click Disable.
- Again go back to the System Configuration window, click Apply and OK. For effective outcomes, restart the device.
6] Conduct a Full PC Scan
Malware or virus attacks are common and completely damage the integrity of the system. Though there are several 3rd party antivirus solutions are there but Windows Security is enough to deal with them. Powered by Microsoft, this built-in security tool is well designed to perform various scans. Some threats are deeply hidden in the system and it can only be traced out during a full scan. The normal scans cannot penetrate into the core system files which eventually lets the virus stay in the PC. So using Windows Security, you need to conduct a full PC scan that would dig out all the suspicious activities happening inside the computer. This is how you will proceed further –
- Go to the system tray, locate the shield icon and do a click on it.
- Select the Virus & threat protection category.
- In the right, click Scan options.
- Choose a Full scan. Click the Scan now button.
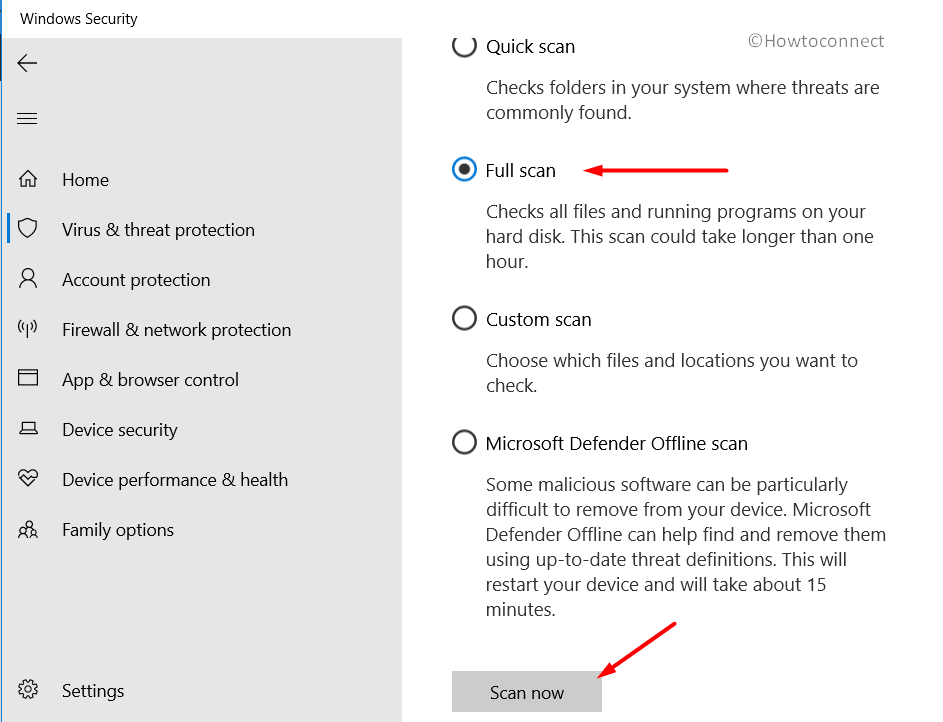
- As it scans every corner of the computer, it would take a little longer time to finish. After completion, if any danger is traced out, click Clean threats.
7] Blue Screen Troubleshooter
Microsoft provides a troubleshooting tool in the Settings app that queries the event messages. It detects them since last week and interprets the bug check codes as well. Furthermore, it tries to find out whether the issue was caused by faulty hardware, memory failure, virus, device drivers, or Windows Services. Depending on the scanning, it tries to fix it right away.
Note – This built-in tool is not available on the devices running Windows 10 v1809 or higher.
For those who are using the latest version can use Microsoft Online Blue Screen Troubleshooter. It is a walkthrough process by a simple wizard on the screen.
However, to access and use the Blue Screen Troubleshooter, do the following –
- Open Windows Settings using the key combo “Win logo+I”.
- Click Update & Security.
- Select Troubleshoot.
- In the right, locate and choose Blue screen.
- Click Run the troubleshooter button.
- Once the scan gets over, check for the SYSTEM EXIT OWNED MUTEX error.
8] Run the DISM Tool to Fix SYSTEM EXIT OWNED MUTEX
Many times, a corrupt, broken, or faulty Windows image files create a severe mess in the operating system. It creates several issues and BSOD errors like SYSTEM EXIT OWNED MUTEX are one of them. Thankfully, to deal with such situations, you can run the DISM tool that is specifically designed to settle these types of problems. This is how you can proceed further –
- Get access to Run, type cmd. Now, press “Ctrl+Shift+Enter” keys in one go to directly Open Command Prompt as Admin From Run Dialog.
- If the User Account Control prompts up for permission, click Yes.
- In the black window, insert the below command-lines one after another and hit Enter to continue.
Dism /Online /Cleanup-Image /CheckHealth
Dism /Online /Cleanup-Image /ScanHealth
Dism /Online /Cleanup-Image /RestoreHealth
- Once all the above three scans are over, check for the error.
9] Ensure to Have Enough Disk Space
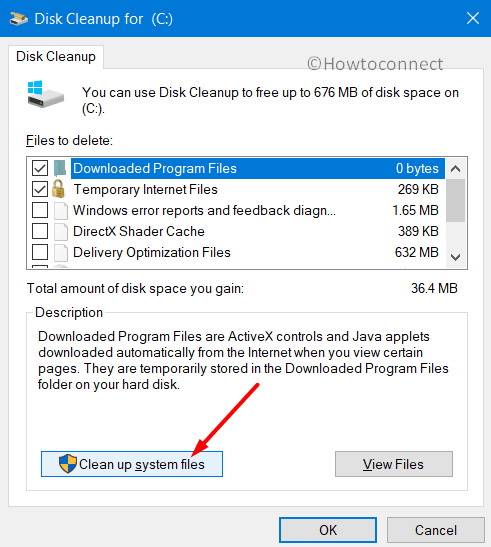
Low disk space can make the device run slow and welcomes several issues as well. If the disk drive where Windows is installed is accumulated with junk in the form of temporary files, browser cache, unwanted downloaded items, and more. As these are unnecessary items, you need to remove them quite regularly. Once they get piled up, the system encounters BSOD errors such as SYSTEM EXIT OWNED MUTEX. So use the Disk Cleanup tool and see how much space you can retrieve from the disk drive.
- Type cleanmgr on the taskbar search. Select Disk Cleanup from the result.
- Click the drop-down and choose the system drive. Click OK.
- Hit Clean up system files.
- Again select the same disk drive and click OK.
- Choose all the checkboxes and click OK to start cleaning.
- After making enough space in the disk drive, reboot the PC and see for the error.
Note – Before you wipe out the Downloads folder and Recycle Bin, keep the necessary items into another safe location.
10] Resolve SYSTEM EXIT OWNED MUTEX by Doing a Memory Check
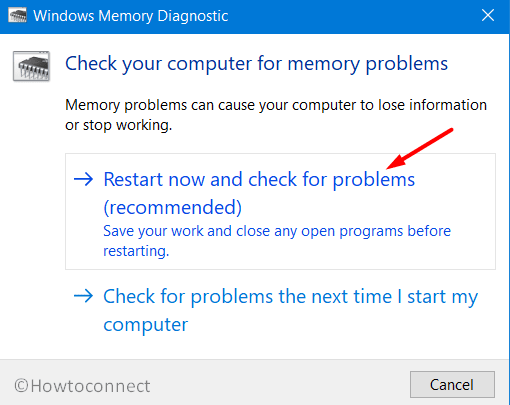
Bad memory modules is always a common cause of BSOD errors like SYSTEM EXIT OWNED MUTEX. As you are not aware of the actual problem, you need to conduct a memory test. This would tell you the real cause and depend on the result, you can take necessary action. Go through the below steps and perform this test –
- Click the search icon on the taskbar and type memory.
- Select Windows Memory Diagnostic.
- Once the tool shows up, click “Restart now and check for problems (recommended)“.
- The device will reboot and the tool will start querying the RAM issues.
- Upon completion of the scan, the system tray will display you the result for you to take the required actions.
11] Uninstall 3rd Party Antimalware Tools
The installation of antimalware utilities that are not powered by Microsoft creates conflicts with the default settings. Though the giant software states that most of the 3rd party tools are compatible to function in Windows 10, but users are reporting issues with the same. The affected people are suggesting that the removal of such applications from the system made everything works perfectly. So if you are using any antivirus tools that require a separate installation, then you need to get rid of it immediately.
- Right-click on the Start icon and click Apps and Features from the Win+X menu.
- In the right of the consequent page, locate and select the 3rd party antivirus.
- Click Uninstall.
- If a popup appears for the confirmation, continue with the removal. Ensure to delete all the settings, including its registry entries as well.
- Upon deletion, restart Windows 10 PC and check for SYSTEM EXIT OWNED MUTEX error.
12] Check Hard Disk for Issues
BSOD errors like SYSTEM EXIT OWNED MUTEX are likely to occur when the hard drive has bad areas in it. To know whether the hard drive is in bad condition or not, run a diagnostic tool and is this how you would proceed further –
- Get access to the Settings app followed by a hit on Update & Security.
- Select Recovery in the left sidebar.
- On the right, go to Advanced startup. Click Restart now button.
- Choose Troubleshoot => Advanced Options.
- Select Command Prompt.
- Insert the following command lines and hit Enter after each line to run them.
bootrec.exe /rebuildbcd
bootrec.exe /fixmbr
bootrec.exe /fixboot
- Once you run the above commands, execute an additional chkdsk commands as well. But to utilize this tool, you need to know the drive letter for the hard drive partitions. Insert the following command and press Enter to run it.
chkdsk C: /f /r /x
- Reboot the device and see for the BSOD.
13] Get Rid of Faulty Windows Update Files
The updates that Microsoft releases for the Fast ring contains several bugs and issues. When such buggy update files are there in the system, SYSTEM EXIT OWNED MUTEX BSOD may occur. Though Microsoft tries to solve the problems in their upcoming releases, in case the issue is severe you can remove those files right away. To delete those faulty files, go through the below sequence of steps –
- Press the Windows key and click the cog icon.
- In the Settings interface, select Update & Security.
- Click “View update history” in the right pane.
- Select Uninstall updates link.
- Choose the latest installed update and click Uninstall in the top ribbon.
- Confirm the removal process. Restart the device and see the error code.
14] Remove Programs with same Functionality
At times, in order to Personalize Windows 10, you use several applications. However, in many cases, certain settings are common between these programs. As a result, they create conflicts and stop functioning which further leads to BSOD errors. Therefore, another possible and applicable workaround would be to delete those apps from the system. While uninstalling them ensure to remove their settings and registry entries as well. Proceed with the below steps –
- Launch Settings app by using the keyboard shortcut “Win+I”.
- Choose Apps.
- In the right pane, scroll and find out the applications with similar functions.
- Select them one after another and click Uninstall.
- Go through its uninstallation guidelines and carry them out carefully.
- Upon removal, reboot the device for effective results.
15] Get Things Back to Normal using System Restore
Even after trying out so many tweaks the system fails to get free from SYSTEM EXIT OWNED MUTEX, then simply take it back to the state when everything was functioning properly. System Restore is one such feature that gives you the ability to take back the PC when it was running error-free. To proceed further, explore the below steps –
Note – But to avail the feature, you should have already created a restore point.
- Type the command rstrui in the taskbar search box. Hit Enter.
- This will launch the System Restore wizard on the screen, click Next.
- Choose the last restore point, hit Next.
- Click Finish and the tool will start the reverting procedure.
Methods:
1] Check for Windows Update
2] Reinstall Audio Driver
3] Repair Corrupted System Files
4] Disconnect Non-essential External Peripherals
5] Disable Unwanted Services and Startup Programs
6] Conduct a Full PC Scan
7] Blue Screen Troubleshooter
8] Run the DISM Tool
9] Ensure to Have Enough Disk Space
10] Do a Memory Check
11] Uninstall 3rd Party Antimalware Tools
12] Check Hard Disk for Issues
13] Get Rid of Faulty Windows Update Files
14] Remove Programs with same Functionality
15] Get Things Back to Normal using System Restore
That’s all!!