Does Volume Changes Automatically in Windows 10 annoys you while listening to music or watching YouTube? This is the common issue experienced by various users specifically after version 1803. When you run an audio or video file the sound unexpectedly goes to maximum. Sometimes, the same may be lower without any reason.
Volume Changes Automatically in Windows 10 1803 occurs because of incorrect driver issue. But many times, misconfiguration of Sound settings are also responsible for creating mess up. Buggy 3rd party software to control the audio is also an important factor of this problem. Let’s follow what actually impacts on your system and how to fix –
Volume Changes Automatically in Windows 10 1803 Version solutions
Here is how to fix Volume Changes Automatically in Windows 10 1803 V 2018 –
Fix-1: Preliminary Checks
If you have recently experienced that the volume of your system automatically gets increased or decreased after upgrading your Windows 10, first try out some preliminary things. This might be able to fix this bug alone.
- At first, check Speakers as well as Headphone’s wire. The issue might occur because of loose cable or wrong jack port.
- Look out for Power and Volume level and see whether everything is in proper order. Also, check additional devices because some speakers have their own volume controls.
- Unplug your speaker and check after connecting using another port.
Fix-2: Run the Audio troubleshooter
If automatically volume changing issue is still there, try to Run Audio troubleshooter. Windows 10 provides powerful fixing applications that are also easy to use. The tool checks common settings of the sound card, speakers, and headphones and recommends changing on your preference.
Step-1: Click on the taskbar Search box and type Troubleshoot and just hit Enter.
Step-2: Once Troubleshoot setting page appears, go to the right pane. Click on Playing Audio and then select “Run troubleshooter”.
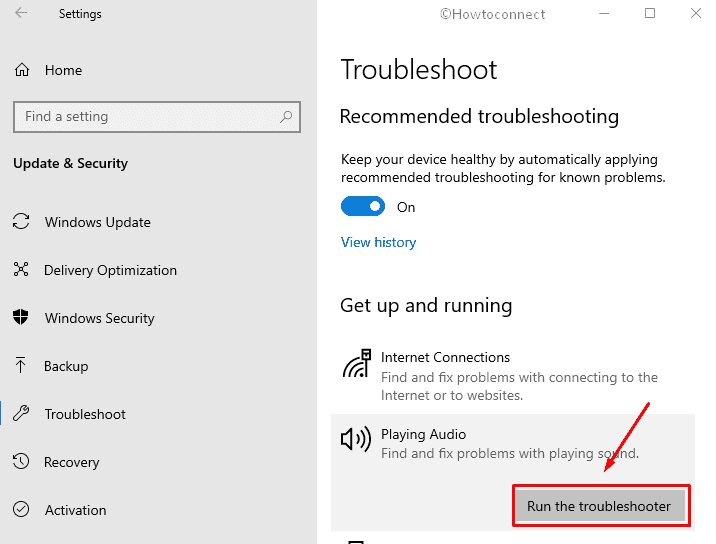
Step-3: The tool will start detecting problems immediately. Now follow the onscreen instructions; it will find the fault and display options suitable for you.
Fix-3: Roll back Sound Driver
You keep your drivers updated to run everything smoothly and have your system intact. In some conditions, the new version of the program might not be compatible and create issues. So you need to roll back to solve Volume Changes Automatically –
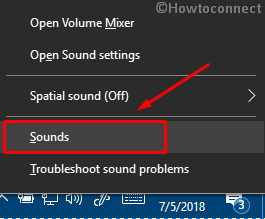
Do a right click on the Speaker icon from the far right on the taskbar and select Sound.
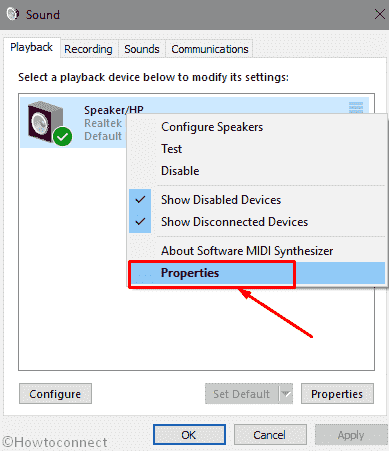
Here click on Playback tab. Now right click on speakers and choose Properties.
Check whether you are under the General tab. If yes, then again hit Properties in the controller information section.

After getting a new window, here press Driver tab. At last, click Roll Back Driver option.
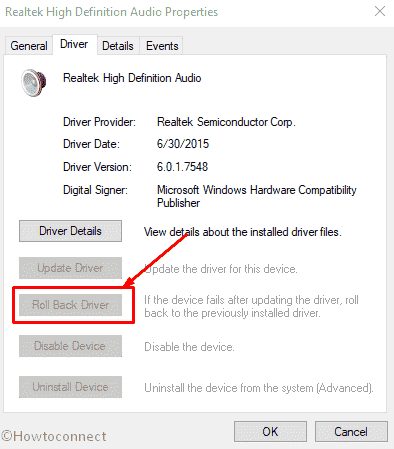
Note: If you find Roll Back option grayed out then your system has slander sound driver. In this condition, you should locate the most recent audio driver on the manufacturer web page and install.
Fix-4: Disable Sound Effects
Disabling the sound effect is yet another solution to fix Volume Changes Automatically in Windows 10 1803. You need to follow the instruction in this case –
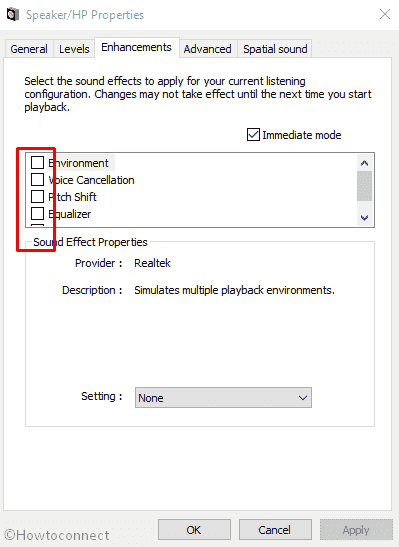
As you have opened Sound settings in the previous method, here right click on Speakers (enabled device) and choose Properties.
Select Enhancements tab and Unmark all the options in the box and click on Apply then OK.
Fix-5: Try different Audio Formats
If the error Volume changes automatically in Windows 10 is continually disturbing you, then you can try a different audio format. To fix it follow the discussed steps –
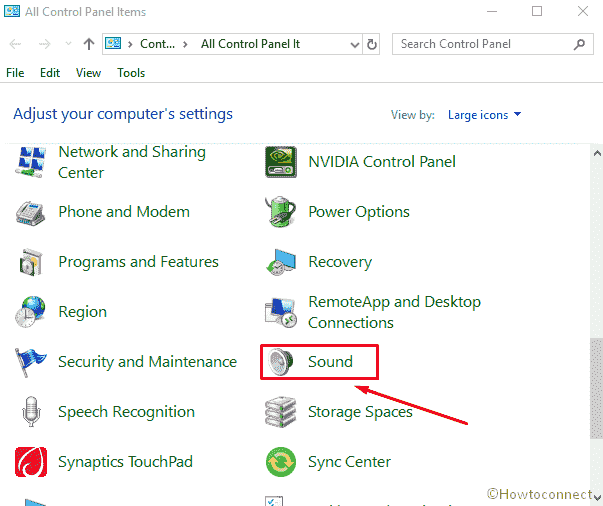
Go to Control Panel and click on Sound.
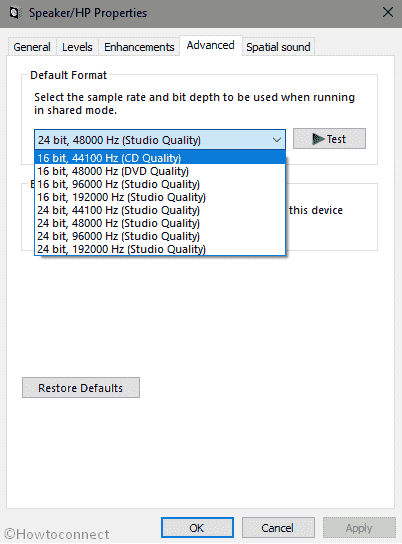
On the subsequent Sound wizard, make a right-click on the Default device (which is enabled) and select Properties.
Switch to the Advanced tab. In the Default Format section, check another “Format” from the drop-down that fits your need.
Fix-6: Update sound driver
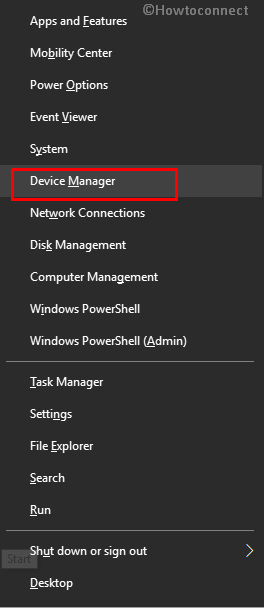
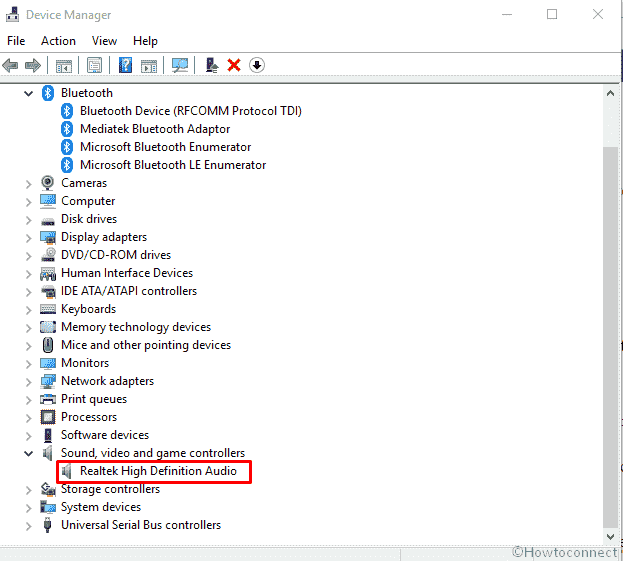
Press Win+X keys together using the keyboard and click on Device Manager.
Now perform a click on the tiny arrow prior to “Sound, video, and game controllers” in the list to expand.
Locate the device running on your system and double click on this one.
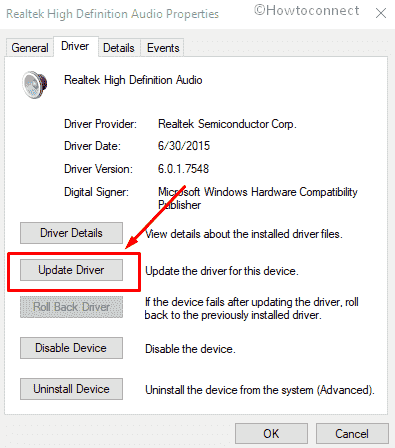
Shift to “Driver” tab and select “Update Driver”.
On the succeeding pop up, pick the option Search automatically for updated driver software.
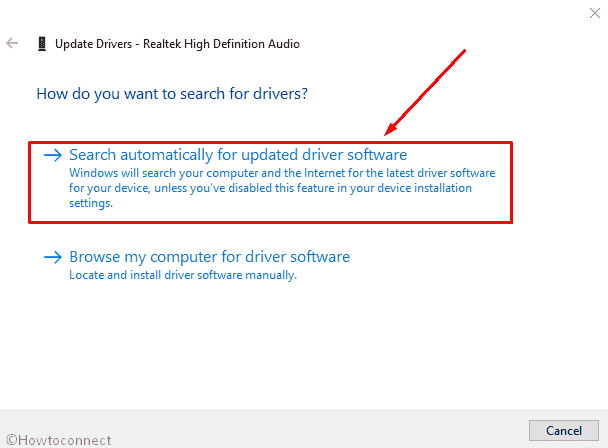
Wait for few moments until you get a message for the completion.
Fix-7: Uninstall and Reinstall driver
If the previous workaround fails to rectify the volume issue then you must attempt to uninstall and Reinstall sound driver.
Click Start from the left end of the taskbar, type devmgmt.msc and then hit Enter.
Make a right click on the item underneath “Sound, video, and game controllers” and choose “Uninstall device”.
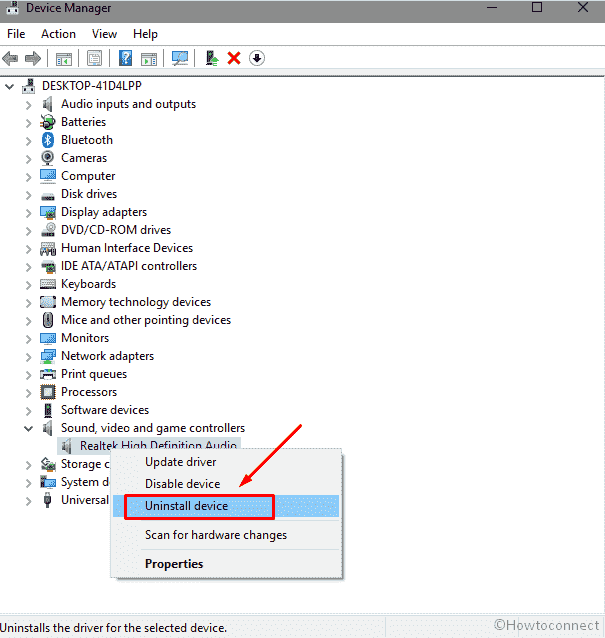
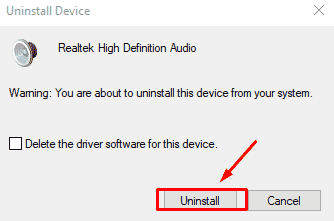
When you get a confirmation pop up saying “You are about to uninstall device from your system” select Uninstall. Remember that you have to leave the box Delete the driver software of this device unchecked.
Once you have done, reboot Windows and verify whether the volume is alright now.
Fix-8: Set Default Audio Device from USB or HDMI
Open Run dialog by pressing Win + R, type %windir%\system32\mmsys.cpl and hit Enter.
Right click on the Speaker active on your system and select Set as default.
Fix-9: Uninstall Sound Controlling 3rd party software
3rd party programs have their own configurations and settings that might create conflict with the built-in applications. Most of all, these type of software are buggy that can cause volume changing automatically problem on Windows 10. So remove them using the following method –
Press Win&I and select Apps on Windows Settings.
Go to the right side and locate if a sound controlling software exists in the list.
Click on the item and then on Uninstall from detail pane.
Follow the onscreen guidelines to complete the uninstallation.
You can read – How to Uninstall Software From Windows 10 After Creators Update.
Hope the article helped you in fixing Volume Changes Automatically in Windows 10 1803 V 2018.