Windows 10 features PIN as an alternative sign-in method to simplify accessing the desktop. This also provides the advantage of additional security features such as Windows Hello, the iris reader, and fingerprint scanner. With this newly added attribute, you are able to enter a personal identification number, trace a pattern of gestures on a picture or often use your face in some specific devices to unlock the device. Sadly, while adding the same, Window 10 shows up an error message stating – We weren’t able to set up your pin. Mostly, it happens due to incorrect permissions set applied to a hidden system folder named NGC moreover other reasons might be responsible too. Therefore, you need to know how you can get rid of that and for your convenient methods are as followed.
We weren’t able to set up your pin
Here is how to fix We weren’t able to set up your pin –
1] Remove all contents of NGC folder and recreate it
NGC folder holds PIN related files and when they get corrupted somehow, the option shows abnormal behavior. Furthermore, there might be a possibility that the folder went missing and now it doesn’t allow to set up PIN. In both cases, go through the below steps –
- Press Win+R and copy-paste the following path in the dialog box –
C:\Windows\ServiceProfiles\LocalService\AppData\Local\Microsoft\
- Press enter.
- If the system fails to locate the path, you may need to show hidden file and folder.
- For this, Navigate C:\Windows\ServiceProfiles\LocalService location first. Thereafter click on View from the menu bar then check the box for Hidden items. Browse Appdata and other folders finally reach the Microsoft folder. You may get dialogs in each of the folders; select Continue every time.
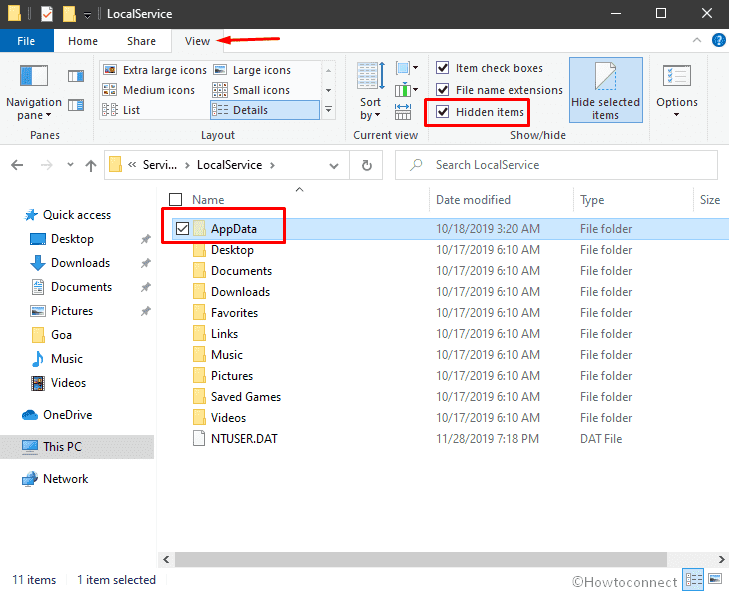
- After accessing the directory, look for NGC folder.
- Once found, right-click on the same and choose Delete.
- If you come across an error message regarding insufficient permissions, you’ll need to take ownership of the folder first and then attempt to delete it.
- After doing so, press Ctrl+Shift+N to create a new folder in that same location and name it NGC.
- Now try to set a PIN.
2] Check Group Policy Editor
Disabled for PIN also leads to throwing – We weren’t able to set up your pin error message. Hence, check it first and enable the same if needed –
- Click on taskbar search and write gpedit.msc.
- Once you see the result, hit Enter.
- Head over to Computer Configuration => Administrative Templates => System => Logon.
- In the right side pane, look for Turn on convenience PIN Sign-in and double-click on the same.
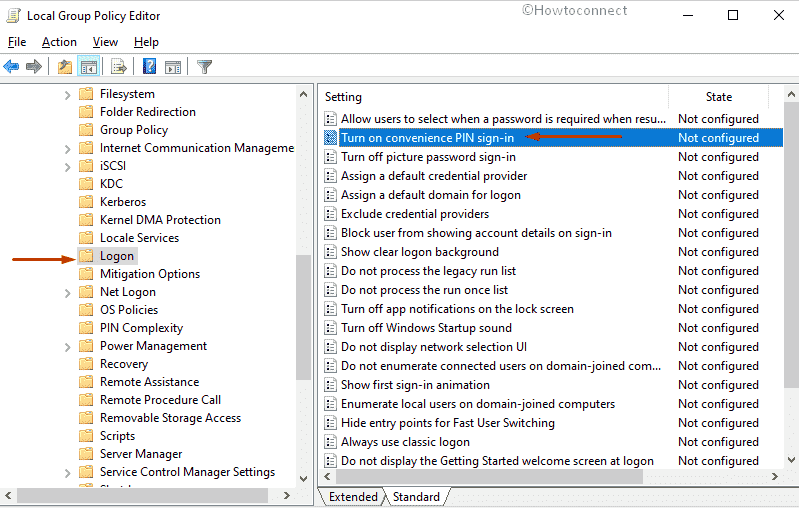
- Lastly, set the radio button to Enabled thereafter click Apply followed by OK.
3] Empty TPM
Several users informed that clearing TPM solved We weren’t able to set up your pin error. Though we can’t give a guarantee, you should give it a try if nothing works.
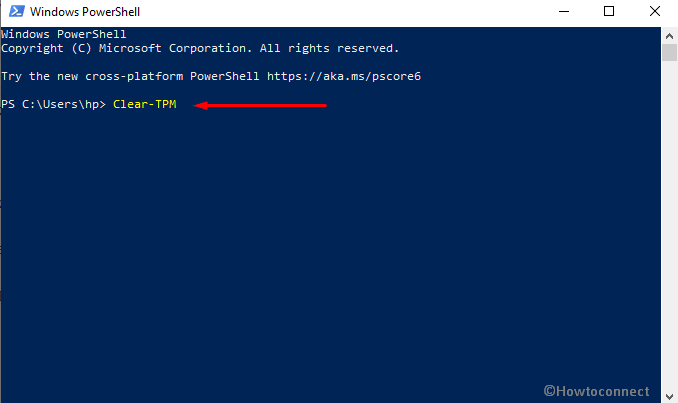
- Right-click on the Start icon and choose Windows PowerShell (Admin) from the list.
- Click Yes for the UAC that comes up for your consent.
- Once, PowerShell becomes ready to execute the command, type the bellow line and hit Enter –
Clear-TPM
Methods:
1] Remove all contents of NGC folder and recreate it
2] Check Group Policy Editor
3] Empty TPM
That’s all!!