Procedures with Steps to Quick and Online Repair Microsoft Office 365 in Windows 10. – If you are facing troubles with Office 365 and need to overhaul it a tool is available. The method is quite easy because the tool resides Apps & features area of settings program and allows to directly repair Office 365. You can follow an additional way to troubleshoot the same application using Support and Recovery Assistant
The tool offers two kinds of repairing – Quick and Online. Quick repair works without internet access and fixes almost all kinds of errors. Whereas Online repair downloads and runs the installation file so requires network connectivity. If you experience issues in either program such as Word, Excel, OneNote, etc of Office 365 you can solve by running this utility pretty simply.
Repair Microsoft Office 365 in Windows 10
In this guide, we will view both ways to fix the application. At first the method to Quick and later Online.
Open Office 365 Tool
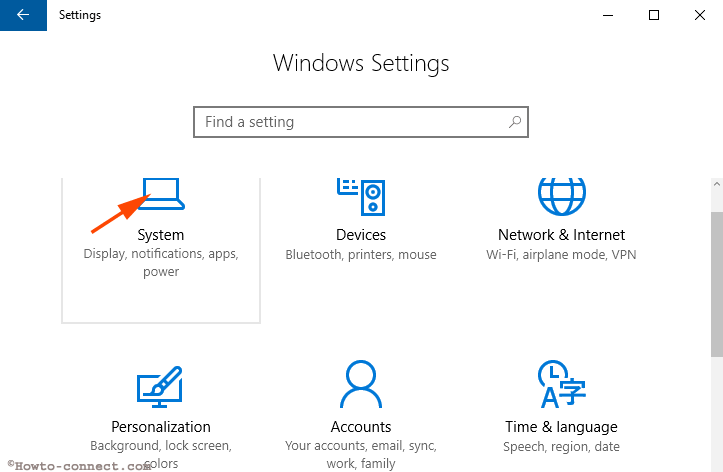
Step 1 – Click Win+I and select System on the Settings program.
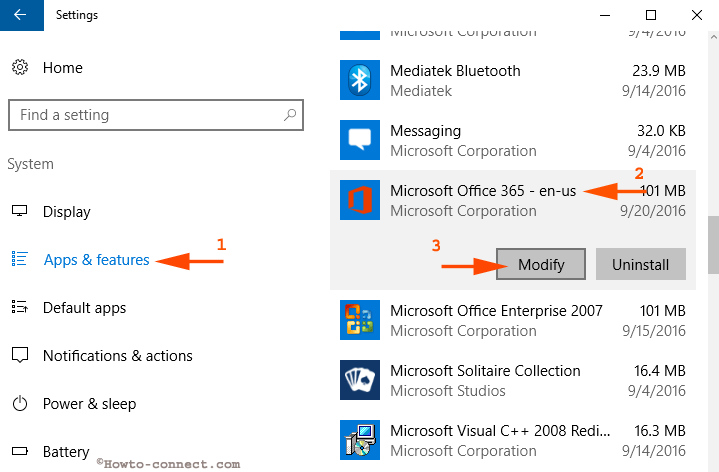
Step 2 – click Apps & features located in the left section.
Step 3 – Find Microsoft Office 365 in the right pane of System Settings from the list of programs installed from either Store or third party websites. Click on it.
Step 4 – It reveals an option Modify below its name, click it.
Step 5 – As soon as you click the Modify button, UAC Pop up comes out, select Yes here.
Select Quick Repair
This method fixes almost all the issues occurring in Office 365 install.
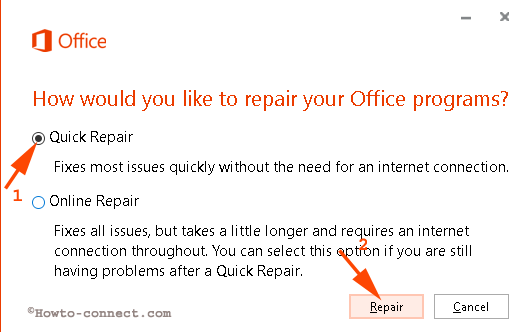
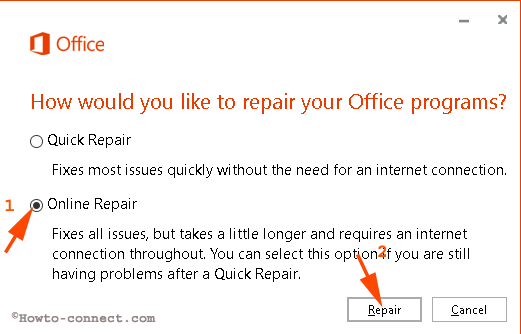
Step 1 – A pop appears where you need to select the mode, so, click on the round circle before Quick repair and then on Repair.
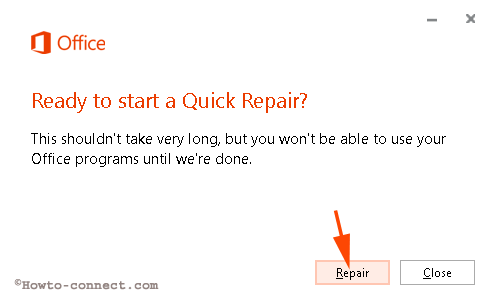
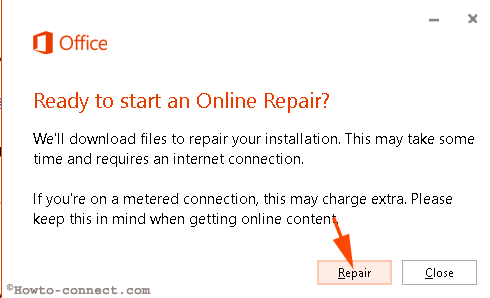
Step 2 – In the next pop up, click Repair.
Step 3 – This will take after a short time in minutes.
Select Online Repair
This method installs a new Office 365 and so fixes any critical issue.
Step 1 – Check the circle before Online Repair and click on Repair option.
Step 2 – On the coming pop-up, select Repair option.
Step 3 – This will take a quite bit longer time rather than a quick procedure, so keep patience. The time taken by the Office 365 tool will depend on the internet speed and it will lie between minutes and hours.
Step 4 – Once the fixing process ends, you get a message – “The Office is installed now”.
This method reinstalls the application as it needs to activate your copy after the completion. We suggest the Online process only if an issue stays even after trying the Quick one.
Step 5 – After completion, launch any program, for example, Excel, type the email id with which you purchased the subscription. In case, you occupy a product key, write the same in the given space by clicking Enter a product key instead link.
One more Way to Open Office 365 Tool
Earlier the utility could be opened via the Program and features section.
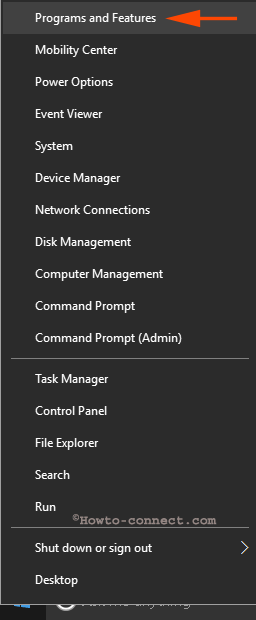
Step 1 – Click the power menu shortcut combination Win+X.
Step 2 – Select Program and features from the list of options.
Step 3 – Finally, Right click on Microsoft office 365 and select Change.

Conclusion
The methods to Quick and Online Repair Microsoft Office 365 in Windows 10 are quite simple. In recent days, subscribers continuously complaining about the problems on different forums. So, this tool will be a solution for them. Hope this will help to mend the installation files of the application.