ODBC is basically a protocol generally used for connecting Microsoft Access Database with another outbound source like Microsoft SQL server. Open Database Connectivity (in short ODBC) is a driver permitting applications to access data from DBMS (Database Management Systems) with the help of SQL. So in this write-up today, we will show you a few most effective methods to start ODBC Data Sources in Windows 11 or 10.
Maximum number of interoperability is permissible by ODBC which eventually proves that; one program can retrieve various DBMS. It’s a significant Windows component and you may need to use it in order to create along with managing the ODBC data source.
Start ODBC Data Sources
Here is How to Start ODBC Data Sources in Windows 11 or 10 –
1] Use taskbar search
- Click the search icon located in the taskbar.
- Type odbc in the text bar.
- When ODBC Data Sources app for both 64-bit and 32-bit shows up in search result, click preferred one to launch.
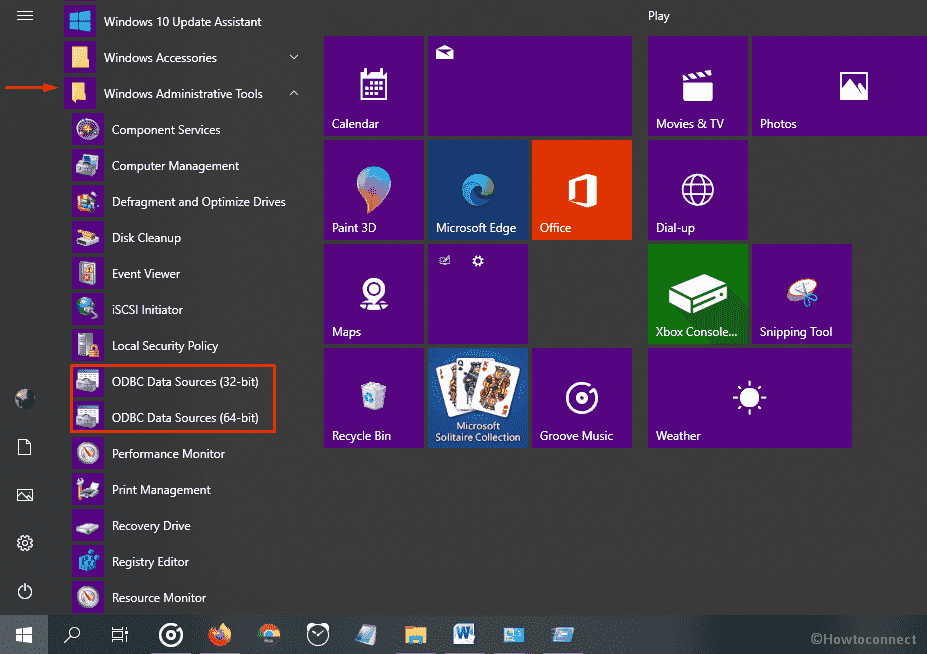
2] Start ODBC Data Sources through Start menu
- Press Windows key to invoke the Start menu.
- Reach to Windows Administrative Tools by approaching alphabetically.
- Expand the same folder.
- From available ODBC Data Source (32-bit) and ODBC Data Source (64-bit), opt for the desired one.
3] Take help of Run dialog box
- Press Win+R at one go to directly open Run dialog box.
- Insert odbcad32 in the command box and click OK button.
Note – Whether your Windows 11 or 10 device runs 64-bit or 32-bit, the command will open the right version automatically.
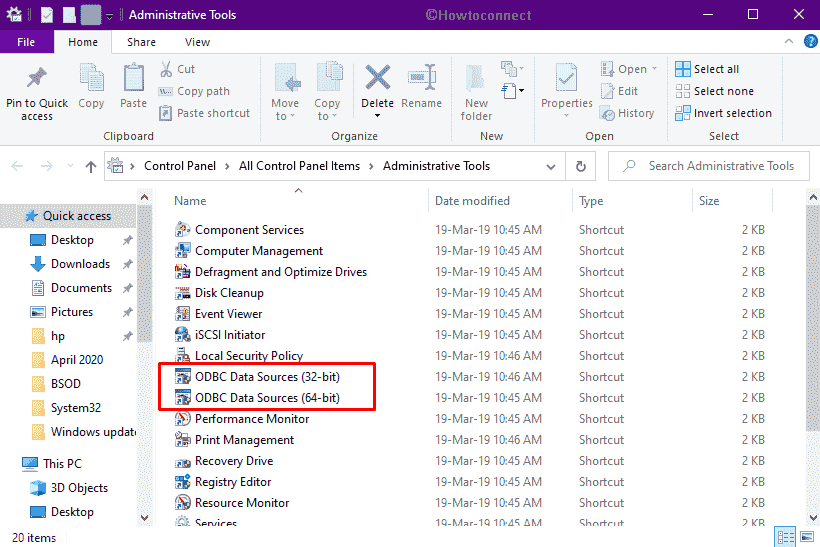
4] By means of Control panel
- Press Win+S and type in control panel and hit Enter key to launch the same.
- Set View by option to Large icons and select Administrative Tools.
- When a separate window turns up, look for ODBC Data Sources.
- The app will be available in both 32 and 64 bit, hence click the one compatible with your system.
5] Access Command Prompt to open ODBC Data Sources
- Right-click on Start button and choose Run.
- Put cmd in the text field and hit Enter.
- Insert odbcad32 after the blinking cursor followed by pressing the Enter key.
6] Navigate the directory of ODBC
- Bring forth File Explorer with hotkey Win+E.
- In its address bar, insert
C:\WINDOWS\System32\odbcad32.exeand press Enter key. This will open ODBC that is compatible with 64-bit. - In the case of running 32-bit, you need to insert
C:\WINDOWS\SysWOW64\odbcad32.exedirectory instead.
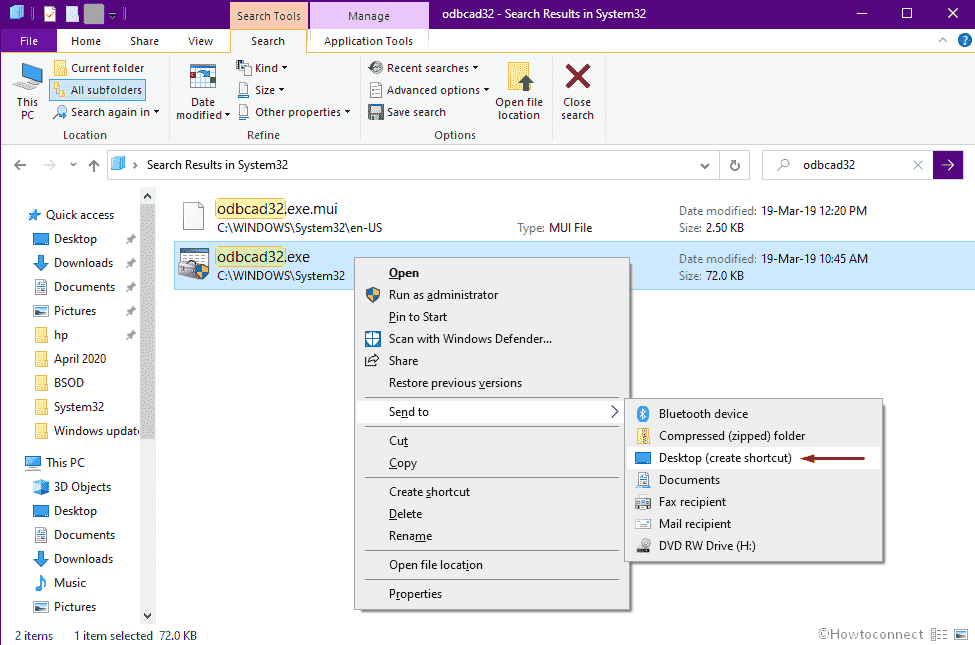
7] Create a shortcut key for ODBC Data Sources
- Open File Explorer and go to the following directory –
C:\WINDOWS\System32
- After reaching there, press Ctrl+F to activate its search function.
- Type odbcad32 and press Enter key.
- When the search result appears, right-click on odbcad32.exe and choose Send to => Desktop (create shortcut).
8] With the assistance of PowerShell
- Press Win+X and select Windows PowerShell.
- Insert odbcad32.exe after the winking cursor and hit Enter.
Methods:
1] Use taskbar search
2] Open ODBC Data Sources through Start menu
3] Take help of Run dialog box
4] By means of Control panel
5] Access Command Prompt to open ODBC Data Sources
6] Navigate the directory of ODBC
7] Create a shortcut key for ODBC Data Sources
8] With the assistance of PowerShell
That’s all!!