If you prefer to securely burn OS images in Windows, then the best choice is Etcher SD Card and USB Drive Burner. Well, Etcher is a free image flasher that lets you burn OS images with a simple interface. So, in this guide, we present you the series of steps to install and use Etcher on Windows. If you use Windows 10, you can also read How to Boot Windows 10 From USB Flash Drive.
Etcher SD Card and USB Drive Burner have an amazing feature – it validates the burning so that you don’t end up the burning process on a faulty USB drive or SD card. In addition, it also chooses the drive all by itself preventing you from erasing the entire hard disk. This awesome tool is offered under the development of Resin.io. Follow our similar guide to Access Automatically Boot USB Drive in Windows To Go Startup. Etcher supports a handful of formats such as IMG, ISO, Compressed images, DISK and so on. So, stick to the guide and let’s get explore this tool.
Use Etcher SD Card and USB Drive Burner On Windows
Step 1 – Visit this page to use Use Etcher SD Card and USB Drive On Windows computer.
Step 2 – Here, depending upon your Windows architecture, download the Etcher executable file. Browse to the folder where your downloaded files are stored and double-click the executable file of Etcher.
Step 3 – If “Open File Security Warning” comes into view, click Run.
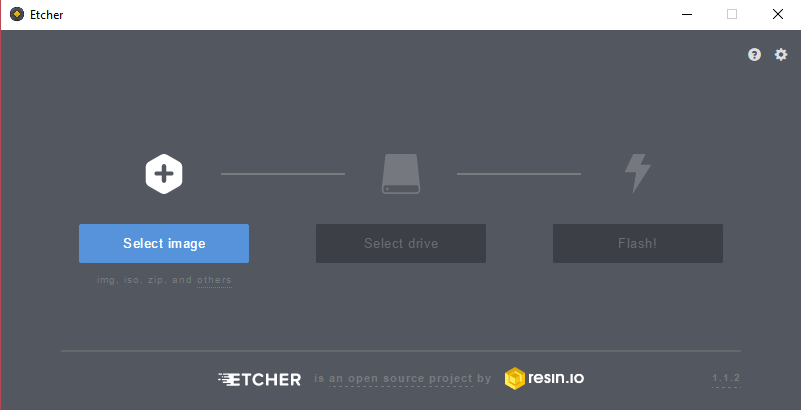
Step 4 – After successfully installing Etcher, its main window opens up on the PC screen as shown in the given image. Next, make sure to insert the SD card or USB drive. However, Etcher automatically recognizes the USB card or SD the moment you insert either of them.
Step 5 – Moving ahead, click Select Image button on the default interface of Etcher. Navigate to the exact location and choose the desired OS image.
Step 6 – You can see that Etcher all by itself detects the inserted SD card or USB drive and highlights the Flash button.
Step 7 – So, click Flash button and you can see the image burning under process. Once the image is successfully burned, the device gets ejected automatically by Etcher, indicating it ready for use.
For reference, you can follow How to Download Office and Windows Using ISO Download Tool.
Conclusion
Hence, you see that it is so easy and smooth to Use Etcher SD Card and USB Drive Burner On Windows PC. All you need to perform is to just install this free tool and leave the rest for Etcher to complete. Starting from detecting the device, to validating and burning the image, Etcher does it all by itself. Just sit and get things done pretty much easily.