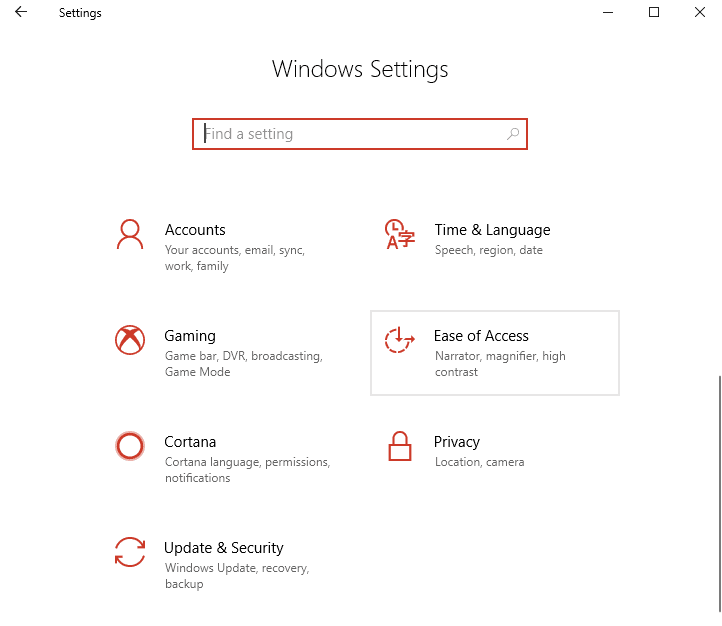
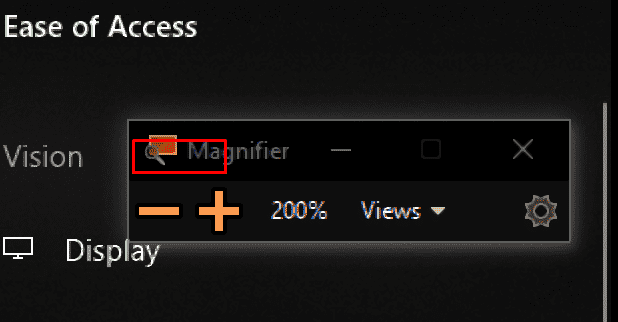
To expand the contents of the PC screen and to enhance the readability experience of users, Windows 10 Magnifier tool comes in handy. When you access this program, it appears as a small window with few options. But when you don’t use it for a minimum of 3 seconds, there is a new setting that will Collapse Magnifier Window to a Floating Transparent Magnifying Glass.
By enabling the option, the Magnifying toolbar will appear as a magnifying glass icon. This new feature basically hit the computers running Windows 10 build 16188 or higher. You will find it in the Magnifier section of “Ease of Access” along with other new options such as Invert colors and Smooth Edges of Images and Text. Moreover, performing a registry hack will also let you manage this piece of setting pretty easily. Let’s see the processes in the following section.
How to Collapse Magnifier Window to a Floating Transparent Magnifying Glass in Windows 10
Way-1: Through Settings application
Step-1: Do a joint press on Windows+I hotkeys and let the system launch Settings, the built-in application.
Step-2: Once the app’s interface comes into view, hover the cursor to Ease of Access and hit a click on it when highlighted.
Step-3: When the operating system passes you forward to a new settings page, choose Magnifier section from the left pane. Now, shift promptly to the corresponding right side and locate the option Collapse Magnifier window to a floating transparent magnifying glass.
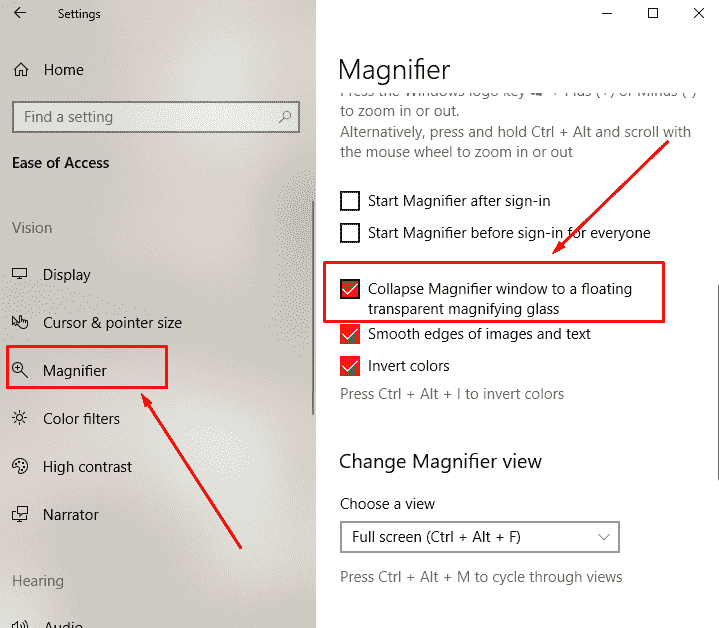
Step-4: Select that option and “Magnifier” window will immediately Collapse Magnifier window. This will instead display transparent magnifying glass as shown in the given screenshot.
Leave the Settings app and you are done with the new setup.
Way-2: Using Registry Tweak
Note – Before you proceed with the steps, ensure to Import and Export Registry Editor on Windows 10.
i. Jointly hit Windows + R hotkeys to open Run dialog on the PC screen.
ii. Type regedit on the text box and click OK to move ahead.
Explore more 5 tips to Access Registry Editor in Windows 10.
iii. When Registry Editor shows up, navigate to the below-given path on the left sidebar.
HKEY_CURRENT_USER\Software\Microsoft\ScreenMagnifier
iv. On the right pane of ScreenMagnifier key, locate and double-click the DWORD FadeToMagIcon.
v. Assign 1 as its Value data to Collapse Magnifier Window and henceforth display a magnifying glass icon. Finally, click the OK button to make the changes effective (see snapshot).

Here, you may like to know Magnifier Keyboard Shortcuts Windows 10 (Updated).
Enjoy the new Ease of Access that Microsoft provided to your satisfaction!
Have you checked by adding FadeToMagIcon as DWORD (32bit) TO HKEY_CURRENT_USERSoftwareMicrosoftScreenMagnifier?
Hi,
Thanks for writing this article…
This was a useful feature (the built-in magnifier’s “Collapse Magnifier window to a floating transparent magnifying glass” setting) that appears to have been removed with the upgrade to Windows 10 v2004.
Are you aware of whether it would be possible to somehow re-enable it through the registry or any other method (or find version 1909’s magnifier somewhere)?
[Already sent MS a feedback hub post].
Thanks for any feedback!
Alex