System Restore is the tool helping you to load back an earlier Windows state in order to bypass an unavoidable error occurring in Windows 11 and 10. Volume Shadow Copy or VSS is a service that creates snapshots of data in a volume useful for restoration. Eventually, when these files unnecessarily take up huge space, PC performance slows down, unfortunate lags occur, and various unexpected trouble appear. You can read a post Windows 11 or 10 Services to Disable for Performance to resolve this.
Usually, there are two types of shadow copies present in Windows 11 or 10 namely DiskShadow and VssAdmin. Restore points can be deleted along with these files using disk clean up too, from the System Properties as well as by through a command. Try out any methods from the below section and remove them before these become a cause of imminent trouble.
Delete System Restore and Shadow copies
Here is How to Delete System Restore and Shadow copies in Windows 11 or 10 –
1] Using Disk Cleanup
This is the easiest way –
- Press the Windows logo key.
- Type cleanmgr.
- Hit Enter.
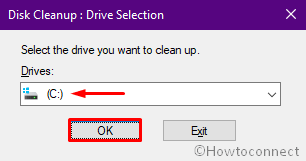
- Select the (C:) and click OK.
- Click the Clean up system files on the next wizard.
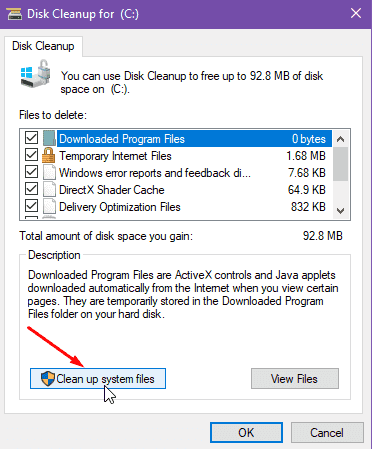
- From the upcoming popup where C: is preselected, hit OK button.
- Select the More Options tab on the next window.
- Finally, Click on the Cleanup….
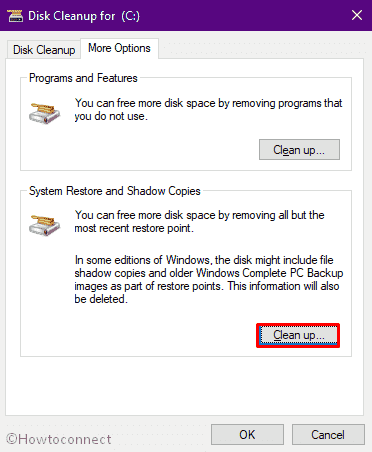
- Once a confirmation popup floats, click Delete option.

- It might take a while to complete this process, restart Windows 11 or 10 once it ends.
2] Delete System Restore and Shadow copies via cmd Command
Another easy way to Clean up Shadow copies is to execute significant commands in the Elevated Command Prompt. For that, you have to follow the below steps –
- Press Win+S and type cmd.exe.
- Hit Ctrl + Shift + Enter.
- After UAC prompts for permission, give the consent by clicking Yes.
- Type in following command –
vssadmin delete shadows /for=<ForVolumeSpec>*
Note – replace the * sign with any of the following –
/oldest – Delete the oldest shadow copy.
/all – Delete all of the specified volume’s shadow copies.
ShadowID – Delete the shadow copy by ShadowID
/quiet – Specify no messages return after finishing the command.
- Press the Enter.
- Hit Y key once asked to choose between (Y/N).
- Once the shadow copies are deleted, you will see a confirmation message in the Command Prompt window.
3] From System Properties
You can also delete all the unnecessary Restore points using options from System Properties window. For that, try following the below workarounds –
- Press Win+Q, type “sysdm.cpl” without quote and then hit Enter.
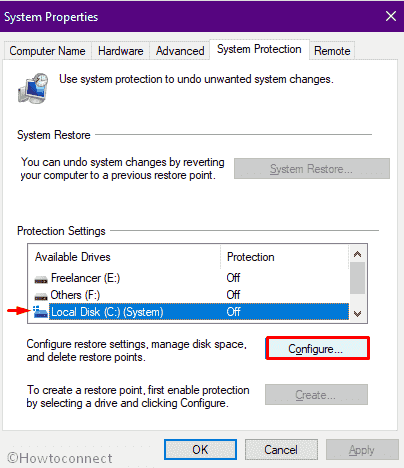
- When the System Properties window is upfront, jump into the System Protection tab.
- Go to the Protection Settings area.
- Click on the desired disk partition i.e. Local Disk (C:) (System).
- Click Configure option from here.
- Select Delete.
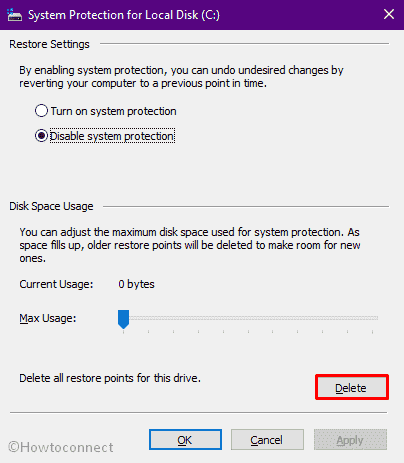
- Click the Continue button once the confirmation message pops up.
This will immediately delete System Restore and Shadow copies in Windows 11 and 10.
Methods:
1] Using Disk Cleanup
2] Via Command prompt
3] From System Properties
That’s all!!