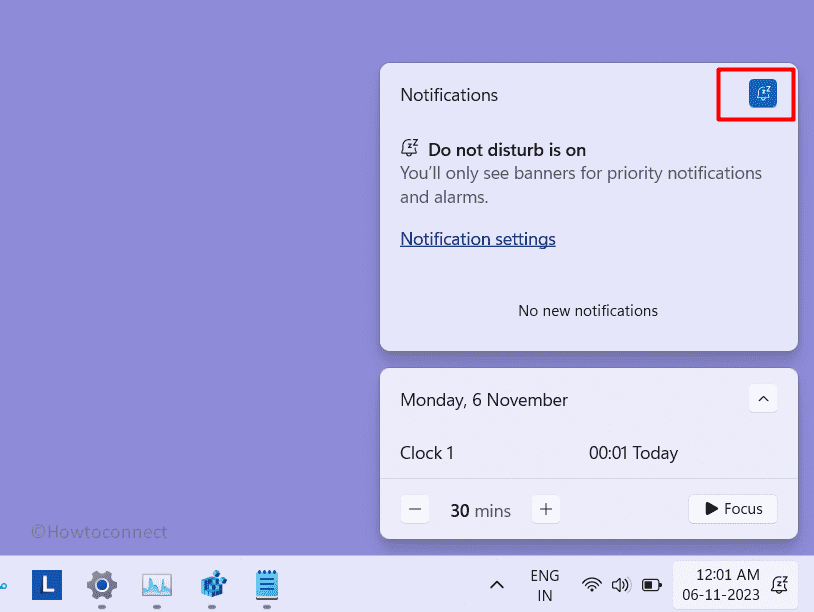
You might notice a setting in Windows 11 to silence all notifications in order to stay safe from interruptions and increase focus on specific tasks. This is named Do not disturb and disabling this setting keeps aware of changes in system and online sites (subscribed) through sending notifications. But a problem is coming out in 23H2 including other versions; Do not Disturb keeps turning on automatically for no reason.
This issue can occur because of incorrectly changed settings and interference with third-party antivirus or other programs in most cases. Furthermore, you can control the Do not disturb setting using Registry so changes in the entries might also work.
Table of Contents
Do not disturb keeps turning on
Here is how to fix Do not disturb keeps turning on automatically in Windows 11:
Make changes in Settings
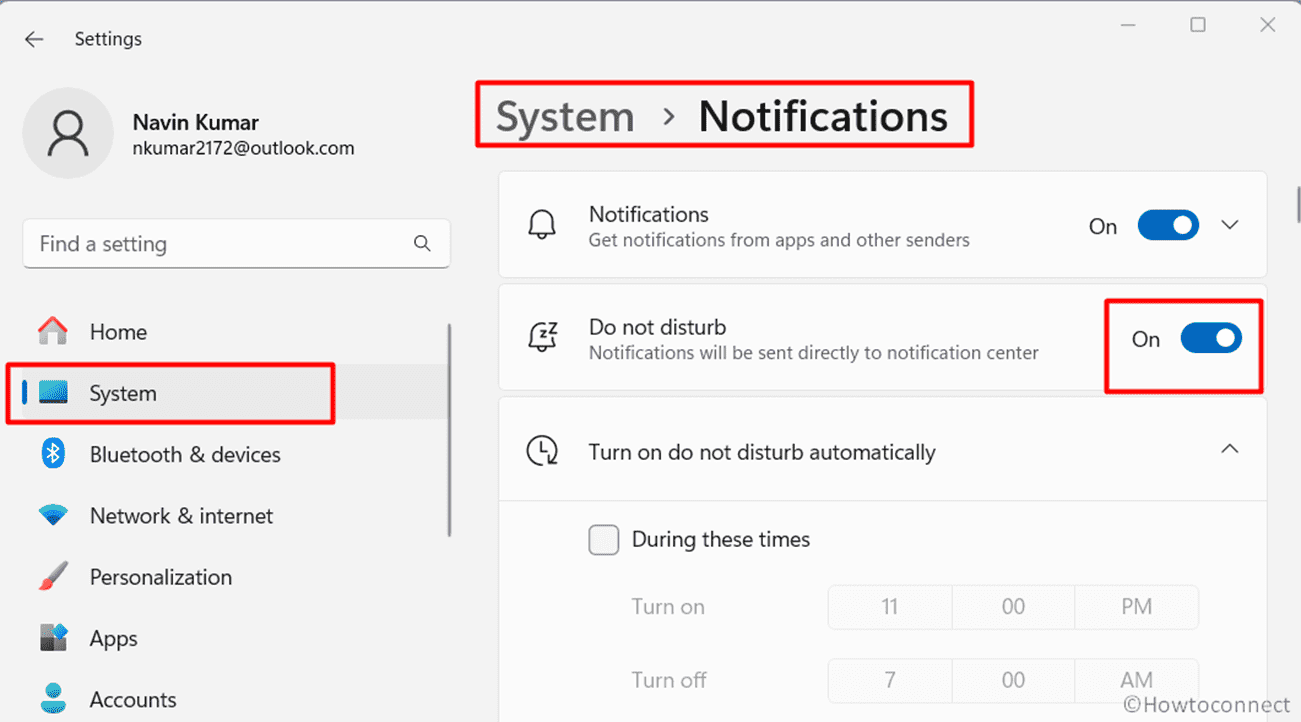
When this issue happens the first thing that needs focus is Notifications settings. There are a number of options you can choose to configure then them and check if the issue is solved:
- Press Windows and I and select System.
- Select Notifications from the right panel.
- Go to Do not disturb and expand by double-clicking on it.
- Once you optimize the settings, check if the problem is solved.
Turn on Do not disturb from Action center
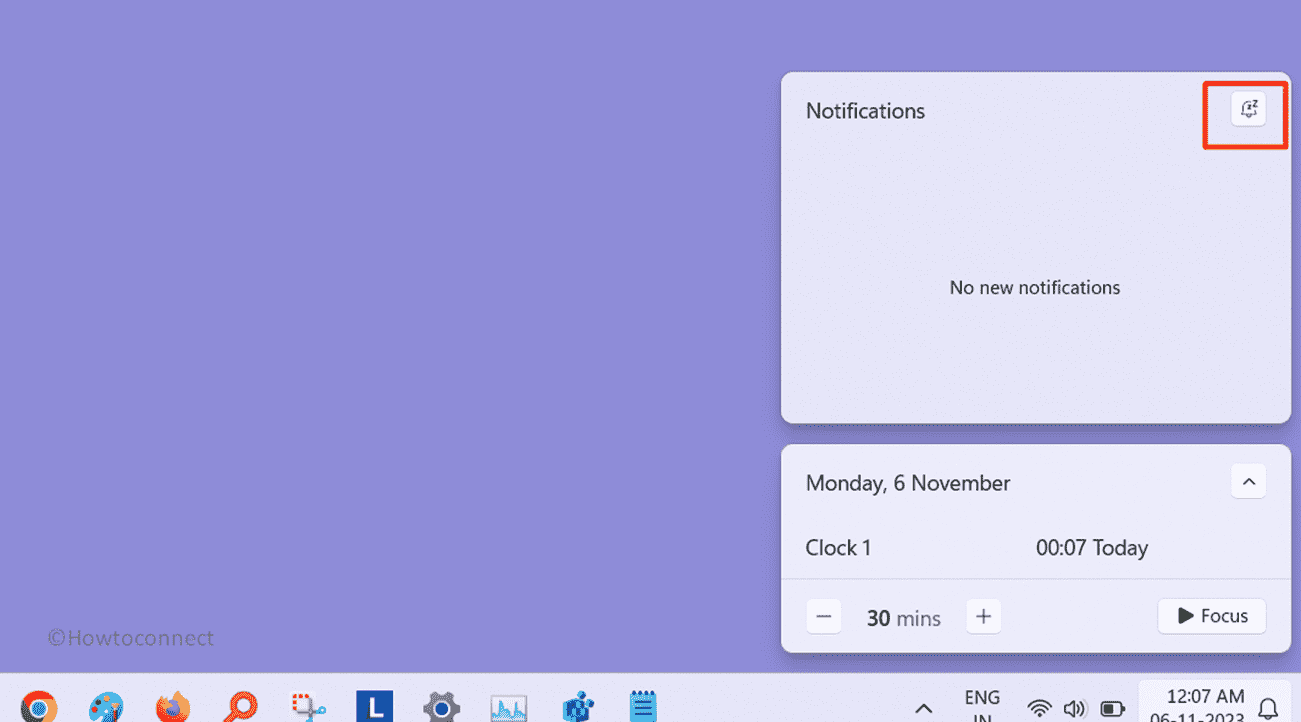
Action center includes an icon to turn on and off the Do not disturb setting. Make sure that this setting is disabled to prevent the notifications from coming. Here, are the steps:
- Go to the right side of taskbar and click on notifications icon.
- Once Notifications panel prompts; check the icon in the top right corner. This is a small icon and you may not view it easily. Use this to turn off Do not disturb.
See: Fix “Choose where to get apps” not showing error in Windows 11 or 10
Modify Registry Entry
Registry Editor contains all the settings in the form of hives that can affect Notification settings on your Windows.
Tweaking the entries here may change the notifications options forever. This can fix Do not Disturb keeps turning on in Windows 11 so move forward with the steps:
- Click on Search and type regedit.exe.
- Press Enter to launch Registry Editor.
- Reach the following location:
HKEY_CURRENT_USER\Software\Microsoft\Windows\CurrentVersion\PushNotifications- Go to the right pane and find a DWORD value named ToastEnabled.
- Double click on this entry and put 1 in the Value data field.
- If you don’t see the entry then right-click and select New > DWORD (32-bit) Value.
- Name the value ToastEnabled and double-click on it.
- Enter 0 in the Value data and press Enter.
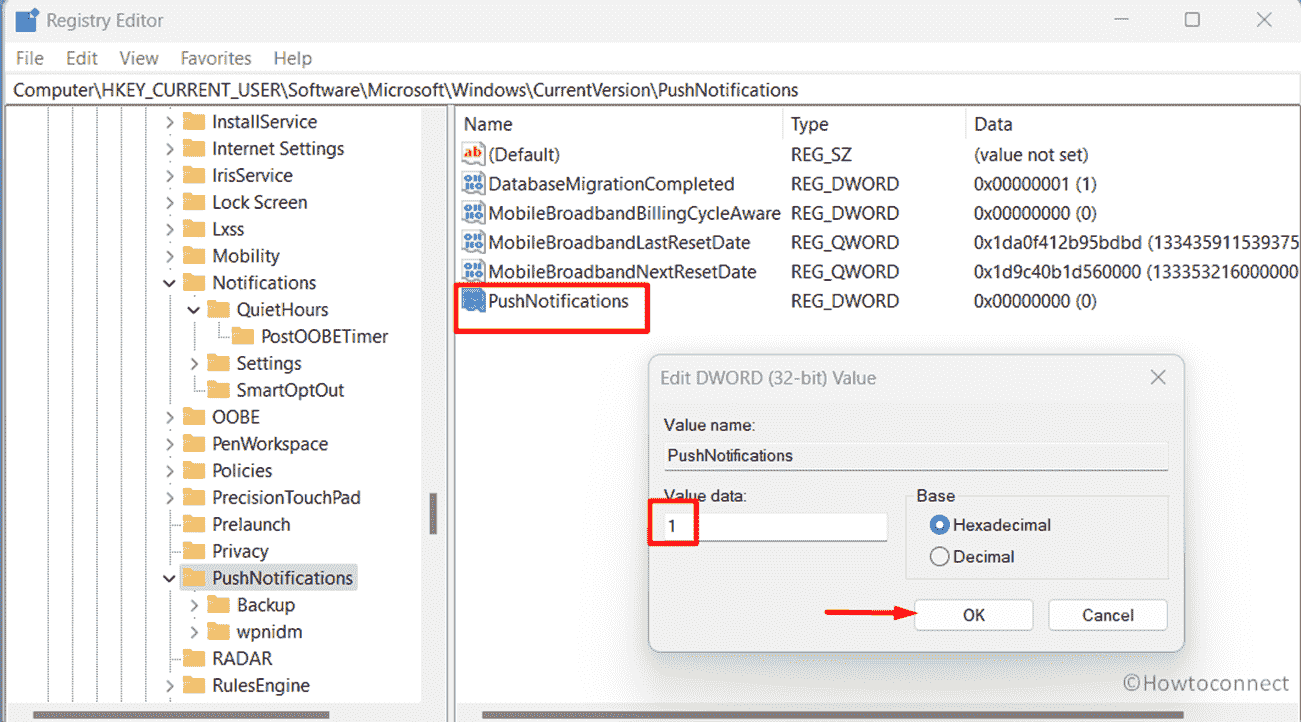
- Click on OK and close the Registry Editor.
- Press Ctrl + Shift + Enter to open Task Manager.
- Find Windows Explorer in the Processes list.
- Right-click on this entry and select Restart.
To input the same registry change using command prompt:
- If you want to use shortcut to perform the same task then press Windows+S and type cmd.exe.
- Select Run as administrator to open it in elevated form.
- Copy the below text paste it into the command prompt, and hit Enter.
reg add "HKCU\Software\Microsoft\Windows\CurrentVersion\PushNotifications" /v "ToastEnabled" /t REG_DWORD /d 1 /f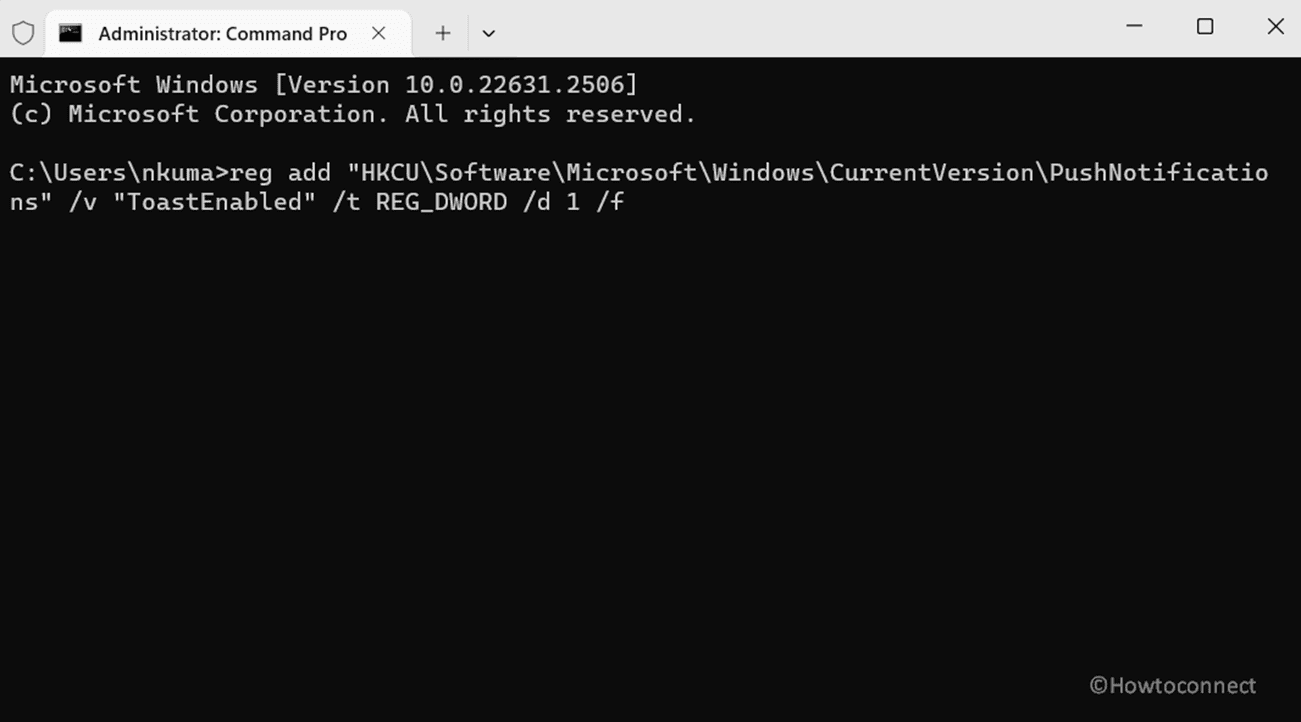
- When you see that the task is completed successfully exit the command prompt and restart your computer or Windows Explorer.
- Hope the issue is fixed now.
Uninstall or disable third-party antivirus program
Several third-party programs, specifically antivirus, take control of notification settings and manipulate them according to the app’s preferences. Avast is found to be the culprit in many cases in this concern.
If you have already installed software like this and are struggling with the Do not disturb keeps turning on problem then this method will get you rid of. All you need is to disable or uninstall the app. In case, this is a must have software for you then checking the notifications settings within the software is necessary.
- First of all, go to the System tray using up arrow on the taskbar. Usually, antivirus software positions an icon on system tray. Right click on this and select Disable or Pause whichever is showing.
- Now check if it affects your Do not disturb setting.
- If yes then open the software and change the notifications settings.
- In any case, if the issue is not resolved you should consider uninstalling the program.
- Keep in mind that if the problem is due to Avast you cannot uninstall with the help of Windows built-in settings. But you will have to install an antivirus removal tool using Google Search and install it. Run this tool to remove Avast and its leftovers.
- Other antivirus programs also provide removal tools so use them accordingly if needed.
- Finally, restart the system and see if the issue is fixed.
Methods:
Make changes in Settings
Turn on Do not disturb from Action center
Modify Registry Entry
Uninstall or disable third-party antivirus program
That’s all!!
