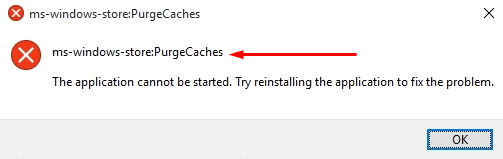
Have you ever faced ms-windows-store:purgeCaches error in reset Microsoft Store application procedure? It’s likely Yes then you are in the right location here as we are telling every possible way to fix this Store issue in Windows 10. When you encounter any Windows 10 store app not working problem the first suggestion for you is to clean it with WSReset.exe. But sometimes this command itself becomes a cause showing ms-windows-store:purgeCaches error.
You find this issue when Microsoft Store is not working and you have tried Wsreset to resolve it. It throws an error message instead of solving the problem. However, you can fix ms-windows-store:purgeCaches in Windows 10 by following some tweaks –
ms-windows-store:purgeCaches in Windows 10 Solutions
Here is how to Fix ms-windows-store:purgeCaches in Windows 10 –
Solution-1: Registry hack
Step-1: Hit Win+R hotkeys to open Run dialog. When it appears, type regedit in the text field and Press Enter. If you see a UAC prompts up, make a click on Yes.
Step-2: Navigate the following path –
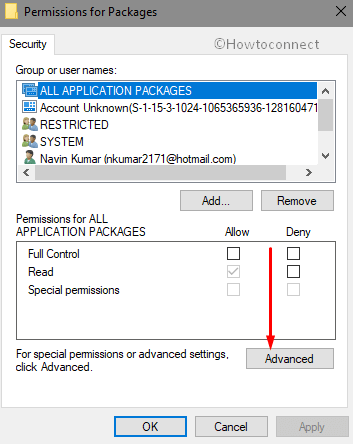
HKEY_CURRENT_USER\Software\Classes\Local Settings\Software\Microsoft\Windows\CurrentVersion\AppModel\Repository\PackagesStep-3: Once you reach the path, do a right click on Packages located in the left pane and Select Permissions…
Step-4: Select Advanced on the Permission window from the bottom right corner.
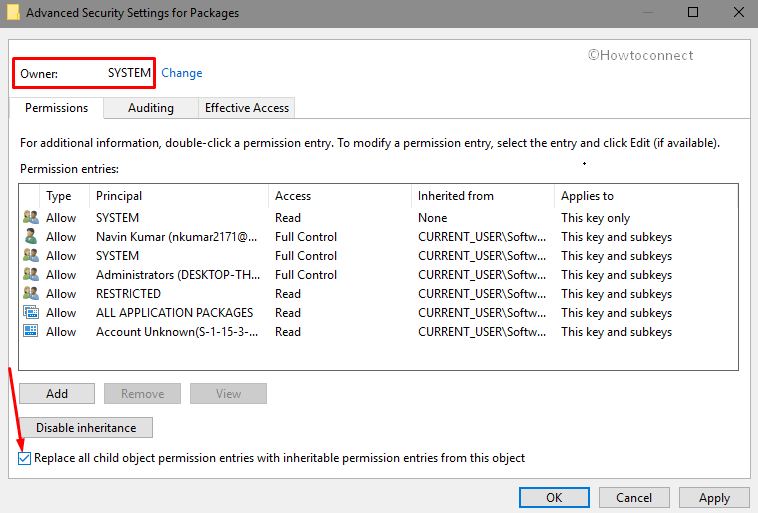
Step-5: Now check the box beside “Replace all child object permission entries with inheritable permission entries from this object “located on the lower part of the Window.
Note- Before changing, make sure that the Owner is System.
Step-6: In the end, perform a click on Apply and thereafter OK. Finally, Reboot your PC.
Hopefully, it will resolve the issue when the PC gets started.
Solution-2: Run Windows 10 Store troubleshooter
ms-windows-store:purgeCaches error also occurs due to corrupted files. In that case, Windows Store app troubleshoot may help to resolve it.
Read How to Get at Troubleshooters On Windows 10 to Resolve Issues
- Go to the taskbar search box and write down troubleshoot and Press Enter.
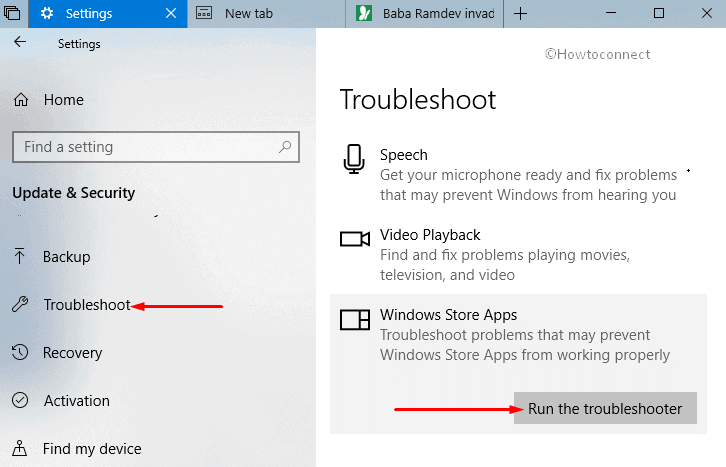
- It will open up Troubleshooting Settings page. Now move to the right pane and scroll down and Locate Windows store Apps under Find and fix other problems.
- Now make a click on it and when expanded Select Run the troubleshooter.
The system will automatically resolve the issue once it finds the error.
Solution-3: Use PowerShell command to Reinstall Store
You might face complication while using PowerShell command as it is little tough compared to other solutions. Therefore follow the steps carefully –
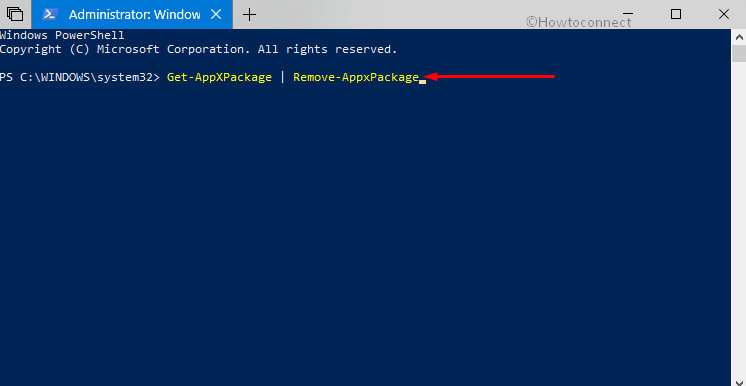
- Press Win+X jointly to open WinX menu. Once the result showed up, make a click on Windows PowerShell (admin). Now a UAC will prompt up asking your confirmation, click on Yes to continue.
- Copy the following command and paste it into PowerShell Window and Press Enter –
Get-AppXPackage | Remove-AppxPackage
Get-AppxPackage -AllUsers | Remove-AppxPackage
Kindly do not paste both the commands at the same time but do one after another. This method will remove or uninstall Microsoft Store from your computer. Once it is done, Reboot your PC.
- When you PC get restarted, open elevated PowerShell again by following the above step. This time paste this following text after blinking cursor –
Get-AppXPackage | Foreach {Add-AppxPackage -DisableDevelopmentMode -Register “$($_.InstallLocation)AppXManifest.xml”}The PowerShell command will bring back your Microsoft Store again. Finally, Reboot your system to save the changes you made and fix ms-windows-store:purgeCaches in Windows 10.
Solution-4: Try DISM Tool
To fix ms-windows-store:purgeCaches, you can use DISM Command. Here’s how –
- Type cmd in the search box located next to Start button. Once the result came into view, make a right click on “Command Prompt” Desktop app and choose “Run as administrator” from the options.
- Now type the following command one by one after C:\WINDOWS\system32> and press Enter each time –
DISM.exe /Online /Cleanup-image /ScanhealthDISM.exe /Online /Cleanup-image /Restorehealth
- When completed, exit the Command Prompt black Window and Reboot your system.
Run Disk cleanup
Running Disk Cleanup might help you to fix ms-windows-store:purgeCaches issue.
Press Windows logo key type “cleanmgr” and hit Enter.
Select C (the system drive), click OK, on the pop up and let the system to detect the removable items.
Once the Disk Cleanup wizard appears, press “Clean up System files”.
Wait for few minutes for the subsequent window, check all the boxes under Files to delete and then click OK.
That’s it. Hope these ways will help you to resolve ms-windows-store:purgeCaches issue.
Thank you for a faulty restoration powershell code that doesn’t work. I had one thing not working. Now I have like 75 of them.
I used Solution-3 to remove Windows Store and then did an “inplace repair” with the lastest Windows 10 2004 iso.
Afterwards, I ran wsreset.exe without the “Purge Caches” error.
Then, I reinstalled Windows Store from this link: https://github.com/kkkgo/LTSC-Add-MicrosoftStore/blob/master/Microsoft.WindowsStore_11809.1001.713.0_neutral_~_8wekyb3d8bbwe.AppxBundle
Solved.
Thanks Patrick!
You are a genius! Finally got everything back as it should be. Not sure if it was the permissions reset on the reg key or the first par of solution 3 ….. but i have settings app back. Store app back. Cortana and start button bac …. the list goes on.
3 Repair installs and endless Google search but yours was the one that fixed it.
Solution-3
Get-AppXPackage | Foreach {Add-AppxPackage -DisableDevelopmentMode -Register “$($_.InstallLocation)\AppXManifest.xml”}
there maybe a \ there