We are providing here a few tips and tricks using which you can Save Clicks using Drag and Drop in Windows 10. You often need to change the location of different items on your computer. For example, you might place desktop icons to Start Menu or taskbar, pin File Explorer items to jump list and vice versa. Drag and Drop feature simplifies these works and saves time as well. See a compilation here – 101 Windows 10 Secret Tips, Tricks and Hacks.
You can also use to pin an item to another location on Windows 10 in this regard. Pin to Start and Pin to Quick access are the tools on the context menu that help you but they need few clicks. Applying drag and drop system is far easier than pinning.
Save Clicks using Drag and Drop in Windows 10
1. Start Menu tile to Desktop
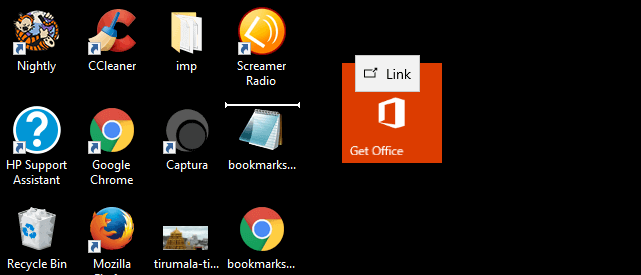
Windows 10 Start menu allows you to drag any item from the Start Menu and drop on the desktop. So if you want to see the item like OneNote, Microsoft Edge, Skype, Mail on your desktop then it is pretty easy. Simply click and hold an app from the start menu, carry to desktop and leave. The same is also applicable to a 3rd party software.
2. Start Menu list to Desktop
In the same way, you are free to place an application or tool from the Start Menu list view to the desktop. When you take an item away to the desktop you see Link written, as it is converted into a link of its path finally to an icon.
3. Start Menu to Taskbar
Start Menu provides an option Pin to taskbar on the more contextual sub menu of an item. But it also lets you drag the same to taskbar. The later is easier one and also save your time
4. Desktop to Taskbar
Pinning items to taskbar is a regular exercise on Windows PC. Commonly users follow a pretty long process when right-click on an item and select the option Pin to taskbar. Rather you can clip an item from either Start menu or desktop and leave at the location where you want to have.

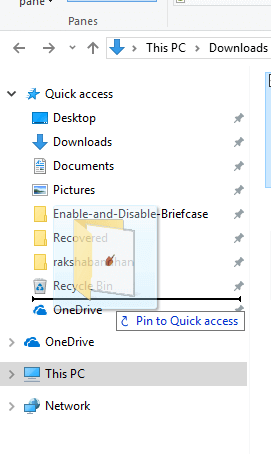
5. File Explorer to Quick Access
File explorer allows you drag and drop a folder in Quick access. However, there is an option Pin to Quick access on the right-click context menu of a folder. But Drag and drop lets you bypass this method and save extra effort. You need to press and hold a folder, drag to the Quick access area and leave where you want to pin.
6. Quick Access to File Explorer
In contrast, you can also place an item from Quick access to a folder. Click on an item from this navigation pane drag and quit in the folder where you like to put. If you will bring the items like OneDrive, This PC, they will create a shortcut here.
7. One Folder to Another
This method of copying has been effective from the previous versions of Windows. Instead of using Ctrl+C and Ctrl+V you can use drag and drop to copy an item from one folder to another.
Conclusion
In this way, you can Save Clicks using Drag and Drop in Windows 10. These small things make a difference while working on your PC. So I would recommend to follow the Windows 10 tips and suggest anyone if you are aware of.