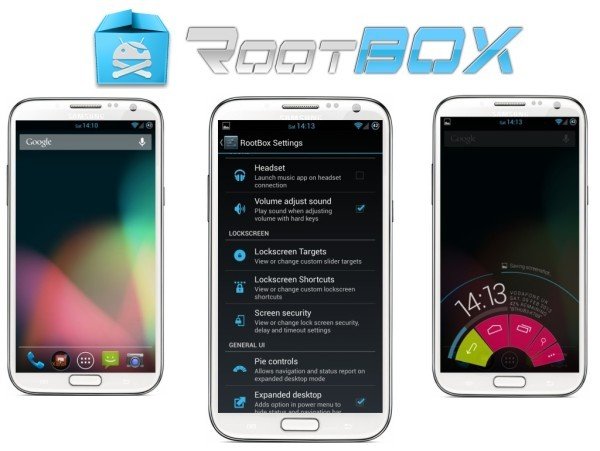
Android Jelly Bean 4.2.2 supported Vanilla Rootbox custom ROM is available for Galaxy Note 2 N7100 model. This Custom ROM has come from RootBox sources. It provides simple installation method at all time without useless apps.
Condition
The update process with Vanilla Custom ROM is valid for only galaxy Note 2 N7100 model. Howto-connect will not be responsible if your device is dead or brick during update process or after. So try out the every given instruction at your personal risk.
Important Points –
- Install Samsung galaxy USB driver to your computer. Download it.
- You need to look out about personal data and apps of your galaxy device. Before starting the update process with vanilla custom ROM, always backup of all device data to the memory card. In this situation, galaxy user can also backup through custom Recovery apps, because it creates a total image of your galaxy device setup.
- Enable USB debugging mode on your galaxy device.
- The battery of galaxy N7100 device is charged at least 85-90 % battery power; otherwise, it can be permanently dead during update process.
- The vanilla custom ROM will not be installed if your galaxy device already locked to any particular carrier. So at first try to unlock it.

Check out step-by-step tips about install process
Step 1
Download Vanilla RootBox Android 4.2.2 ROM and Google Apps to your computer.
Step 2
Plug USB cable to your computer and galaxy Note 2 N7100 device.
Step 3
Now copy the both downloaded vanilla custom ROM zip file and Google Apps zip files. Then paste it to SD card of the galaxy device.
Step 4
Power off your galaxy device and separate it from the USB cable.
Step 5
Now go to the device into recovery mode. To do so, press and hold volume down, power and home buttons at once.
Step 6
In recovery mode, at first, user has to perform the action of full data clean. Next, search an option namely flash zip from SD card and press the power button to select it. Next, opt to another option namely choose zip from SDcard and press the power button to select it again.
Step 7
Now by your volume buttons of the device, choose vanilla custom ROM zip file from the SD card and select it with the power button. A confirmation message asks you to start the update process and press power button another time to confirm it.
Remark
Repeat the same step for selecting the Google Apps zip file from SD card.
Step 8
After finishing the update process, tap on reboot system now option in the recovery mode. Then your device will reboot now. After 5 minutes, your device screen will boot with recently updated Android 4.2.2 Jelly Bean vanilla RootBox custom ROM. To confirm about update action, go to settings and tap on About phone option.