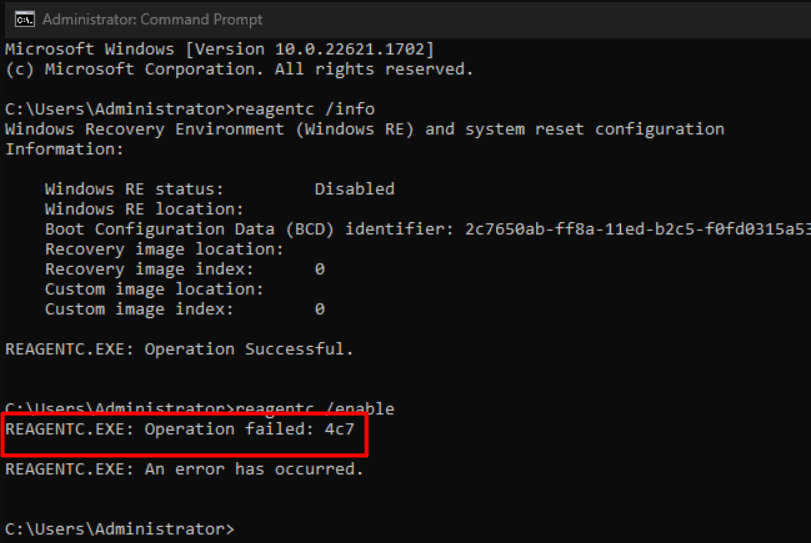
Sometimes, you might switch your disk from MBR to GPT using mbr2gpt. For this, you need to disable reagentc using command prompt, delete the recovery partition then re-enable reagentc. Unfortunately, several users are getting an error REAGENTC.EXE: Operation failed: 2 while trying to re-enable. If you are facing the same issue then follow the methods being provided in this post.
Full error message when the issue occurs is “REAGENTC.EXE: Operation failed: 2 REAGENTC.EXE: An error has occurred.” The message is likely to appear due to incorrect BIOS settings, which prevent recovery mode from enabling. These are none other than Legacy mode and CMS support. Mostly, in this case, you need to enable UEFI only mode which prevents Legacy mode while booting, and the problem is solved. Oh! One thing remains which we will discuss in the following part.

Table of Contents
REAGENTC.EXE: Operation failed
Here is how to fix REAGENTC.EXE: Operation failed: 2 in Windows 11:
Change BIOS Settings and run
As mentioned, we should first of all change the Boot mode to UEFI through BIOS and then try enabling reagentc using the following steps:
- Turn off and turn on the computer.
- Press the function key (Esc, Delete, f1, f2, f10, f11, f12, or other) assigned by manufacturer to enter BIOS.
- Alternatively, you can go to “Settings > System > Recovery > Advanced startup > Restart now > Troubleshoot > Advanced options > UEFI Firmware Settings > Restart”.
- Once you are into BIOS Settings, go to Boot mode and select UEFI only or similar options.
- Select Save and exit.
- Now, back to the boot environment and press Shift + f10 to launch Command prompt.
- Then, run the following commands:
DiskPart
List Vol
select vol 0 (where volume 0 is your xyz MB Recovery partition.)
set id=ebd0a0a2-b9e5-4433-87c0-68b6b72699c7 (replace with your id)
gpt attributes=0x0000000000000000
assign letter=K (as your wish)
exit
md K:\Recovery\WindowsRE
cd /d K:\Recovery\WindowsRE
del c:\windows\system32\recovery\reagent.xml /a
reagentc /disable
xcopy /h C:\Windows\System32\Recovery\winre.wim
reagentc /setreimage /path K:\Recovery\WindowsRE /target C:\Windows
Note: Change the driver letters and different values according to the configurations on your computer.
See: Fix: BCD Error Code 0xc000000f in Windows 10
Bonus: If access is denied when deleting OLD.EFI
You might need to delete OLD.EFI or other folders manually when switching your disk from MBR to GPT. If you get Access is denied message during this process follow the steps:
- Navigate to this page and download the Nirsoft tool advancedRun.
- Launch the tool.
- Select the “Program to run” and Run as Trustedinstaller.
- Run the command and then restart your PC.