Making different profiles for users in Windows 11 can allows to organize files and folders better and keep a user separate from issues that cause others. Once created, you can find your user account name on the login screen, Start menu, User accounts, and several other locations. Here, we are with multiple methods to change User name in Windows 11.
Now, you might wish to rename the user account for a specific profile for various reasons. If there is a legal name change or conversion of an account into a work profile or some security reasons could lead to the requirement for changing username in Windows 11. Learn the easiest methods –
Change your username in Windows 11
Here is how to change User name in Windows 11 –
Just a general note: The Computer name or system name is not the same as your Username. There can be multiple user accounts and respective usernames, but only one System name or Computer name on one device. Further, note that your system name and username shouldn’t be the same.
Depending on whether you have your PC linked to your Microsoft account or not, you could be either having your MSA name as your Username due to the sync, or it would be the PC-specific user name you set when you set up a local account.
Way-1: From Settings
For the computer linked to a Microsoft account, you change your username by changing your Microsoft account name. This can easily be done on Microsoft’s website. Here are the steps to change your username through MSA.
- Press Windows + I keys together to bring up ‘Settings’.
- Click ‘Accounts’.
- Scroll down to the last in the right pane and click on Accounts link.
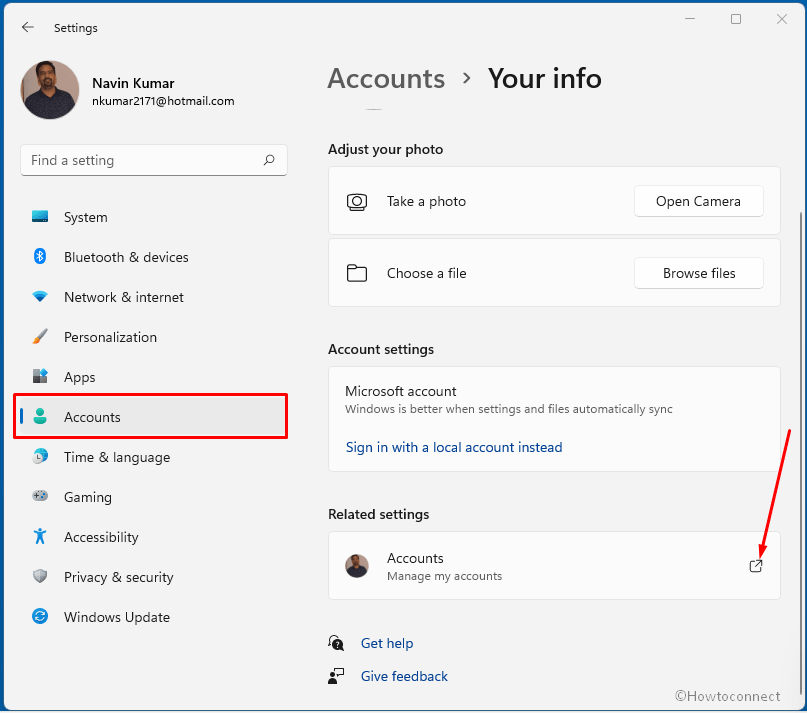
- You’ll come to see a Microsoft account page on your default browser.
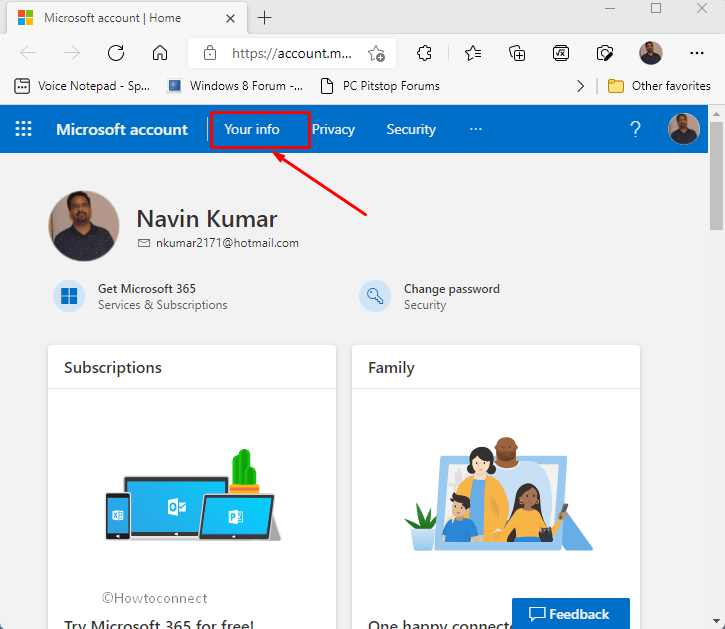
- Sign in if you aren’t already signed in.
- Click on ‘Your info’ (you’ll find it in the top left of the page).
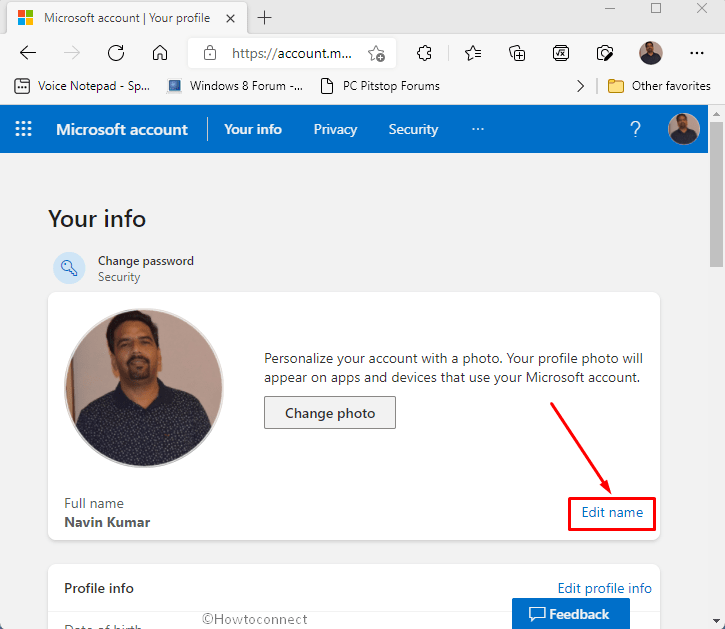
- Next, click Edit name.
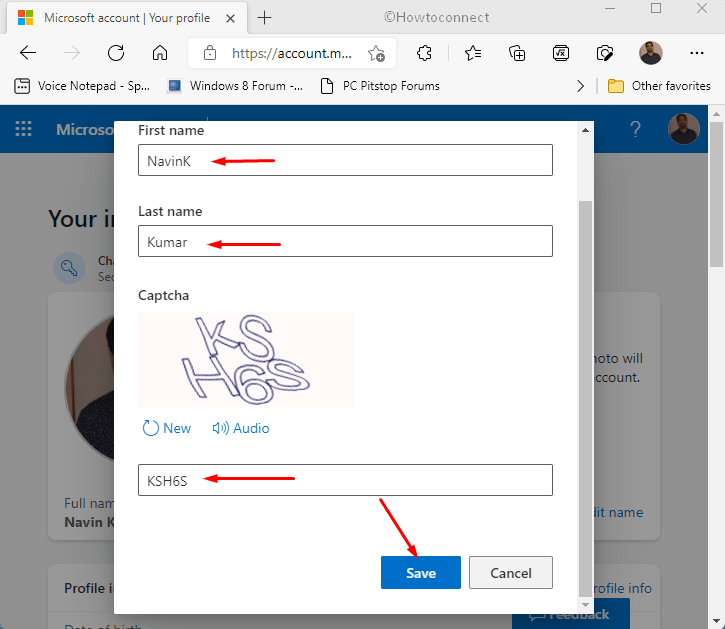
- In the pop-up, you can change the new account name as per your preference.
- Fill in the captcha for verification if prompted.
- Hit the ‘Save’.
- You can go back to Settings in Windows and see if the username change has been applied.
- In case not, you can simply sign out or restart your system for the change to take effect.
Way-2: Through Control Panel
One of the easiest ways of changing the username is editing the account name through the Control Panel.
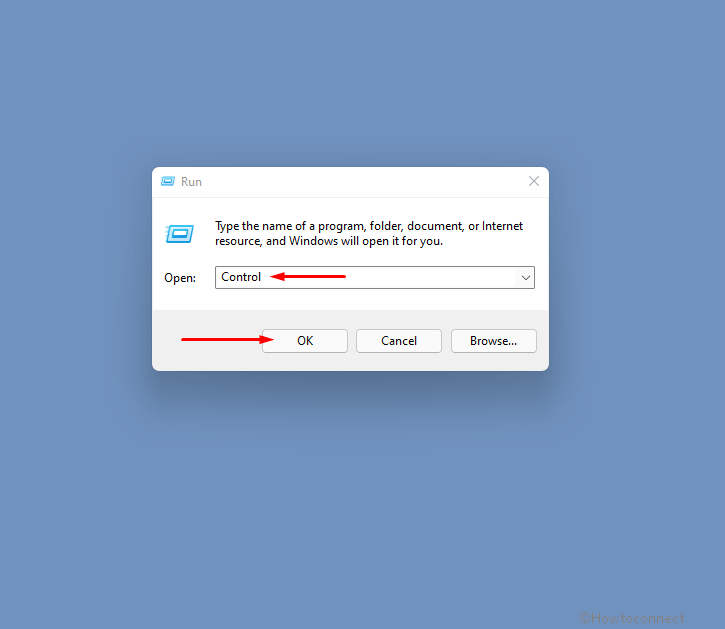
- Press – Winkey+R.
- Type Control.
- Press Enter to open Control Panel.
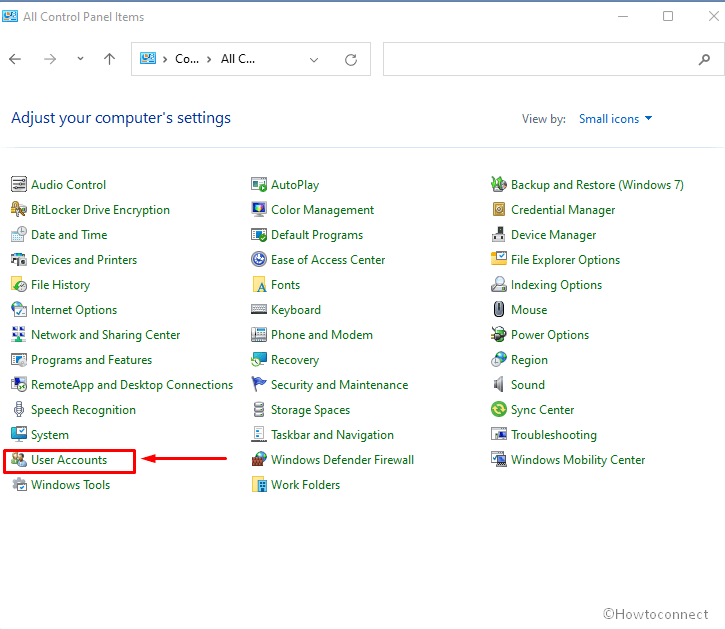
- Select – User Accounts.
- Click on – Make changes to my account in PC settings.
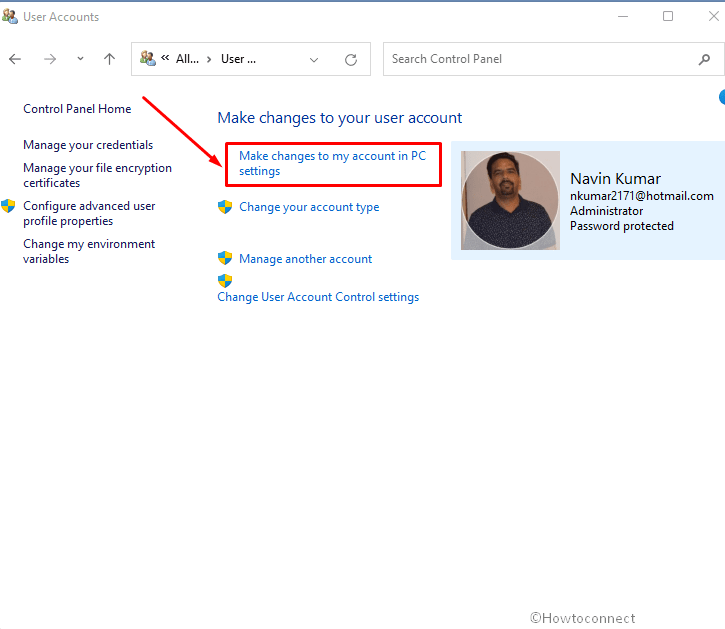
- Now, follow from 4th step in the previous method.
Way-3: Via Netplwiz
Windows still have the legacy user account management tool ‘Advanced User Accounts Control Panel’, or the ‘netplwiz’ command to access the relevant settings and change the username of an account. Here is how you can do this:
- Press the shortcut keys – Windows + R.
- In the Run window, type – netplwiz.

- Click – OK.
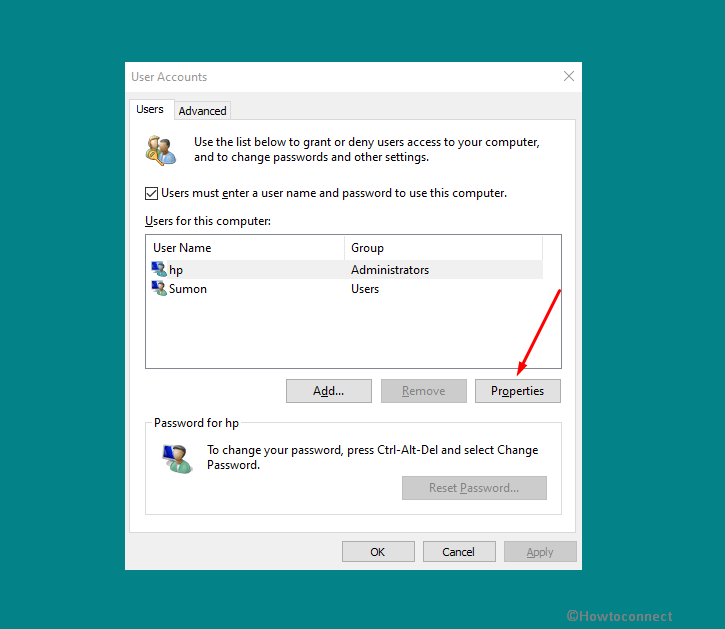
- In the User Accounts window, you’ll be in the ‘Users’. Choose the account you would like to rename.
- Hit ‘Properties’.
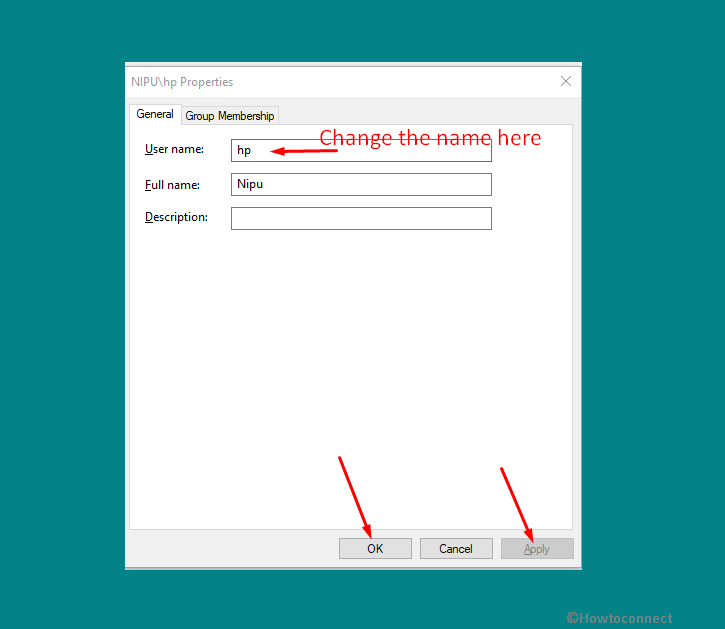
- In the General tab, update the ‘User name:’ in order to change User name in Windows 11.
- You can also enter the Full name and Description, which would be optional.
- Hit ‘Apply’.
- Finally, click on ‘OK’.
- Choose ‘OK’ to close the wizard.
- Sign out to apply the changes.
Way-4: Change Local Username using Command Prompt in Windows 11
An uncommon way to change User name in Windows 11 for a local account is via the Command prompt.
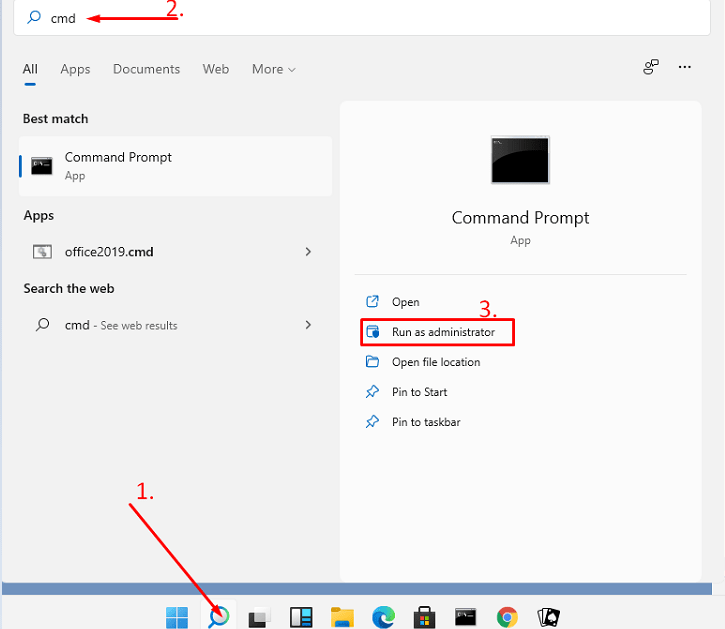
- Click – Start.
- Type in – cmd.
- Select – ‘Run as administrator‘.
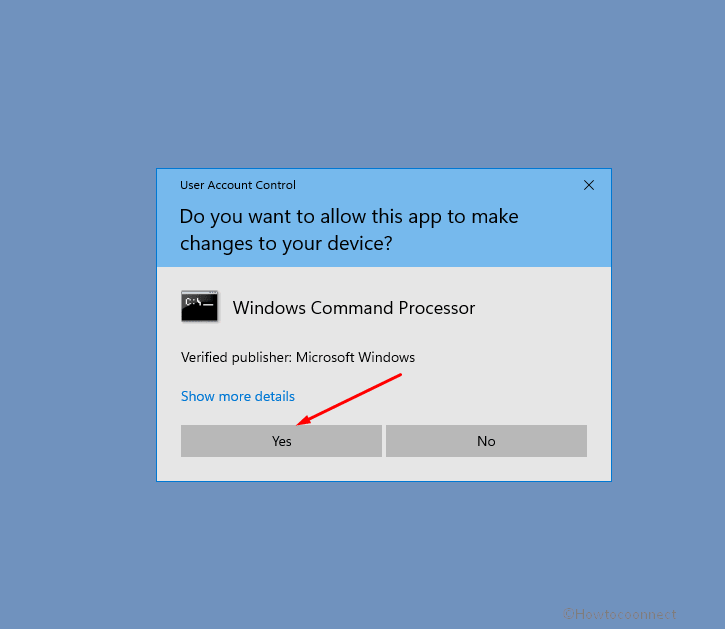
- If a dialog box prompts, click ‘Yes’ to continue. Either you can follow this post for the same – 13 Ways to open Command Prompt as administrator in Windows 11.
- In the black command prompt window, type the below series of commands and press Enter after each:
To list all the local user account names including default accounts:
wmic useraccount get fullname, name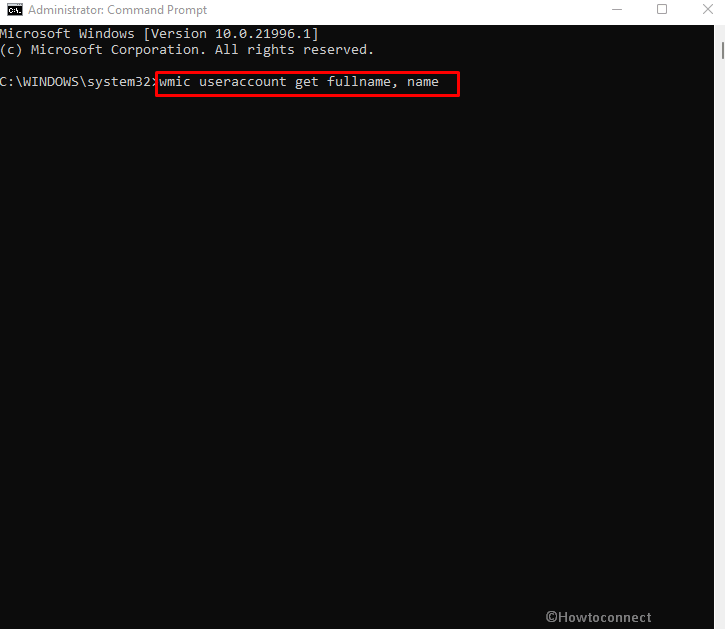
To change the user account name (In the place of “Current User Name” put the name of the account you want to change and replace “New User Name” with the new username you want to keep. Do not forget to put Usernames within (” “).
wmic useraccount where name='currentname' rename newusernameExample:
wmic useraccount where name='User nk18' rename pk29- Restart your PC after passing these commands.
Way-5: With Windows PowerShell
Yet another way to change local account names using command would be through Windows PowerShell, which is more advanced and powerful than Command Prompt. Here are the steps for those who wish to change their username via PowerShell:
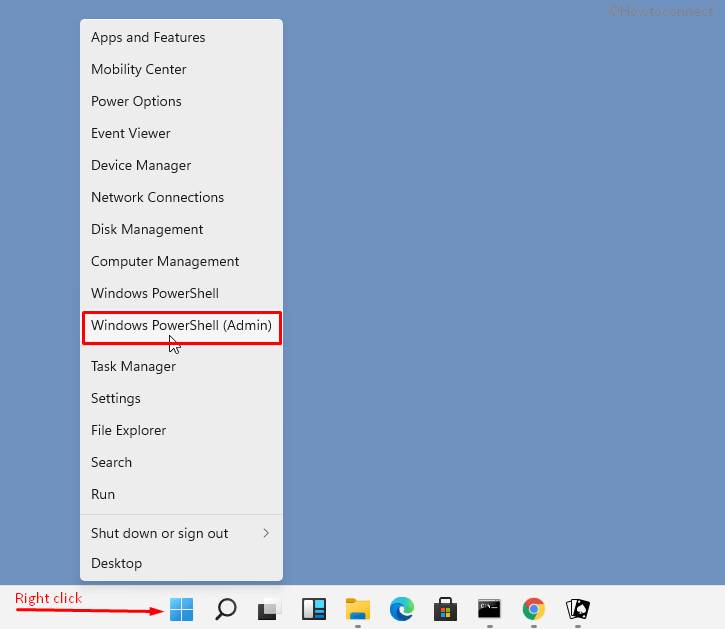
- Right click on Start and select Windows PowerShell (Admin) from the list of options.
- Pass the following commands to list all local user accounts and find the profile name you prefer to change:
Get-LocalUser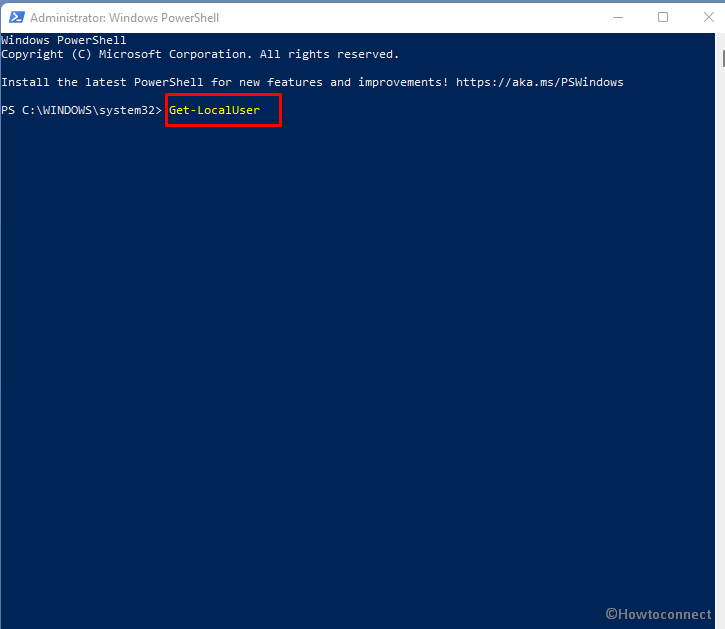
- In this step, replace “Current Username” and “New Username” the same way as mentioned previously:
Rename-LocalUser -Name "Current Username" -NewName "New Username"Example Command:
Rename-LocalUser -Name "Navin" -NewName "AGR8"- Now, reboot your PC to apply the changes.
Way-6: Through Local Security Policy
Your system automatically created a hidden admin and user account when your install Windows. These exist for backup and security purposes. The hidden ‘Administrator account, which is basically the very first account created when an operating system is installed, is a setup/disaster recovery account. In case you’d like to rename this, you can make use of the Local Security Policy. Here is how:
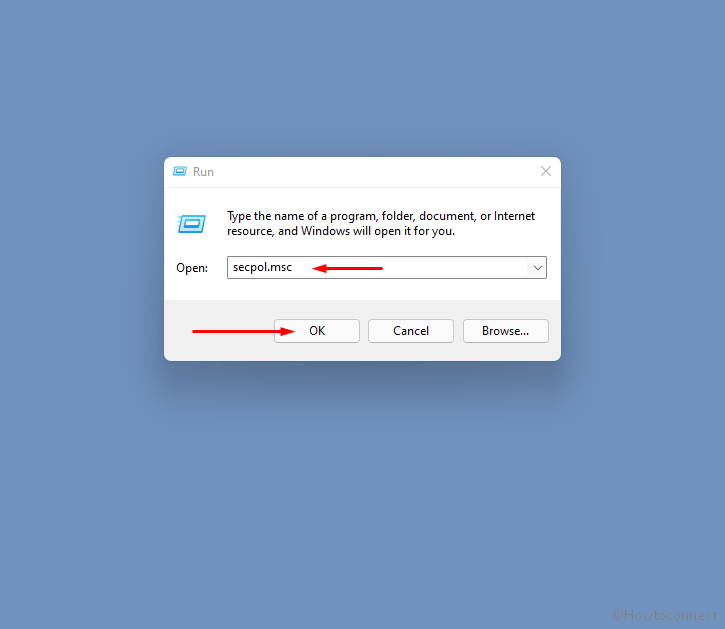
- In the search box, type ‘Local Security Policy’ and open the same from the results. (Alternatively, you can also enter secpol.msc in the Run command).
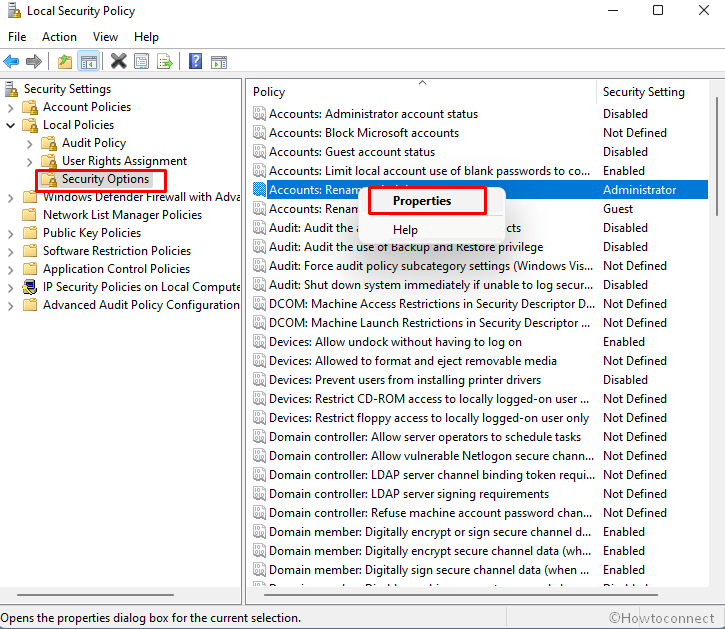
- Navigate to Local Policies > Security Options.
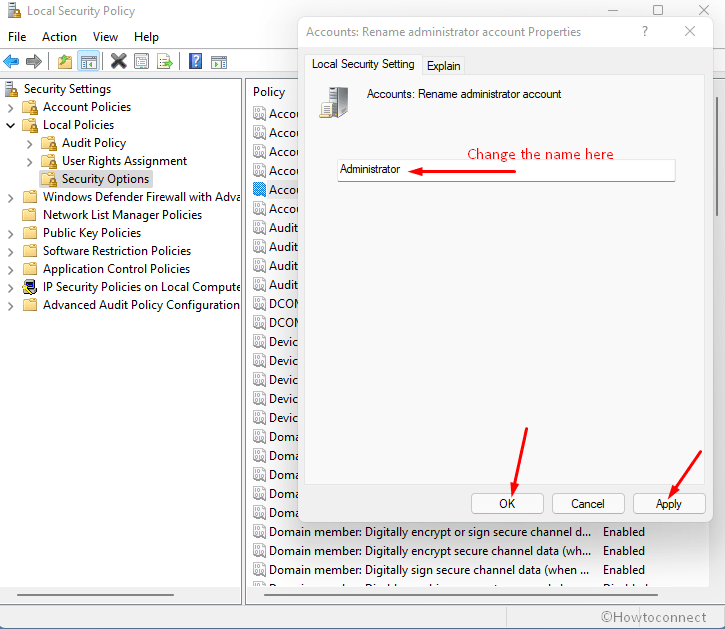
- From the right-side panel, right-click on the ‘Accounts: Rename administrator account’.
- Click on ‘Properties’.
- Here you can change the default ‘Administrator’ account name.
- After editing the name, click ‘Apply’.
- Choose ‘OK’.
- Restart your computer.
Methods list:
Way-1: From Settings
Way-2: Through Control Panel
Way-3: Via Netplwiz
Way-4: Using Command Prompt
Way-5: With Windows PowerShell
Way-6: Through Local Security Policy
That’s it!!