Procedures in order to Customize Desktop Context Menu on Windows 10 – Making a right click on an unoccupied space on desktop prompts a group of options on a rectangular menu. This rectangular menu is the context menu that carries many such options a user doesn’t usually click for years. So, making it productive for oneself by excluding and including options here may be a good idea. If you ponder to Enable Briefcase in Windows 10 Context Menu, read this article.
The Desktop Context Menu exhibits Graphics Options (Intel), NVIDIA Control Panel, and Graphics Properties (Intel) which seldom or never user touches. Removing these options makes the context menu doesn’t only trim it but also declutter. In addition, if you include few options like Registry editor and group policy editor the context menu becomes more meaningful.
Customize Desktop Context Menu on Windows 10
Take a Backup of Registry Editor
First of all, you will Customize Desktop Context Menu on Windows 10 by manipulating the Registry Editor. So, before you start the tweak ensure to take a backup. Another noteworthy thing is you require to be enough capable of performing the Registry tweaks. Take help from How to Import and Export Registry Editor on Windows 10.
Remove Options from Desktop Context menu
Step 1 – Open registry using a convenient method. The Easiest one is typing Regedit in the Search field of Start menu and click the identical result at the top.
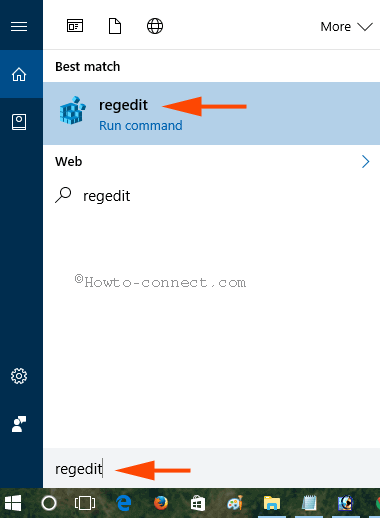
When UAC Prompts on the screen click Yes button to for responding positively.
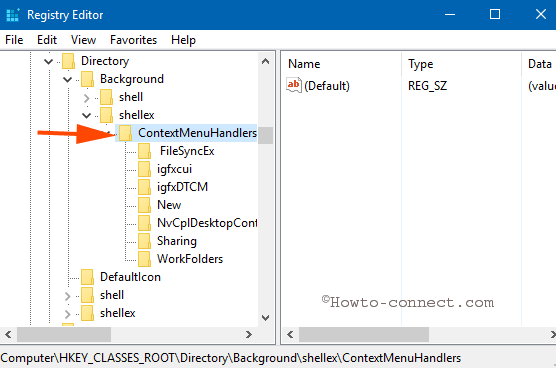
Step 2 – Navigate through the below-written path
HKEY_CLASSES_ROOT\Directory\Background\Shellex\ContextMenuHandlers\
You notice a few keys in ContextMenuHandlers. These keys are responsible for exhibiting the options on the Desktop context menu.
List of Registry Keys showing options on the Desktop Context Menu:
| Registry Key | Option on Desktop Context Menu |
| NvCplDesktopContext | NVIDIA Control Panel |
| igfxDTCM | Graphics Options (Intel) |
| igfxcui | Graphics Properties (Intel) |
| New | New |
Step 3 – Right-click on any key (see the table) and click on Delete in order to remove an item.
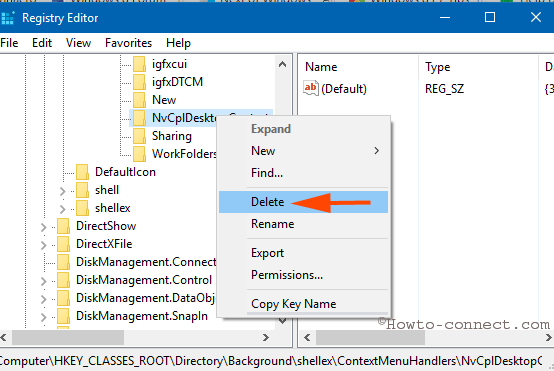
This means deleting igfxcui key will remove the option Graphics Properties. Similarly, NVIDIA Control Panel will be excluded when you delete NvCplDesktopContext.
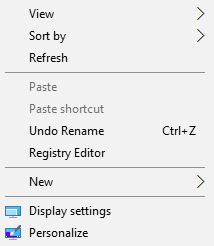
After deleting a few keys, the Desktop context menu appears trimmed and clear like this
Remove Display Settings and Personalize
Step 1 – On the Registry Editor follow the underneath written path
HKEY_CLASSES_ROOT\DesktopBackground\Shell\
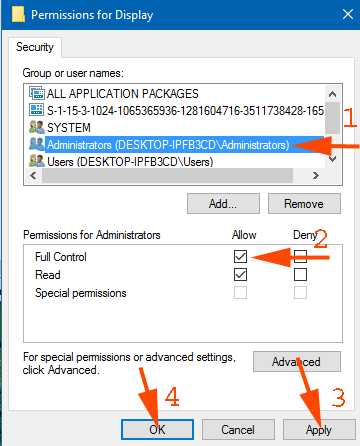
Step 2 – Make a right-click on Display and select Permission.
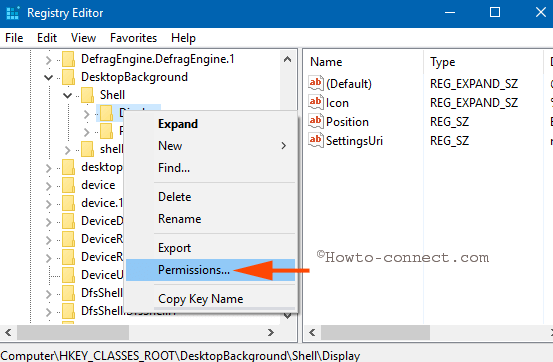
Step 3 – Permission for Display window appears, hit Advanced button.
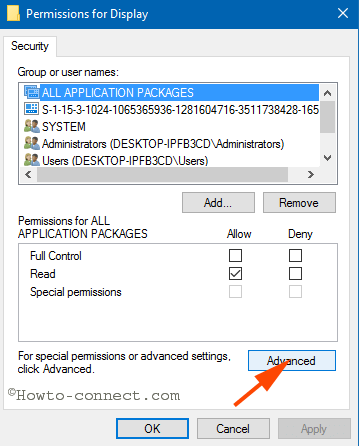
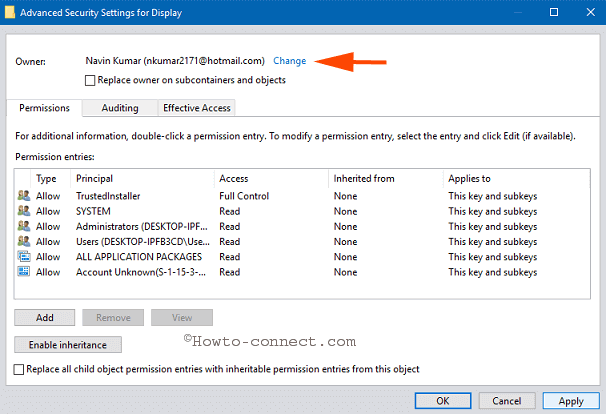
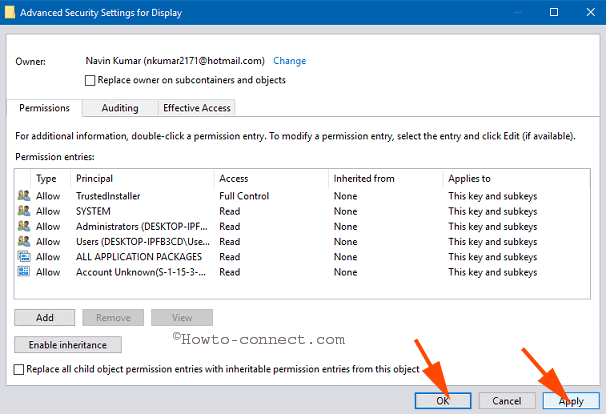
Step 4 – Advanced Security Settings for Display becomes visible, hit the link Change adjacent to Owner at the uppermost part.
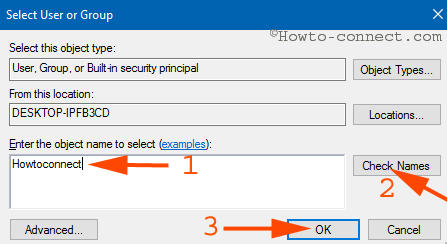
Step 5 – Write the Administrator name and click Check name button and once the name is verified click Ok.
Step 6 – Finally, hit Apply after the OK on the Advanced Security Settings for Display window placed at the bottom.
Step 7 – In the upper block of Permission for Display window, click Administrator in and checkbox for column Allow and Row Full control in the lower block. Finally, hit Apply and successively OK located at the lowermost part.
Step 8 – Perform a right-click on the Display registry key and choose Delete.
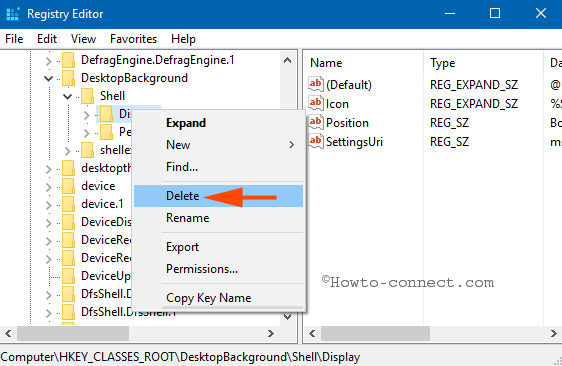
The same operations with the registry key Personalize on the registry editor will remove this key.
Add a New Option
Step 1 – To add an option to the desktop context menu on Windows 10 browse the registry keys –
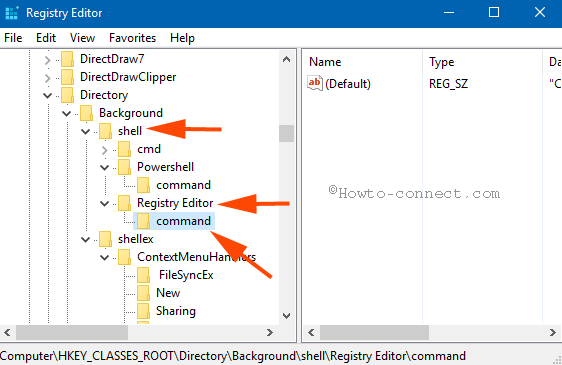
HKEY_CLASSES_ROOT\Directory\Background\shell
Step 2 – Execute a right-click on the registry key shell and opt for New afterward Key.
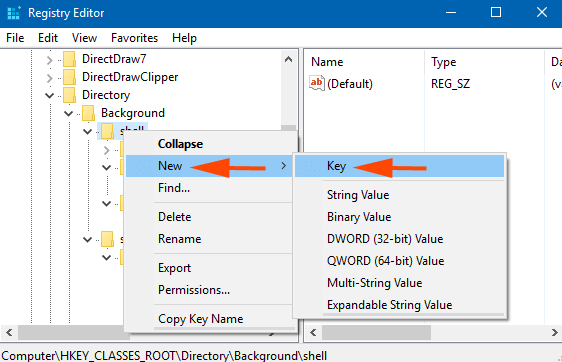
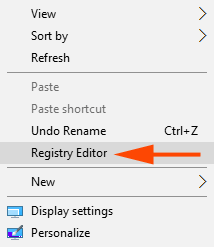
Step 3 – Suppose you include Registry Editor on the desktop context menu, then write the name of the key Registry Editor. In the same way, perform a right click on Registry Editor (just built key) and press New followed by Key. Write the name of this key command.
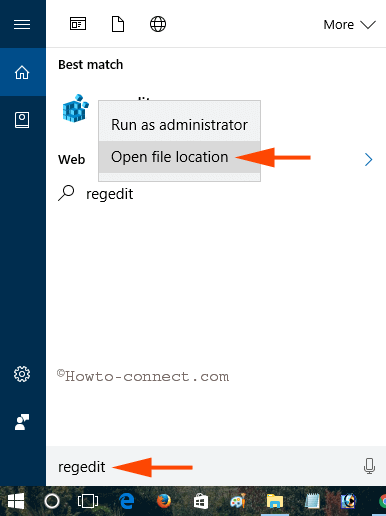
Step 4 – Subsequently you will requisite the path of the default location of the registry editor hence, write regedit in the search of the start menu. When the result is displayed at the top perform a right-click on regedit and select Open File Location.
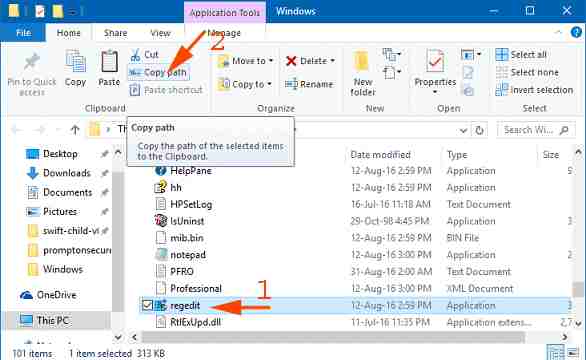
Step 5 – The file location of the registry editor becomes visible, select regedit, and hit Copy path at the ribbon of the File Explorer.
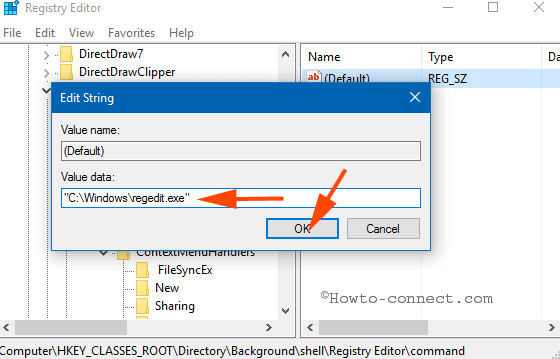
Step 4 – Select the key command and move to the right side of the editor and make a double click on (Default). In the Value data field, paste the path of the registry editor and click OK.
Hence, In the same way, you can add more items and options to the Desktop context menu more productive for you.
In addition, a simple registry hack lets enable the old narrow desktop context menu on Windows 10.
Therefore, when Customize Desktop Context Menu on Windows 10 by including and Excluding choices, you bring new life to it.