Whenever there is a creation of a file, Windows generally form temporary files aka TMP files which contain temporary information. And these files get accumulated in the hard drive and stays there until the user deletes it. If these files are not deleted from your hard drive, then they will eventually diminish the performance of the PC which hampers not only the working speed but all other factors. However, deletion of the clutter is simple with inbuilt disk cleanup and third-party utilities such as CCleaner.
In Windows 11/10, one can delete the temp files by reaching its folder. Simply click on start menu and type %temp%. This sole measure will launch the temp folder in the File Explorer. Finally, select all the files by pressing CTRL+A keys and clear off them by pressing the Delete key on the keyboard. This will evacuate all the files and empty the temp folder.
Another straightforward method to expunge them is the development of a batch file which will repeatedly Delete Temp Files at Every Startup in Windows 10/11. This maintains the speed of the system at a higher side always. Manually deleting the files always is a burden and sometimes you may not have the time to clear off these files in your busy schedule. Hence by generating a batch file that clears off the temp files automatically comes in handy.
Hence, you will look through Delete Temp Files at Every Startup in Windows 11 or 10 in order to eliminate clutter furthermore enhance the performance of PC without any extra effort in the subsequent paragraphs.
How to Delete Temp Files at Every Startup in Windows 11 or 10 Automatically
You can save a lot of space by erasing the temp files which also puts a positive impact on the speed of the PC. Instead of performing it manually all the time, you may automate this process by following the below written steps.
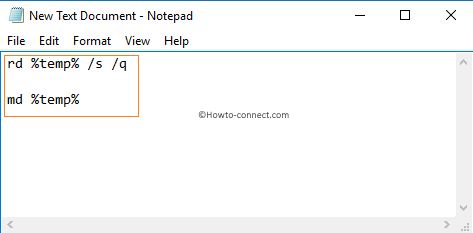
Step 1 – Launch a new Notepad file and type the following lines:
rd %temp% /s /q
md %temp%
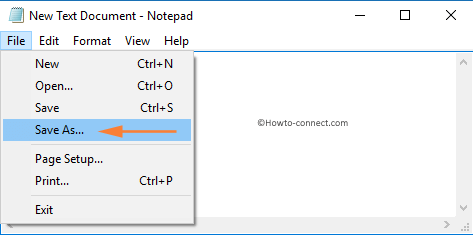
Step 2 – Select Save option from the File menu or press CTRL+S keys on the keyboard to save the file.
Step 3 – The Save As dialog pop-up appears and in the bar to select the location.
Step 4 – Enter the File Name as
%appdata%\microsoft\windows\start menu\programs\startup\cleantemp.bat
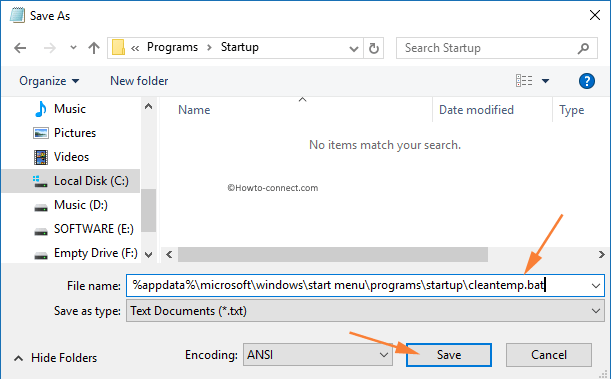
Step 5 – As the last thing, click the SAVE button.
These steps will generate a batch file and place it in the Startup folder.
In order to test it you may reboot the system and open the temp folder. Henceforth, whenever you boot your PC, the batch file will eradicate the temp files immediately all by itself. If you come across some leftover files, it means that those files are currently is the use of some applications. Therefore, close entire active applications forasmuch completely remove those files.
Thanks Now I can delete file myself with this tips