You are able to easily enable or disable tamper protection in Windows 10. As the name suggests itself, the feature offers safety against tampering any security features and validating changes made outside Windows Defender. Such protection can play an important role to prevent threats or malware from altering or disabling the Security settings. Activities that intrudes security set-ups are common during most cyber-attacks and results in greater damage in the system.
When a Malware or Virus attack occurs on your PC they change Windows Defender Settings through arbitrary codes and scripts. These manipulations in the built-in Antivirus let the threat to spread infections relentlessly. But Tamper protection limits the malware from changing the settings. Windows Security is the most reliable and vastly accepted application at an unbelievable rate, and for good reasons. One thing that keeps the tool users satisfied is the regular introduction of new features to ensure maximum security. Tamper protection is one such feature. Microsoft recently introduced this setting in Windows Security app, starting from Windows 10 build 18305. It is currently available for insiders. However, the feature will be out with the upcoming Windows 10 1903.
Way to Disable or Enable Tamper Protection in Windows 10
Here is how to Disable and Enable Tamper Protection in Windows 10 –
Note that you need to sign in as the administrator in order to use the Tamper Protection feature in Windows Security.
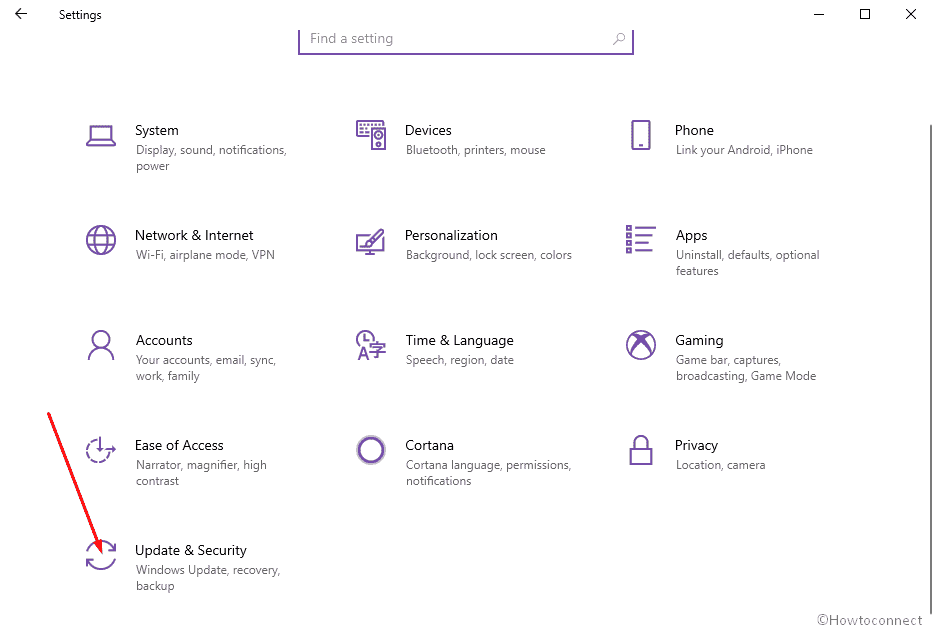
Step-1: Press Win & I shortcut combination and select Update & Security on Settings home.
Step-2: Choose Windows security and left pane and click on Virus & threat protection from the right.

Step-3: Click on Manage settings option from the “Virus & threat protection” section.
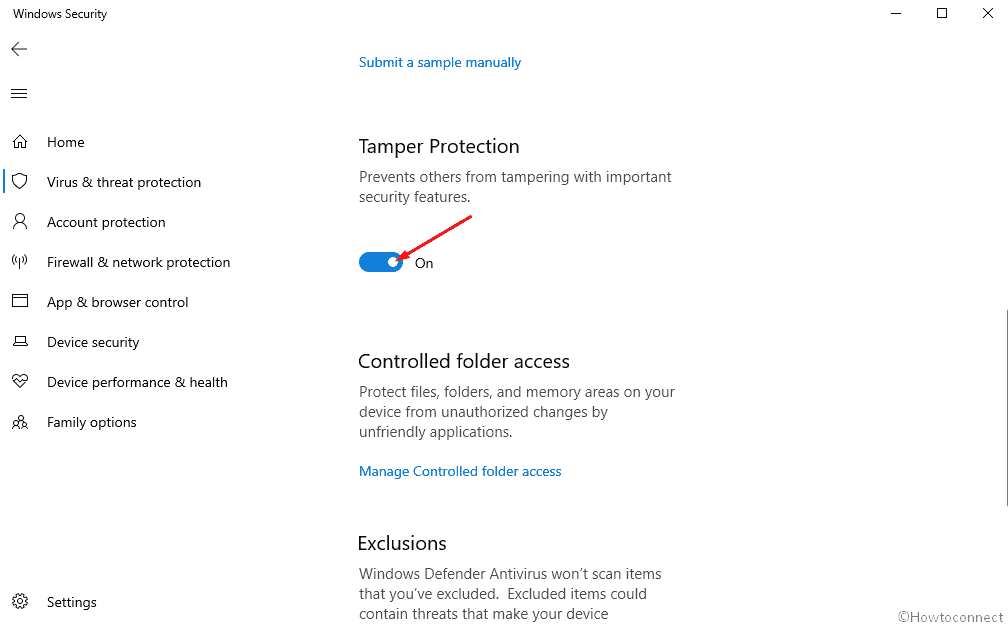
Step-4: You can see a toggle button corresponding to Tamper protection. Toggle this switch.
Step-5: Click on Yes when UAC confirmation dialog box prompted.
Step-6: close Windows Security.
That’s all!
1) How to Enable Archive Scanning in Windows Defender On Windows 10
2) How to Turn On / Off Firewall & Network Protection on Windows 10
3) How to Check Protection Updates for Threat Definitions in Windows 10
4) How to See Security Providers in Windows 10
5) How to Disable or Enable Block Suspicious Behaviors on Windows 10