A group of users encounter a nagging problem Start Menu Not Working on . Several feedback says that unexpected deletion of data, unsuccessful login, desktop icons missing are also some troubles others are getting on 1809. However we have written about Windows 10 October 2018 Update Installation Issues but here you will find the solutions to Start menu bug.
Finally, The latest update of Windows 10 version 1809 is available to all with lots of improvement in the form of changes and features. Microsoft has again proved that they are completely dedicated to enhance the user experience. But when Start Menu becomes unresponsive or shows no reaction on clicking, the things get messy as it is the main part of Windows OS.
Start Menu Not Working in Windows 10 October 2018 Update 1809 Solutions
Here is How to Fix: Start Menu Not Working in Windows 10 October 2018 Update 1809 –
Note – Before starting with the fix, one thing you should do is backup all your important files and media.
Turn off your computer and Start again
Yes, only this. Sometimes you need to turn off your computer and launch it again to solve a problem. In case of frozen Start Menu, you can try this too. This is the easiest method to fix the issue and if not resolved in the first attempt, try 2-3 times more.
Restart Windows Explorer
Another simple solution to Fix Start Menu Not Working in Windows 10 October 2018 Update 1809 is to restart Windows Explorer.
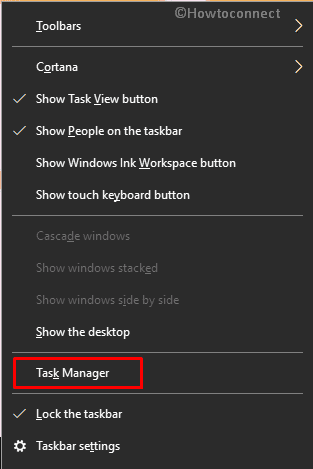
Step-1: Move your cursor to the Taskbar and right-click on it. From the context menu, select Task Manager.
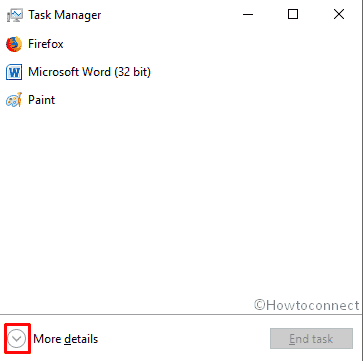
Step-2: Click on More details, otherwise if it’s already expanded skip this step.
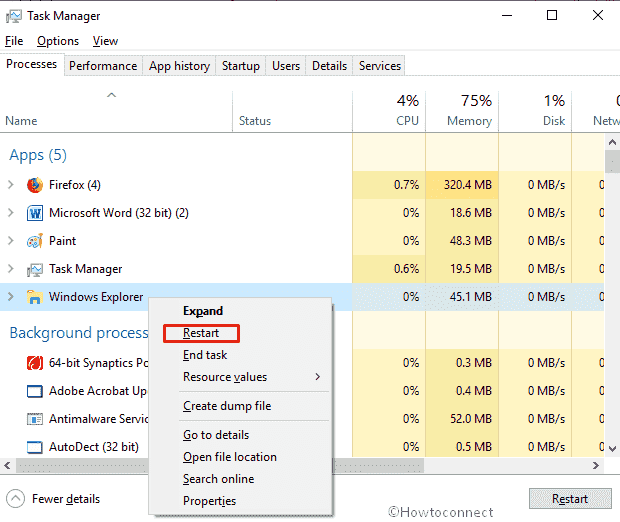
Step-3: In the Process tab, locate Windows Explorer and right-click on it. Then, click on Restart.
Check for Updates
When you encounter Start Menu Not Working in Windows 10 October 2018 Update 1809 possibly Microsoft will send a patch to resolve this. So you need to check for updates regularly.
Press Win + I together in order to launch the Settings app. Once it appears, click on Update & Security.

On the following Window, click on Check for updates from the right pane.

Now the system will start searching updates for you. If it’s available, let them install and if required, Restart.
Re-Install Start Menu
If Microsoft has not released any official update to Fix Start Menu Not Working in Windows 10 October 2018 Update 1809, try to reinstall the app.
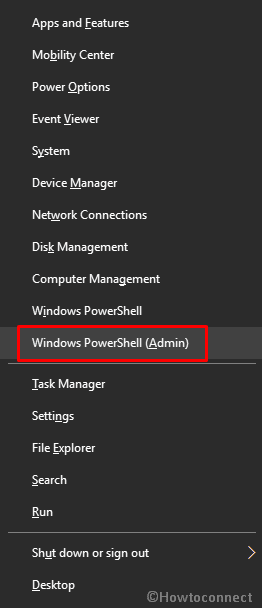
Make a right click on Start button in order to view the Power menu and then select Windows PowerShell (Admin).
If a UAC prompts up, click on Yes to proceed further.
In the PowerShell Window, write the below-mentioned command and press Enter –
Get-AppXPackage -AllUsers | Foreach {Add-AppxPackage -DisableDevelopmentMode -Register "$($_.InstallLocation)AppXManifest.xml"}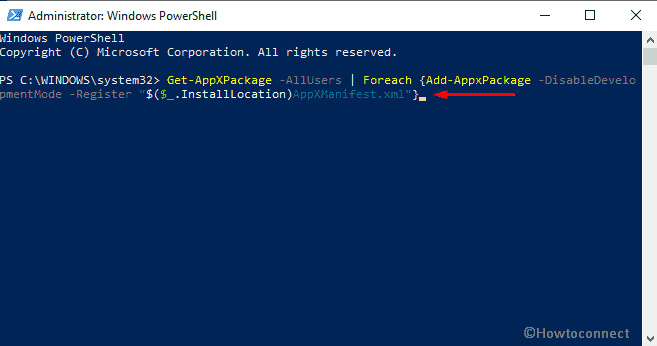
As you hit the Enter button on your keyboard, the command will start its work. There are chances that many red-colored, alarming-type sentences appear in the PowerShell window. Just, ignore them and Restart your PC so that the changes can take place. The Start Menu Not Working in Windows 10 October 2018 Update 1809 issue must be resolved when you will log in subsequently.
Modify Windows Registry Editor
If PowerShell doesn’t become successful to solve Start Menu bug, you should move to the next fix which is modifying Windows Registry. But, before that create a System Restore Point because any wrong changes or tweak can give rise to serious issues.
Yahan pe 3 sentence me 3 bar modify tha
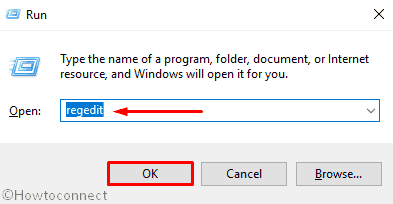
Press Win+R, type regedit.exe in the text field and then click on OK.
Now, navigate the following path –
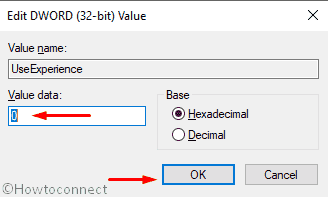
HKEY_LOCAL_MACHINE\SOFTWARE\Microsoft\Windows\CurrentVersion\ImmersiveShell\LauncherHere, right click on the Launcher. Create a new DWORD (32-bit) Value and name it as UseExperience.
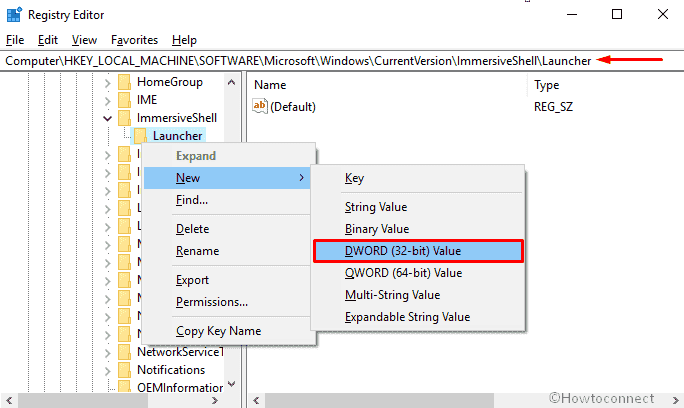
Next, Double-click on the recently created item and make sure to put 0 in the Value data box.
Finally, click on OK to save the changes.
Now, close the Registry Editor and Restart your PC. Thereafter, check if Start Menu Not Working in Windows 10 October 2018 Update 1809 is resolved or not.
Run SFC (System File Checker)
Often missing or corrupt system file leads to freeze the Start Menu. Therefore, you need to perform system file checking to solve this issue.
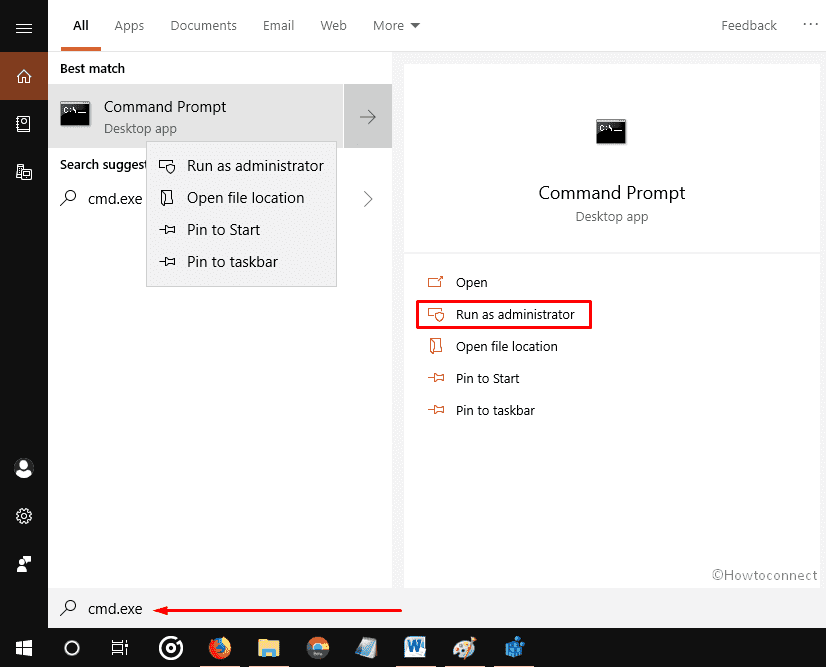
Type cmd.exe in the Taskbar search. When the result shows up, click on Run as administrator from the right pane.
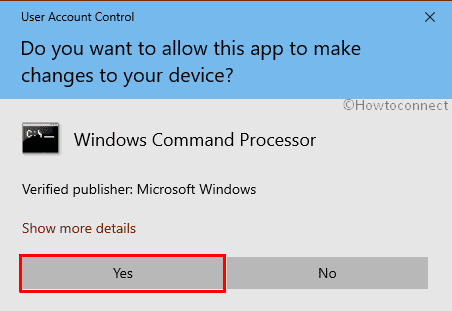
If the system brings up a UAC, Click on Yes.
In the following window, type SFC /Scannow and hit Enter on your keyboard.
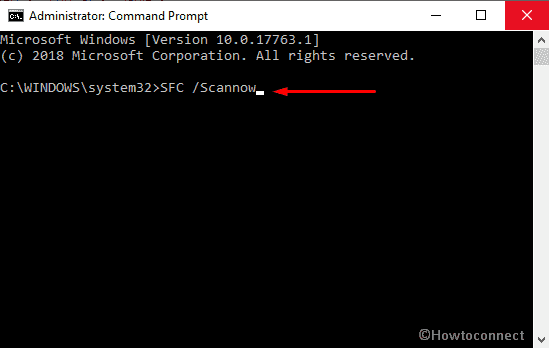
Now the system will start scanning your PC. You have to just wait for a few mins. If the utility finds any corruption into your PC, it will be solved automatically.
However, when you meet an error note “Windows Resource Protection found corrupt files but was unable to fix some (or all) of them”, you need to execute DISM. To do so, write down the following code in Command Prompt and then hit Enter –
DISM /Online /Cleanup-Image /RestoreHealth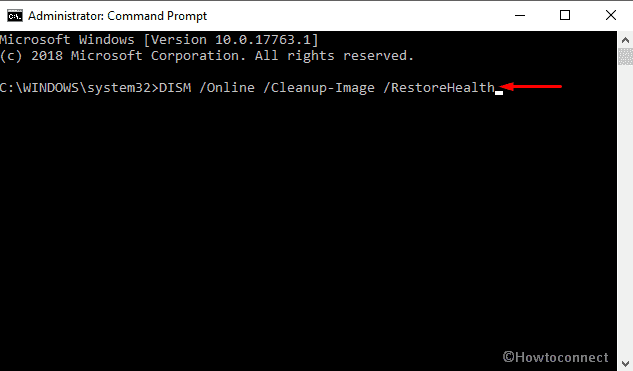
By giving this command, you will be allowing your OS to download the correct files from Windows Update and replace them with the faulty ones. You should wait for a few minutes to complete the process. After that, run the SFC /SCANNOW command again and Restart your computer. When the PC starts again, you will see that the Start Menu Not Working in Windows 10 October 2018 Update problem will most probably no longer occurs.
Change the Privacy Settings
If you find Start Menu not working in Windows 10 October 2018 Update even after running SFC /Scannow, try the next workaround, Change the Privacy Settings.
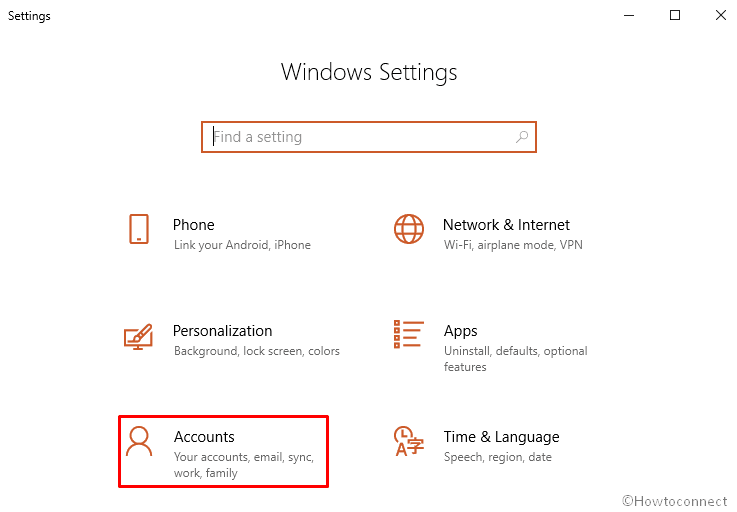
Open Windows Settings app using Win + I hotkey and when it comes into the view, click on Accounts.
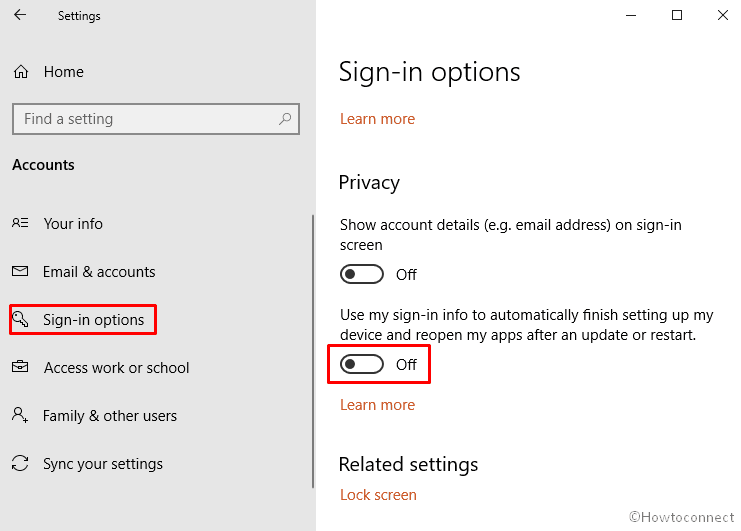
Move your cursor to the left pane and choose Sign-in options.
Now, move to the right side and scroll down to reach Privacy section. And then pull the toggle switch for “Use my sign-in info to automatically finish setting up my device and reopen my apps after an update or restart” towards the left.
Create new user accounts
Start Menu Not Working in Windows 10 October 2018 Update 1809 may appear if your User account is corrupted. Before planning to create a new one, sign out from your current account first and then sign in again.
- Press of Alt + f4 at the same time to bring up the Shut Down Windows.
- Once it turns up in the display, select Sign out from the drop-down menu and then click OK.

Now, again log on with your Admin account and Check whether the Start Menu is working properly. If not, there is some other issue and you have to create a new one.
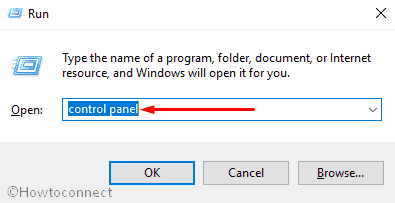
Make a combined press of Win+R to open Run dialog. Type control panel in the empty text box and hit Enter.
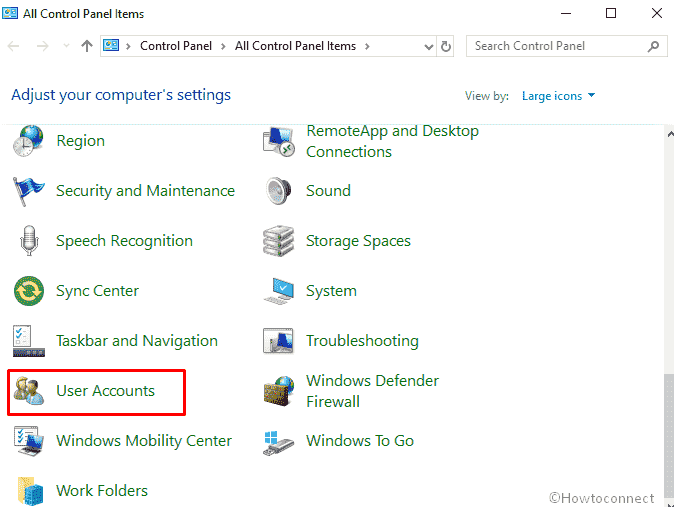
When Control Panel window is visible in the display, Locate User Accounts and click on it.
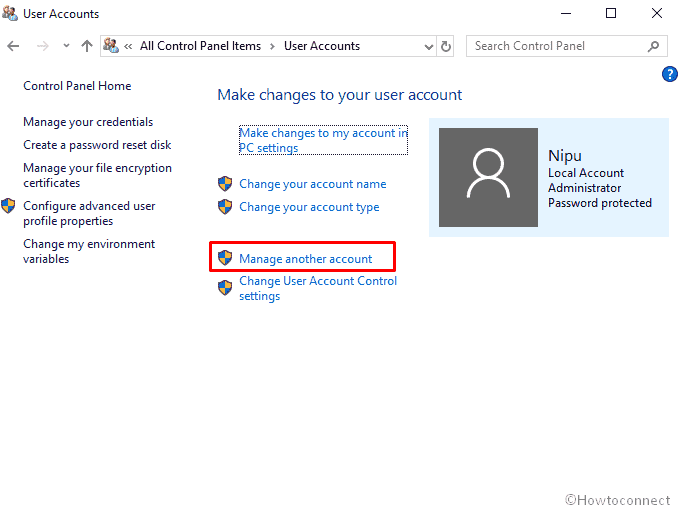
On the following window, click on Manage another account link.
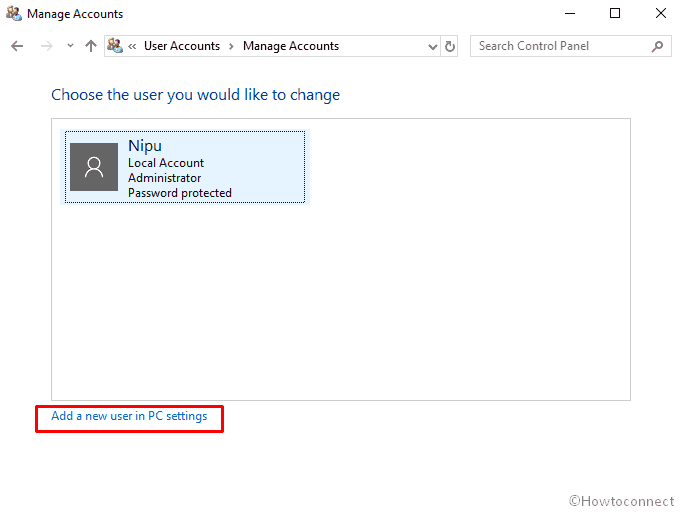
Thereafter, Select Add a new user in PC settings from the bottom of Manage Account wizard.
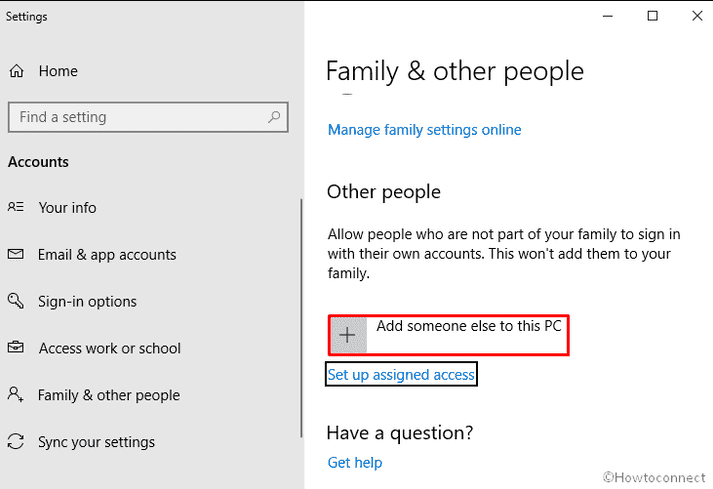
It will redirect you to the Settings page, select Add someone else to this PC located under Other people.
Provide necessary information that a pop up demands to add a new Account.
When you are done, click on the account you just made and then Select Change account type.
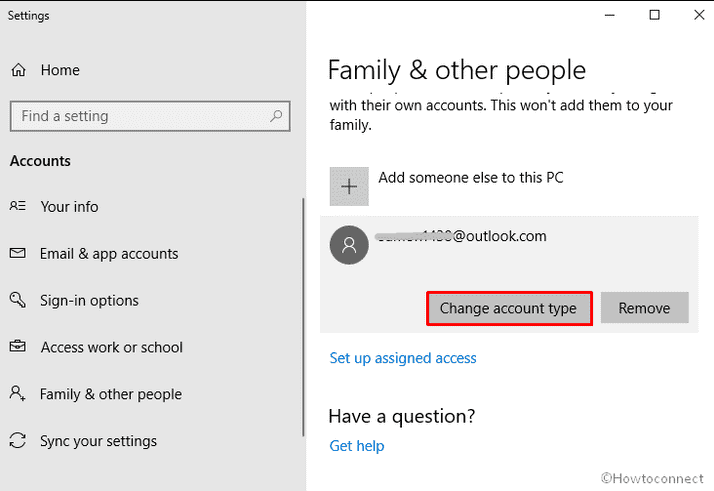
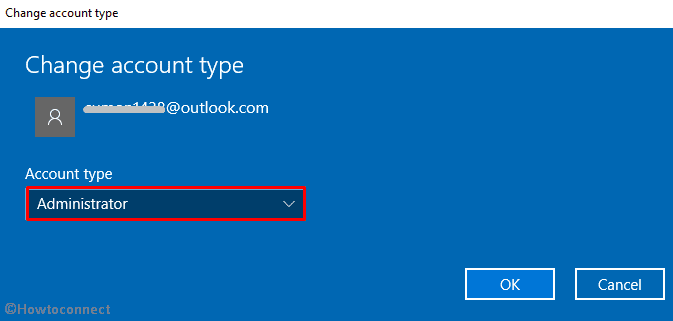
Now, you will view a prompt-up. Select Administrator from the drop-down list of Account type and click on OK to save the changes.
After that, Restart your computer and this time Login with the new user account. While doing so, make sure that your PC is connected with the Internet.
Lastly, it’s time to delete the old user account but before that, back up your files from Desktop and Documents.
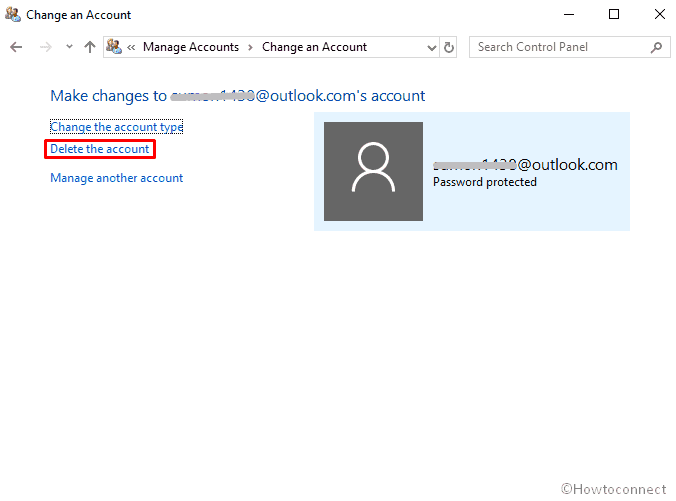
Once done, Go back to Control Panel and reach out to Manage Accounts pop-up like earlier. Do a click on the previously running account and select Delete the account from the left column.
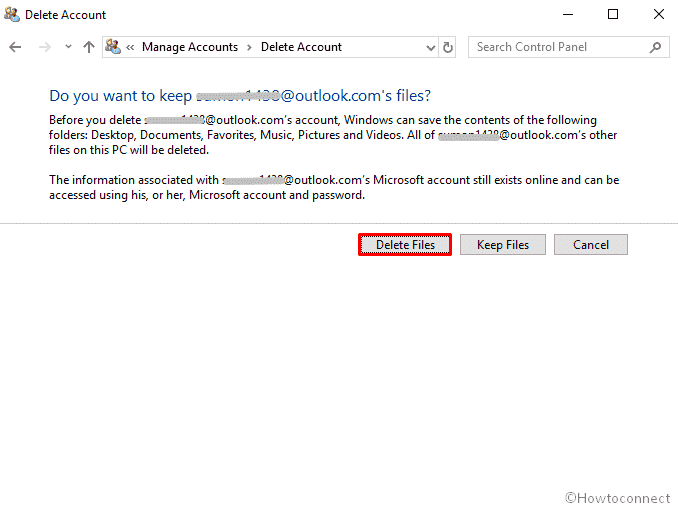
On the subsequent window, Click on Delete Files.
Now, check if Start Menu Not Working in Windows 10 October 2018 Update is fixed.
Uninstall any third-party Antivirus
If there is any third-party antivirus in your computer, it can be the reason for frozen Start Menu. So, you need to uninstall them to eradicate the issue. Follow .
Reset Your Computer
Try this solution when all others fail. Resetting is same as reinstalling Windows 10; the only difference is that your files remain unaffected. But, this is not an excuse for not creating a backup of all your important files. Be on the safe side and before making any changes to your Operating System, create a backup.
Go to Settings program by opening the Start Menu and clicking on the gear icon.
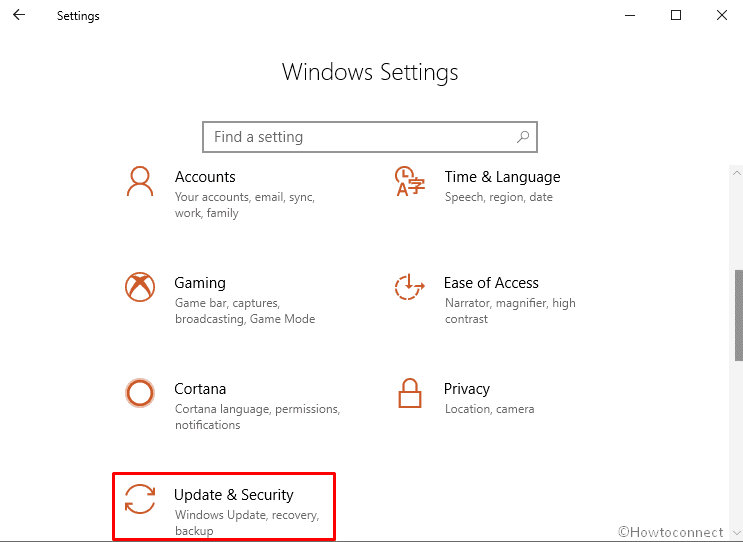
On the coming Window, click on Update & Security.
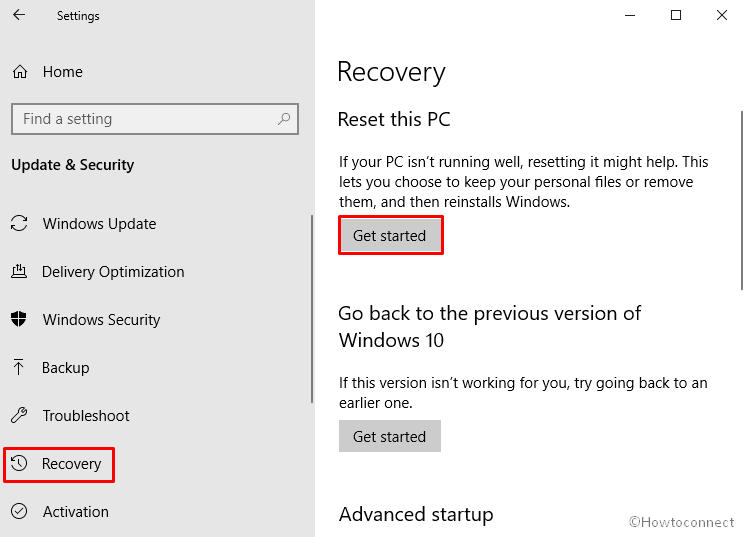
Now, in the left pane, you will see Recovery, click on it.
Move to the right pane and click on Get started located under Reset this PC section.
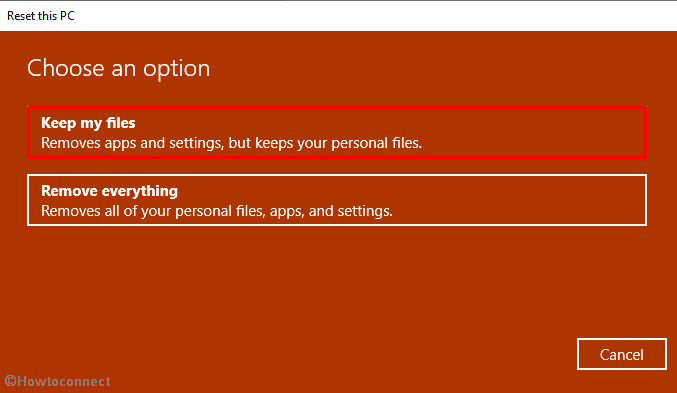
Here, you will obtain two choices: Keep my files and Remove everything. Choose the first one if you don’t want to lose anything.
Now follow the on-screen guidelines relevant to the option you have selected. After your computer resets, you will see that the Start Menu issue is resolved.
Let us know which method helped you to fix Start Menu Not Working in Windows 10 October 2018 Update.
That’s all!