Realtek High Definition Audio Manager is a popular utility to handle volume, listening, and recording experiences in Windows desktop. The application comes in the operating system as pre-installed program to manage audio accessories like speakers, microphones, headphones. The Realtek HD Audio Manager detects accessories and configures them very easily and also allows users to control from computer.
Realtek being the first sound choice for many users has improved a lot in recent times. Basically, it’s HD Audio Manager is a tool that lets you configure audio and manage other related settings to produce great sound results. If you don’t know how to access this program, then you are in the right place. Just explore the below methods and see which one is easier for you –
How to Open Realtek HD Audio Manager
Here is How to Open Realtek HD Audio Manager in Windows 11 or 10 –
First of all, if you don’t have the application on your computer then go to this link and install it._
1] Through File Explorer
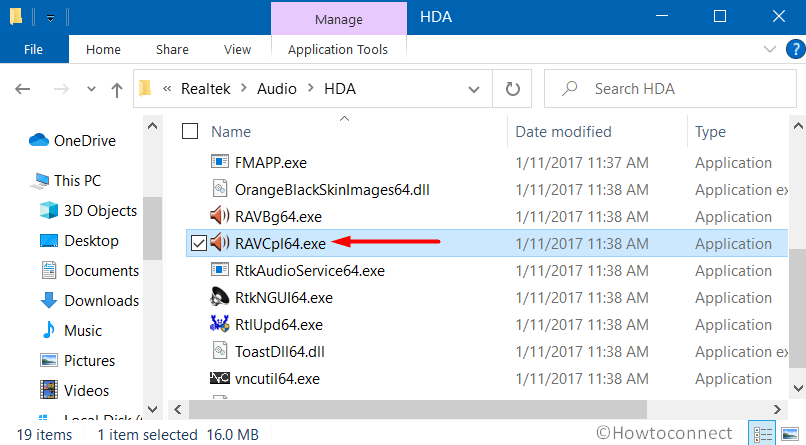
One of the common ways to know the availability of Realtek HD Audio Manager is to find its executable file in the File Explorer. This is how you need to proceed to access it –
- Launch File Explorer using “Win+E” shortcut key together.
- Once the window shows up, navigate to the below-given path –
C:\Program Files\Realtek\Audio\HDA
- After HDA folder display all the items, locate and double-click RAVCpl64.exe.
- Once User account control dialog prompts, select Yes.
- The Realtek HD Audio Manager will straight away show up on the PC screen.
As an alternative, open Run dialog box by hitting “Winlogo+R” shortcut keys. Insert the following path and click OK to access HDA folder –
C:\Program Files\Realtek\Audio\HDA
2] Open Realtek HD Audio Manager via Taskbar
Windows 11 and 10 always have some programs that run immediately after every boot. These startup items display their own icons on the system tray to ensure easy navigation. So, if you prefer to run this audio manager automatically on every boot, then enable it via Task Manager. Go through the below instructions to accomplish the task –
- Do a right-click on the Start and from the list of options choose Task Manager.
- Once the console comes into view, highlight the Startup tab.
- Find out and right-click Realtek HD Audio Manager and choose Enable.
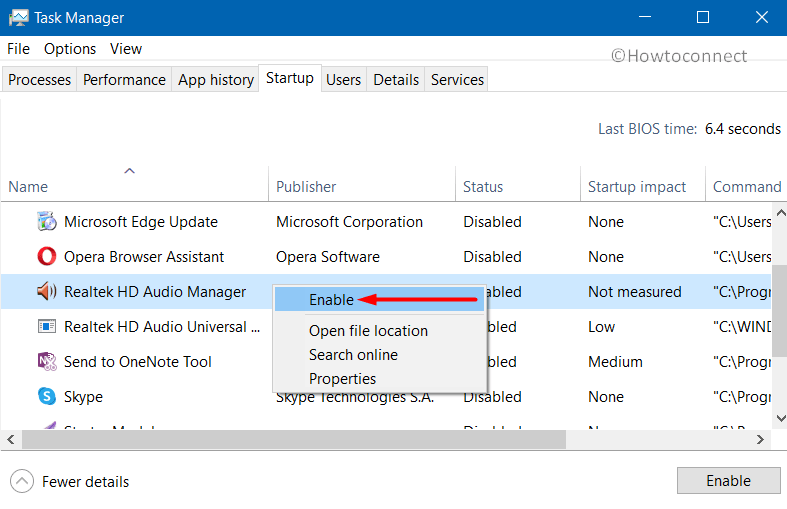
- Restart Windows 10 PC and upon startup, you will see its icon on the system tray.
3] From Control Panel
However, Settings app provides several ways to customize and modify system settings, Control Panel is still the traditional component. Therefore another most reliable way to open Realtek HD Audio Manager is from Control Panel. Below are the directions for the same –
- Fire up taskbar search box, type control panel and hit Enter.
- Once you access Control Panel, make the icons view either by Small or Large.
- After the applets become clearly visible, find and click Realtek HD Audio Manager.
4] Create Desktop Shortcut
To always have Realtek HD Audio Manager on your fingertips, the quick way is to have it on your desktop. Simply create a desktop shortcut of RAVCpl64.exe executable file and launch it as per your preference. Hence, go through the given sequence of steps –
- Click File Explorer icon on the taskbar and go to the below-mentioned path –
C:\Program Files\Realtek\Audio\HDA
- Quickly locate and execute a right-click on RAVCpl64.exe file. Hover over Send to and choose Desktop (create shortcut).
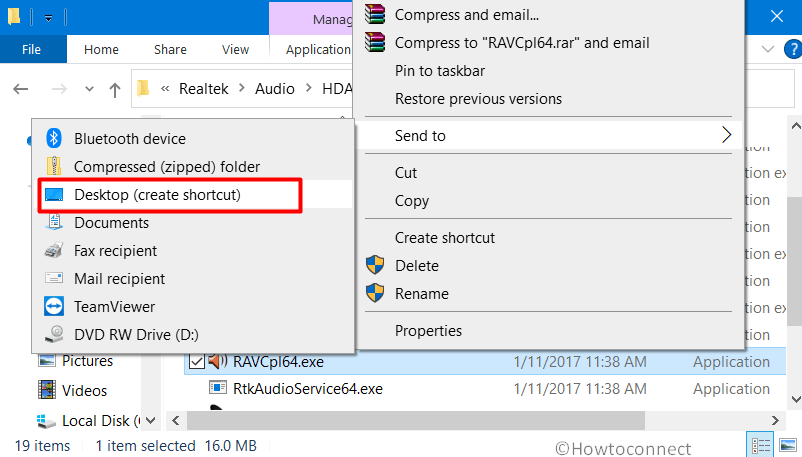
- Minimize all the windows and you will see RAVCpl64’s shortcut file on the desktop. So just perform a double-click on it and open Realtek HD Audio Manager in Windows 11 and 10.
Methods:
1] Through File Explorer
2] Via Taskbar
3] From Control Panel
4] Create Desktop Shortcut
That’s all!!