Do you often feel the need to share certain memorable or important portion of a video with your family or friends? Or you wish to only see the final goal of the match you have recorded? If your response is yes, then you have to snip off that specific part from the video. And in this regard, Windows 10 OS allows you to Trim Videos Using Built-in Photos App.
The app provides you basic editing tools and trim is one of them. After trimming the favorite section of the video, you can save the clip separately and the original one will be untouched. Though Photos app provides you quite a few options, however, sometimes they are very handy to use. All you need is to just drag the portion around the total length of the video and store it. See another write-up regarding this application How to View Exact Duplicate Images as a Single File in Photos App Windows 10.
How to Trim Videos using Built-in Photos App Windows 10
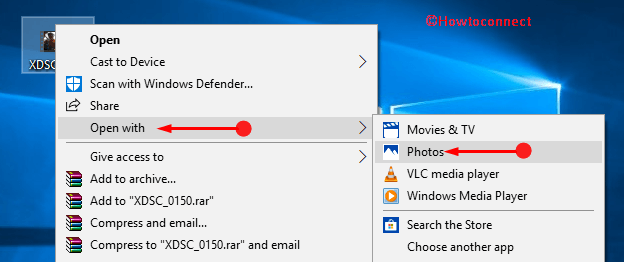
Step 1 – Open File Explorer and navigate to the location where your video is stored. Make a right-click on the video and hover the cursor over the option namely Open with. Few apps list comes into view, select Photos.
Step 2 – This immediately starts playing the video in Photos app.
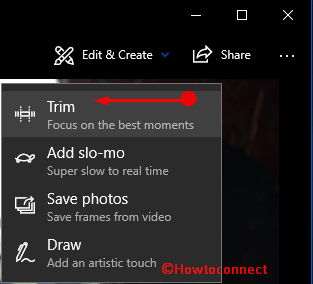
Step 3 – Moving ahead, click somewhere on the video to launch its menu bar. On the top right, click the arrow beside the option Edit & Create (see screenshot).

Step 4 – When you see a list, select Trim as shown in the given picture.
Step 5 – Now, at the bottom portion, you can notice three round buttons. The two white round buttons are the start and end markers of the clip respectively. The blue one indicates your current spot on the video.

Step 6 – So, drag both the white round buttons around the video to section off the trimmed clip.
Note – When you drag the start and end markers (white round buttons), you can view the trim length above the marker.
Step 7 – Hence, depending on which portion of the video you prefer to trim, drag the start and end markers accordingly.
Step 8 – Finally, save the trim video by clicking the Save a copy button on top. Instead, you can also use hotkeys Ctrl + S to save Trim Videos using Built-in Photos App.

For reference, you may like to read our full guide on How to Enable/Disable Particular Shortcuts Keys on Windows 10.
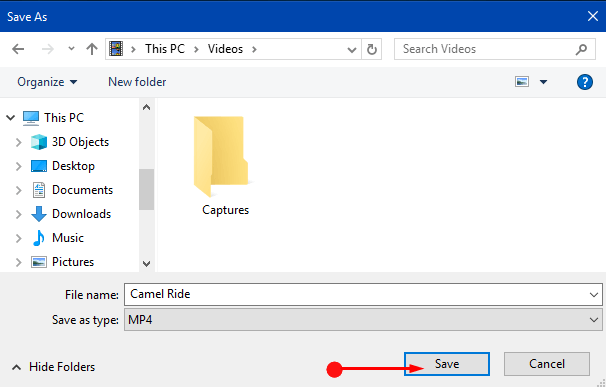
Step 9 – Browse to the desired location, provide a name to the clip and click Save button.
Conclusion
With the above-mentioned sequence of steps, you can now effortlessly Trim Videos using Built-in Photos App in Windows 10. The most interesting part is that its interface is very user-friendly. However, for advanced editing, you may have to take the support of some other tool. Hence, give a shot to the above steps and do write to us if you some tips about this trimming feature of Photos app.