Oftentimes when working on a computer, the most interesting question that might come to mind is How to Take Screenshot in Windows 10. The need for capturing screen events depends on person to person. Most of the time, it is useful during sharing an image from PC, presentation, education and so on. But each one of you might have a different type of screenshot requirements. Some may want to capture only the active window; whereas a few of them prefer a full-screen snap. Or if you are a game lover, then capturing the achievements with a screenshot might be a preference.
Windows 10 itself includes a wide range of built-in options that satisfy most of the screenshot requirements. However, there are multiple Windows applications, paid or free that lets you take snapshots. So in this article, you will see all the built-in tools, 3rd party apps, and also the way to take screenshots on web pages as well. Let us explore the below section to get familiar with all the methods –
Take Screenshot in Windows 10
Here is How to Take Screenshot in Windows 10 –
Way-1: Using Built-in Tools
Windows 10 includes some impressive tools that let you easily capture the screen happenings. Among them, some are certain keyboard shortcuts as well. Let us explore all of them in detail –
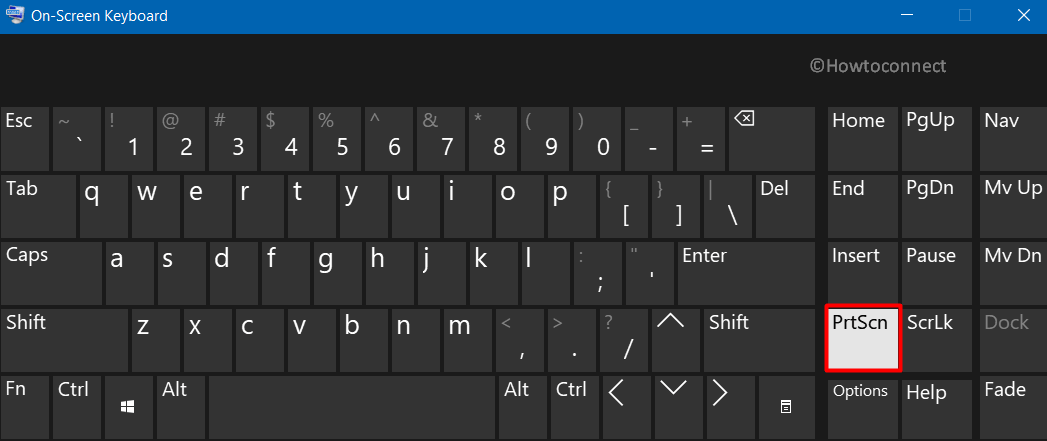
1] Keyboard Shortcut – Print Screen – Quickest and easiest way
The simplest method to take screenshot in Windows 10 requires a tap on the PrtScn key only. After this action, Windows will capture the entire screen and will further save the same in the clipboard. Here are the steps –
- Press Print Screen (PrtScn or Prt sc) key on the keyboard of laptop or computer.
- It will copy the image in the clipboard and will not automatically get saved.
- So open a tool such as Microsoft Paint, MS Word, PowerPoint, or other and press Ctrl + V to paste the screenshot.
- Click File and choose Save as option to store the picture.
Go through – Alternative for Print screen Button on Windows 10.
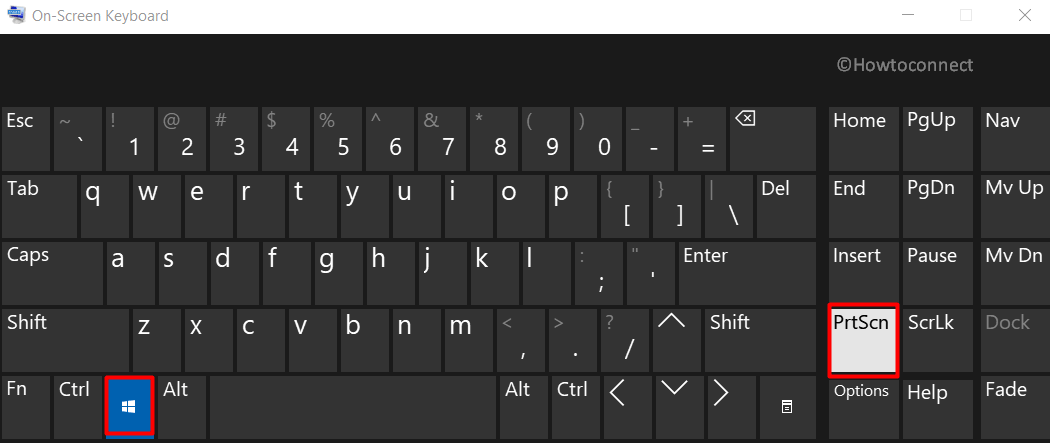
2] Windows key + Print Screen
Another easy way to take screenshot in Windows 10 is by using Windows+PrtScn. It does not require any image editor to save the snapshot. By default, it automatically stores it in the Screenshot folder.
- Press Windows logo and PrtScn keys at a time on the keyboard.
- It will dim the screen for a little while which indicates the successful capture of the snapshot.
- Finally, to view the image go to File Explorer > Pictures > Screenshots.
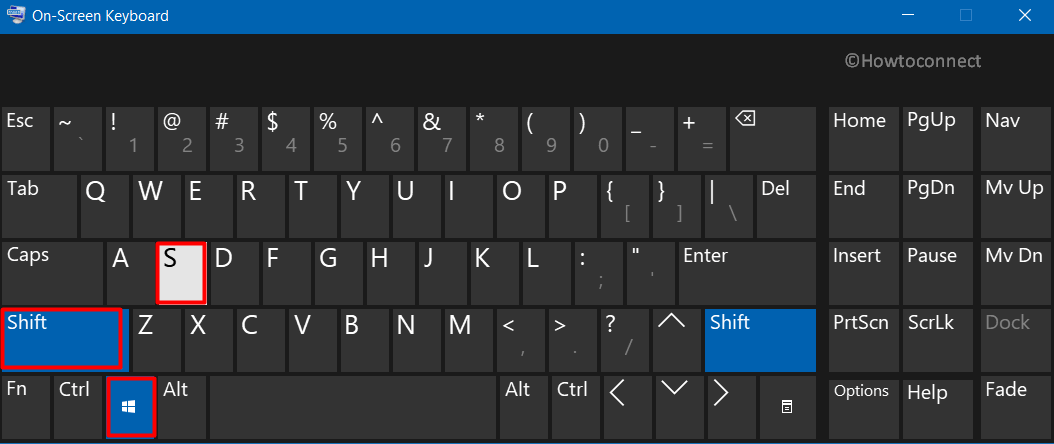
3] Windows key + Shift +S
“Win logo+shift+S” immediately launches Snip & Sketch app on the screen. It will dim the screen briefly and the tiny menu will appear on the top of the screen. Just go ahead with the type of snip you prefer to capture.
4] Alt + Print Screen
To take screenshot of an active window, this keyboard shortcut works wonderfully. See the steps below to do the same –
- Simply hit the key combination Alt+PrtScn.
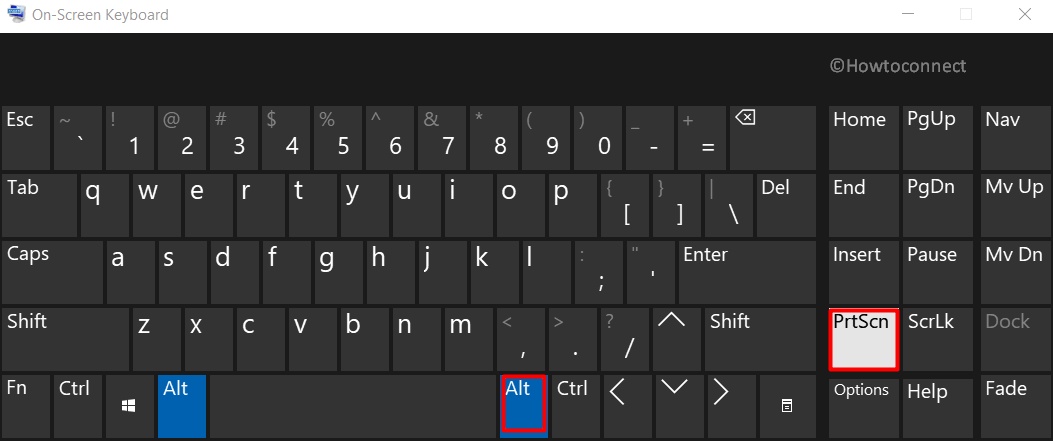
- This will take screenshot of the active window and the same will be copied to clipboard.
- So, get access to any image editor like Paint and paste the picture to save in a directory.
5] Windows Logo + Volume Down (For Surface users)
This method is applicable to users with Microsoft Surface device. Just like people take entire screen screenshot on any smartphone or tablet, here also the physical buttons will do the job.
- Hold down the Windows Logo touch button.
- Then hit the physical volume-down button. This is available on the side of the tablet.
- Doing this will dim the screen briefly and save the screenshot to the Pictures > Screenshots folder.
6] Screen Snip
You will get this Screen Snip option in the Action Center. This will launch the Snip & Sketch app to proceed further.
- Hit Win logo and A on the keyboard to show up Action Center.
- Click Expand to view all the tiles.
- Find out and select Screen snip tile.
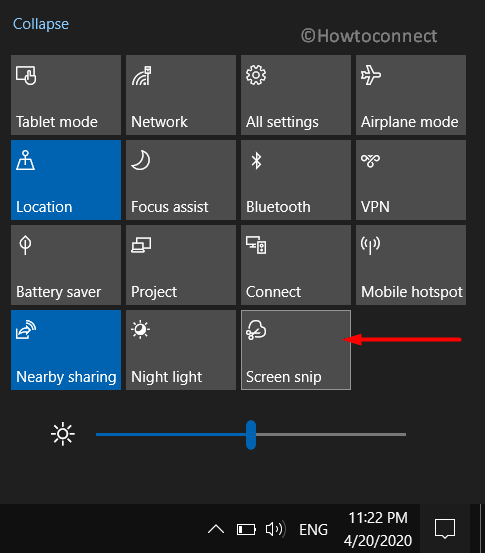
- Now, select the type of screenshot and take it.
7] Snipping Tool
This is one of the oldest desktop apps in Windows 10 for taking screenshots. It provides several snipping options with a few editing tools as well.
- Launch taskbar search box using Win+S keyboard shortcut.
- Type in snipping in the text field and hit Enter.
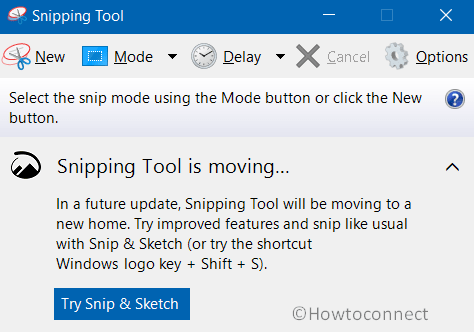
- Once the utility appears, click Mode. Choose the type of snip.
- Otherwise, click New.
- Select the Save as option on the top to save the screenshot in your preferred location and format.
See Windows 10 – How to Use Snipping Tool – Capture Screenshot
8] Snip & Sketch
Basically, this is meant to replace the traditional Snipping Tool. As the name suggests, the main function of this tool is to modify the screenshots after you capture them. Similar to Snipping tool, it also provides four types of snip to choose from.
- Press Windows logo key, type Snip & Sketch and then press Enter.
- Once the app opens up, click the New button in the upper left corner. This will immediately launch a tiny box at the top of the screen.
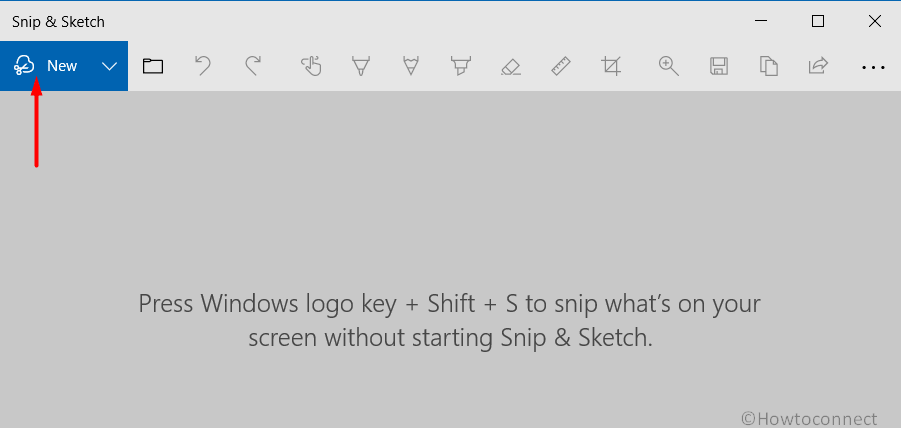
- Select the type of snip which includes “Rectangular”, “Freeform”, “Windows”, and “Fullscreen” respectively.
- Simply choose the type and capture the screenshot.
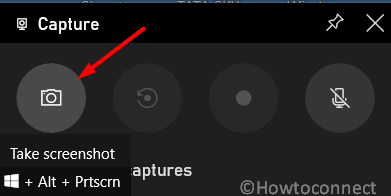
9] Game Bar
- Open Game Bar using Win Logo + G shortcut key.
- Once the app comes into view, click the screenshot button.
- Alternatively, while playing a game, simply use the default keyboard shortcut “Windows+Alt+PrtScn“.
Way-2: Take Screenshot in Web Browsers
1] Firefox
- Open the page whose screenshot you wish to capture.
- Right-click somewhere on the “page” and select Take a Screenshot option.
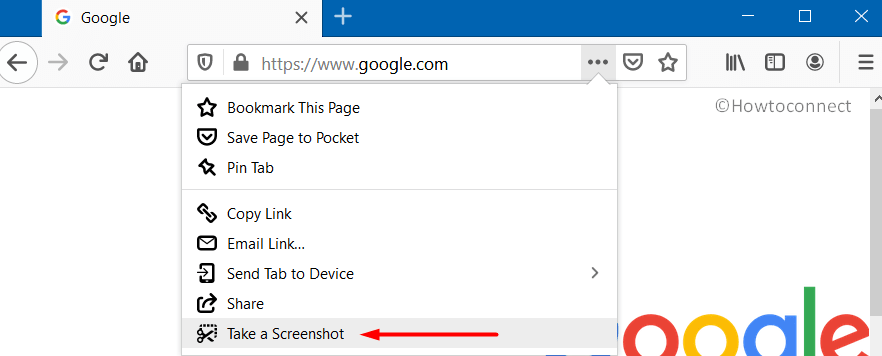
- Drag the area you wish to capture.
- The browser will display 2 options – Copy and Download.
- Click on Copy to save the image in clipboard and then use it on an image editor.
- Or click Download to save a copy of the snapshot on the Downloads folder.
2] Chrome
- Navigate to Chrome Web Store and search for Full Page Screen Capture extension.
- After the page becomes visible, click Add to Chrome.
- Upon pop-up, click on Add extension.
- Once the installation gets over, click on the tiny camera icon of the Full Page Screen Capture.
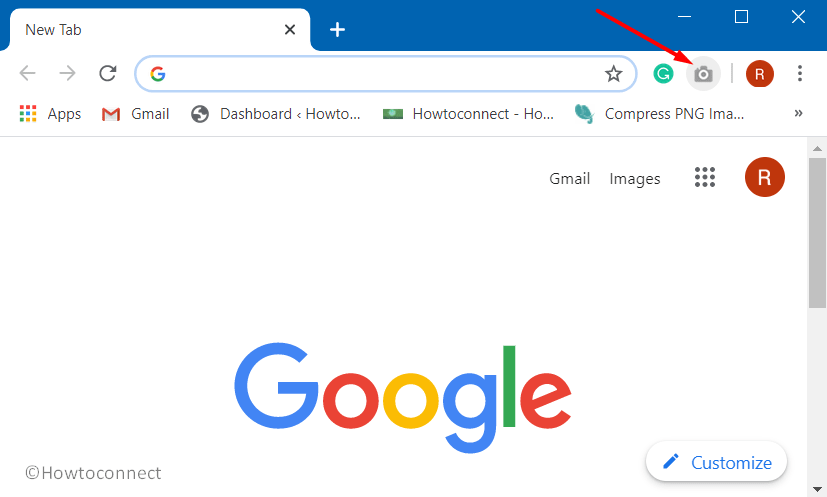
- Chrome will immediately capture the entire page and will further display certain options to annotate, share, edit, or save the image.
Way-3: Take Screenshot Using OneNote
Microsoft Office OneNote gives you the ability to capture screenshots of web pages or other applications. All you need to do is –
- Launch the webpage or application whose screenshot you wish to capture.
- Then, open OneNote.
- Click Insert on the menu bar and choose Screen clipping.
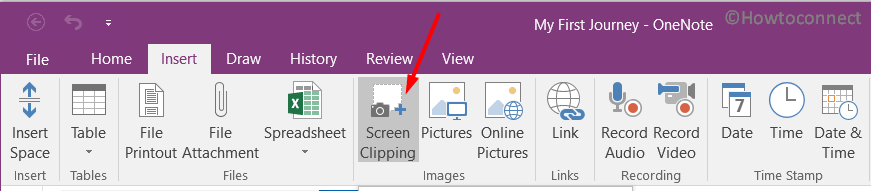
- This will immediately minimize the OneNote app and the entire screen will be dimmed. With the help of the cursor, drag the desired area and the same will be copied in OneNote.
Note – This method is not applicable to the built-in Windows 10 OneNote app.
Read How to take Webpage Screenshots from OneNote Interface
Way-4: Take Screenshot in Windows 10 Through 3rd Party Tools
Plenty of third-party utilities are available on the Internet that lets you take snapshots. Some of the interesting tools are –
1] Lighshot
- Download Lightshot simply from here.
- Install and press PrintSc key.
- Shape the screenshot by moving mouse cursor and clicking on Save icon.
2] ShareX
Download the Sharex application first. Install it following the guide suggested on-screen suggestions.
- Before starting the capturing we recommend to click Upload and uncheck Upload File. It is enabled by default and if you leave the option checked then the captured snaps will be itself uploaded to Imgur.
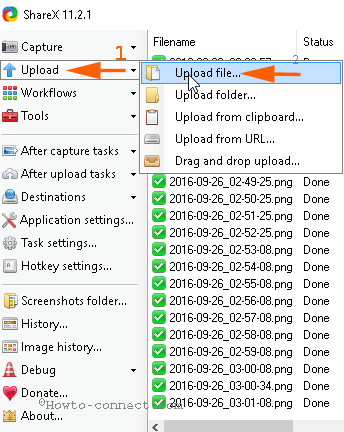
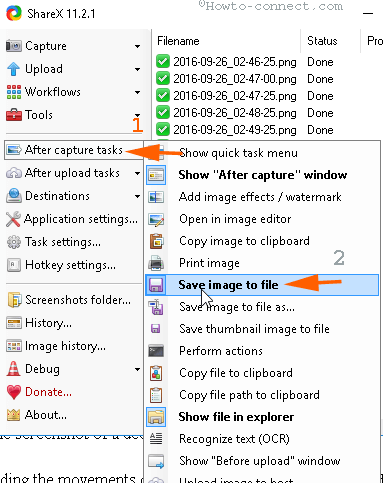
- For determining a new location, click on After capture tasks. Find the option Save Image to File in the Drop-down menu and check it.
- To collect the captured files in the desired folder click Application Settings => Path.
Take Screenshot in Windows 10 –
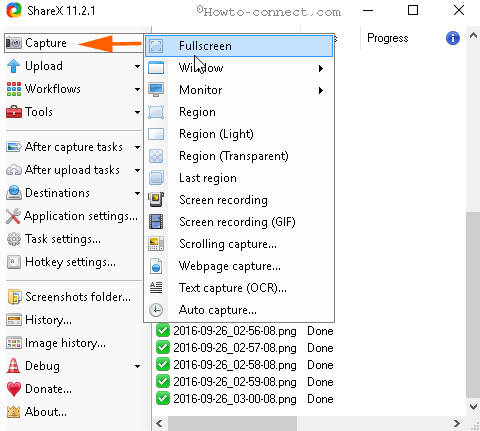
- Now click Capture which will open a list of options.
- On the menu, select the option accordingly need, such as
To snap overall screen – Full screen
To take screenshot with cursor visible of a decided segment – Region.
For recording the movements on system’s screen – Screen recording.
In addition a few more options
To draw the snap for only write up of a web page – Text Capture (OCR)
To snap the complete web page – Webpage capture
Record screen for Animation – Screen recording (GIF)
are available.
- So, click on the option suitable for you.
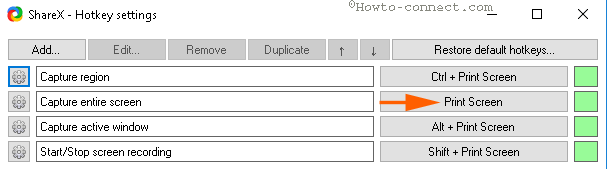
- Noteworthy is you can also grab screenshots using Sharex simply by pressing the Prt sc key.
Save and See Screenshot
- Once you snap, Sharex – after capture window appears, click on Continue here. As soon as you click Continue the screenshot is stored in the determined location.
- You can see the list in the middle and preview on the right side of Sharex. From the list, you can also go to the screenshot saving location and open it.
- In case, you are doubtful concerning location on your computer simply click Screenshot folder.
See – 4 Best Ways to take screenshot in Windows 11
Methods:
Way-1: Using Built-in Tools
Way-2: In Web Browsers
Way-3: Take Screenshot Using OneNote
Way-4: Through 3rd Party Tools
That’s all!!