You sometimes need to Give a New Name to your Computer when you buy a second-hand PC or want to personalize your PC in a distinguished way. Here we are writing tips that will help you in this work when you have Windows 10 OS.
Why a PC needs to be named?
You must have provided a name to your computer when the first time you started or set it. But have you ever thought the need of providing a name to your computer? Well, it is definitely not to tell everyone or make your friends meet your computer with its name. The name that you provide to your computer makes it different from the rest when they are connected to a network. You should always provide a special name to your computer so that it does not create any conflicts between the two or more computers with the same name. You can provide any name to your computer, but there is a limitation to the number of characters and also there are few characters that cannot be used for the computer name.
Restrictions:
The maximum number of characters to be used is 15 and the characters like colon, semicolon, plus, equal, space, question mark, square brackets, underscore, quotation marks, pipe, greater than, less than, and comma cannot be used as any character of the name.
In this article, we will tell you How to Give a New Name to your Computer on Windows 10 operating system. But be sure to sign into the system with the administrative account because it needs administrative authorities to carry out the work. Let us now see the process.
Table of Contents
How to Give a New Name to your Computer on Windows 10
Through Control Panel
- To start the process, you need to get into the Control Panel. For this write control panel in start menu search box and hit the same in the result.
- In the control panel, if you are viewing category wise, choose System and Security followed by a click on System.

- If you are into the small icons, directly click System.

- In the System window, you will see a section with a heading: Computer name, domain, and workgroup settings. And also Change settings link with the administrative icon supporting it. Click the link.

- By default, you will be taken to the Computer Name tab. The last section says that To rename this computer or change its domain or workgroup, click Change. Now, you will click Change button which is next to this section.

- This action will bring the Computer Name/Domain Changes window on your screen. In this window, you will see your present computer name in the Computer name field. Remove that name and insert your desired name. But as stated above, keep the length of the characters within the mentioned limit and don’t use the prohibited characters otherwise the change of the name will not be successful. Don’t forget to click Ok to save your changes.

- You will see a window informing you to close all the work as the restart will take place to bring the change into effect. Click Ok.

- Now also, exit from the System Properties window. Another window pops up with the options to Restart Now and Restart Later. If you are currently working on something, choose Restart Later. But remember whatever option you choose, don’t forget to close and save all your running works.
Note: For the computers which are on a corporate network and as its name is directed by the IT department and without their permission, the name cannot be changed.
Through Settings
Through Settings, you can Give a New Name to your Computer on Windows 10.
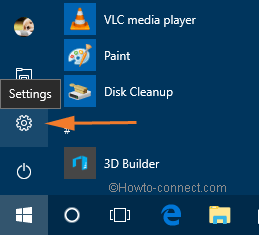
- Select Settings when you are into the Start Menu of Windows 10.
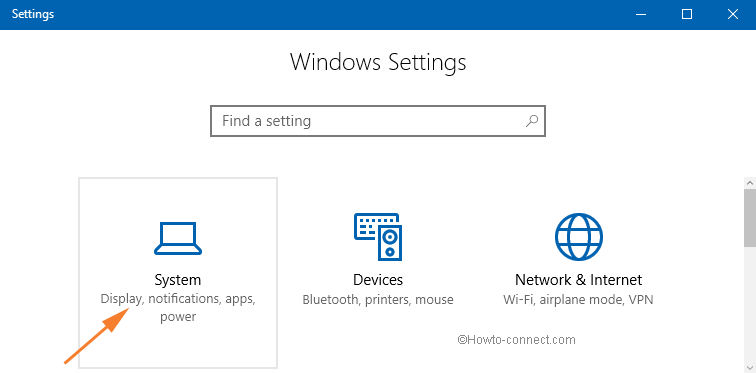
- Choose System.
- On the left-hand side of System, hit About.

- The right pane of the About exhibits the details of your computer. Click on Rename this PC button.

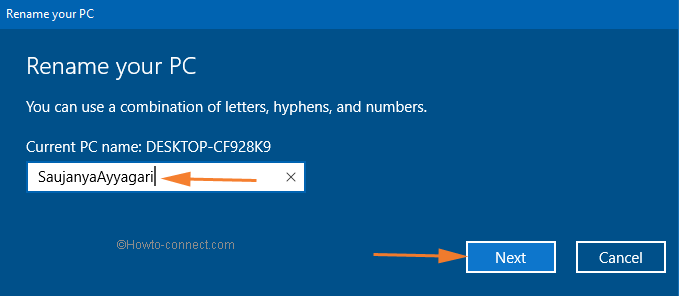
- The following screen will show you the current name and allows you to insert the new name for your computer. Click Next once you are done with the new name.
- The screen will let you know that after you restart your system, the new name will come to effect. You can choose to Restart now or Restart Later as per your requirement.
Conclusion
Windows 10 provides you two different ways to Give a New Name to your Computer. When you are in a network and found out that there is another computer with the same name of yours, you can then easily change your computers name and avoid any mess or confusion while sharing any stuff. Choose the method in which you feel comfortable and change the name of your computer within a few minutes. Try out the steps and let us know which one you found better and of course, don’t forget to tell the reason. Use the comments form below. We are waiting!