Before jumping to the method, let’s discuss what is Application Identity Service in Windows 11 or 10. As name suggests this service is responsible for the identification of an application. When you install Windows 11 or 10 on your PC, AppIDSvc comes automatically with manual startup type by default. Once you run it with the built-in configuration, it logs on by using the Local Service account. Disabling the same service might cause several issues such as applocker not working.
The path of AppIDSvc service is %WinDir%\system32\svchost.exe -k LocalServiceNetworkRestricted -p. It runs as NT Authority\LocalService in a shared svchost.exe Windows 10 process. Hence, other services can run in the same process too. But when it fails to start, the error is logged into the Event Log. Usually, it happens when AppID Driver or Cryptographic or Remote Procedure Call (RPC) services become disabled.
Ways to Enable Disable Application Identity Service in Windows 11 and 10
Here is How to Enable Disable Application Identity Service in Windows 11 or 10 –
Step-1: Press “Win+R” keyboard shortcut to open Run dialog box.
Step-2: Once it shows up on the screen, type services.msc in the provided text field and hit Enter key.
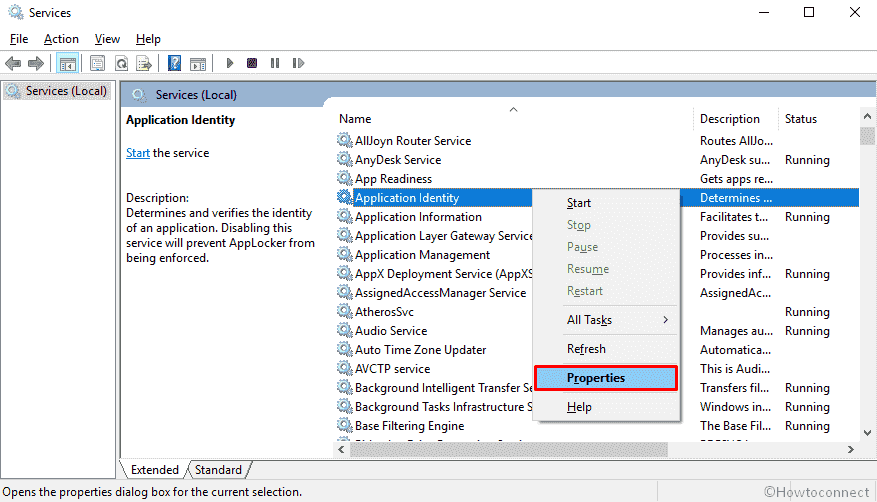
Step-3: Locate Application Identity in the Name column.
Step-4: Once found, right-click on the same service and select Properties.
Enable Application Identity Service
Step-5: A new wizard will appear with General tab. Click on the dropdown against Startup type and select Manual or Automatic using the drop-down menu.
Step-6: To Enable AppIDSvc in Windows 11 or 10, click Start button located under the Service status section.
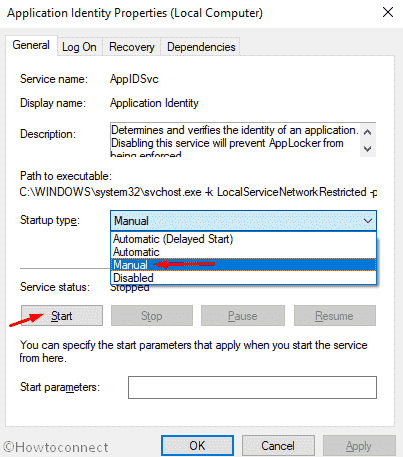
Step-7: Lastly, hit the OK button to save the changes you made.
Note – After performing the above method, if the service doesn’t start immediately or shows up an error message, locate Remote Procedure Call (RPC) and make sure that it is running.
Disable Application Identity Service
Step-8: This time, select Disabled using the dropdown menu of Startup type.
Step-9: Later on, click the Stop button beneath the Service status.
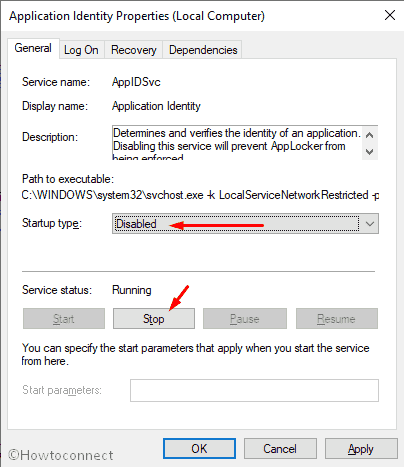
Step-11: Finally, click the OK button in order to disable Application Identity Service completely.
That’s all!!!