You may want to Completely Disable Quick Heal Antivirus from your system for various reasons. It is a security program that protects the PC from malware or virus attacks. Moreover, it also blocks different websites that can infect the system. So, if you have installed this software and now prefers to do away with it, we will help you out.
You need to first disable the software permanently and then uninstall it. However, even after uninstallation, the system stores certain entries of the antivirus. So, to remove those items, you can either manually delete a few related registry keys or use a third-party tool.
Way to Completely Disable Quick Heal Antivirus
Here is how to completely disable Quick Heal Antivirus –
Step-1: Go to the system tray on the extreme right corner of the taskbar. Here, locate the Quick Heal Antivirus icon. If you cannot see it, click the Show hidden icons arrow and you can see Quick Heal Antivirus icon.
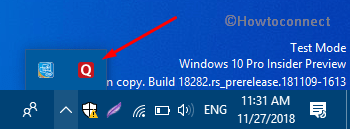
Step-2: Do a right-click on the icon.
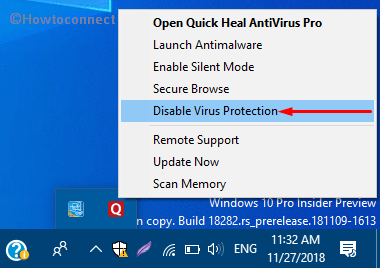
Step-3: Click Disable Virus Protection option from the menu that pops-up.
Step-4: A dialog box will appear where you have to choose a time slot after which the software will turn on automatically. But as you prefer to Completely Disable Quick Heal Antivirus, select the last option Permanently disable (see snapshot).
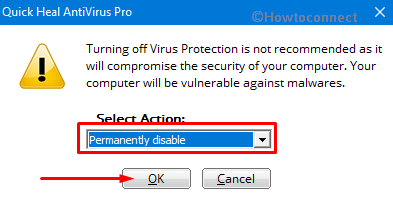
Step-5: Click OK.
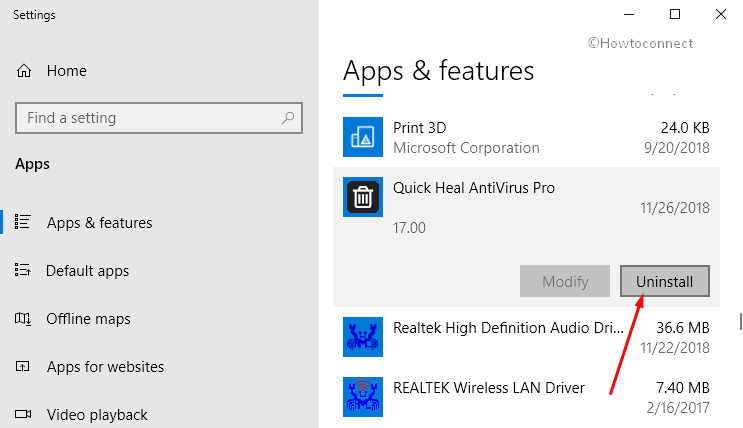
Step-6: Once you disable it, you need to uninstall the software from the system. So, right-click on Start and choose Apps and Features from the Win+X Menu.
Step-7: This will launch the Apps Settings page. Amongst the list of applications, locate and select Quick Heal Antivirus. Click Uninstall button.
Step-8: Upon the confirmation, again click the Uninstall button.
Step-9: Click Yes if you come across the UAC prompt to Completely Disable Quick Heal Antivirus.
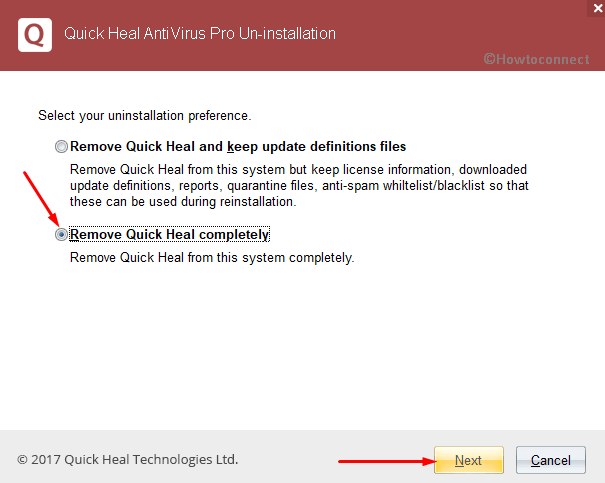
Step-10: The uninstallation wizard will show up, choose the radio button Remove Quick Heal completely. Click Next. Wait for the uninstallation to complete.
Step-11 – Finally, click Restart Now button to finish the uninstallation of Quick Heal Antivirus.
Remove Quick Heal Antivirus Registry Entries
Even after you uninstall the antivirus from the system, certain elements of the program continue to remain in the system. You can remove those entries from the Registry Editor.
Hit “Win + I” shortcut keys in order to open Run dialog box. Here, type “regedit” and press Enter.
Click Yes on the UAC prompt to get access to the tool.
Navigate to the following paths and delete the Quick Heal folder.
Computer\HKEY_CURRENT_USER\Software
Computer\HKEY_LOCAL_MACHINE\SOFTWARE
Computer\HKEY_LOCAL_MACHINE\SOFTWARE
Right-click the Quick Heal folder and choose Delete from the context menu.
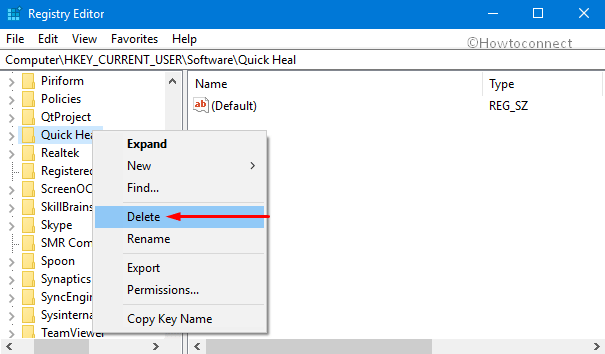
Lastly, click Yes to confirm the removal of Quick Heal entries from the Registry.
If you are not comfortable with the Registry, Use Revo Uninstaller On Windows 10 to eradicate all the leftovers of Quick Heal Antivirus from the system.
That’s all!!!