When Installing KB4340557 or KB4340558 on Windows 8.1 you might encounter 0x80092004 error. These are Security and Quality Rollup update and also available for Windows Server and 2012 R2 and 2012. Microsoft provides patches to fix the issue found unexpectedly by users.
Here you will find 2 ways to 0x80092004 Error When Installing KB4340557 or KB4340558 on Windows 8.1. You can download and install the patches or manually check for the updates after cleaning the system.
0x80092004 Error When Installing KB4340557 or KB4340558 on Windows 8.1
Here are how to Fix 0x80092004 Error When Installing KB4340557 or KB4340558 on Windows 8.1 –
1. Download and install the patch given by Microsoft
Ensure the version
Step-1: Click on the Start button, and then select Settings cog.
Step-2: Choose on Change PC settings from the right bottom.
Step-3: Go to Update & recovery and then Windows update.
Step-4: Click on View your update history.
Check the patches to know which one from KB4340557 or KB4340558 is installed on your PC.
Download and install the patches
Grab the July 2018 Security Only updates, as applicable, from these sources as instant solutions –
2. Manually get Windows update
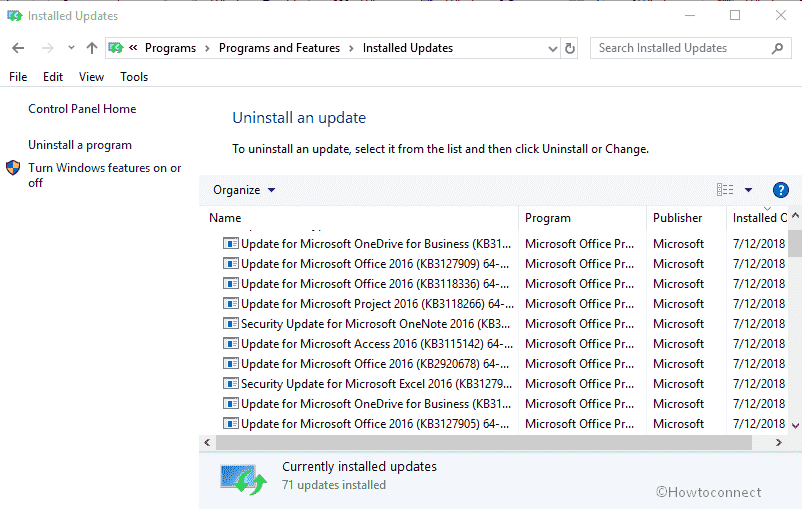
Uninstall KB4340557 or KB4340558 whichever is installed
Firstly, Uninstall the Quality Rollup updates patches KB4340557 or KB4340558 for June 2018 Preview from your system by following the steps –
- Press Start, type “control” and then hit Enter.
- Once the Control panel rolls in, click on Program & features.
- Select View installed updates from the left column.
- Locate KB4229726 or KB4229727 which one exists on your system. Double click and select Uninstall.
- Click on Yes on the UAC prompt and Uninstall on the confirmation pop up.
Run DISM Cleanup command
Open Charms search, type cmd.exe, right click on the result and then choose “Run as administrator”.
Alternatively, use the method here – 4 Ways To Launch Command Prompt with Administrator Privileges In Windows 8.
Copy DISM.exe /Online /Cleanup-image /Restorehealth, paste after C:\WINDOWS\system32> and then press Enter.
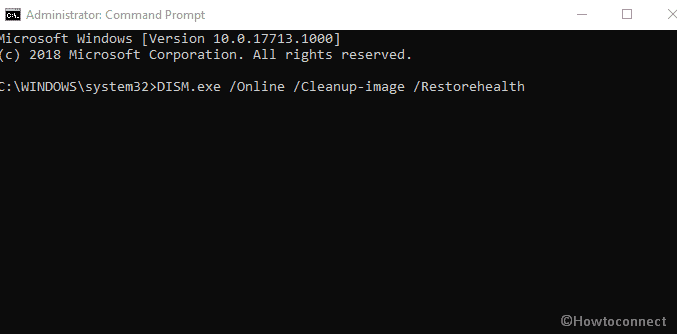
Give some time to complete the execution and reboot your PC after the end.
Check Windows update
Click on the Start button and then navigate to Settings > Change PC settings > Update and recovery > Windows Update (This is also explained in the 1st method).
Check the updates and let them download and install.
You can follow the instructions here – How to Update Windows 8 Manually step by step.
That’s all.