
Windows 11 24H2, 25H2, and 26H2 feature the new KB5127648. update. Installing the update keeps your system running smoothly and protected.
Most often, users find it difficult to update through Windows Update. This is a recurring problem and an easy fix. You do not need any complex tutorial to follow the steps mentioned below. Start with Method 1, and move to the next one only if the problem persists. Most of the cases gets fixed by the first method itself.
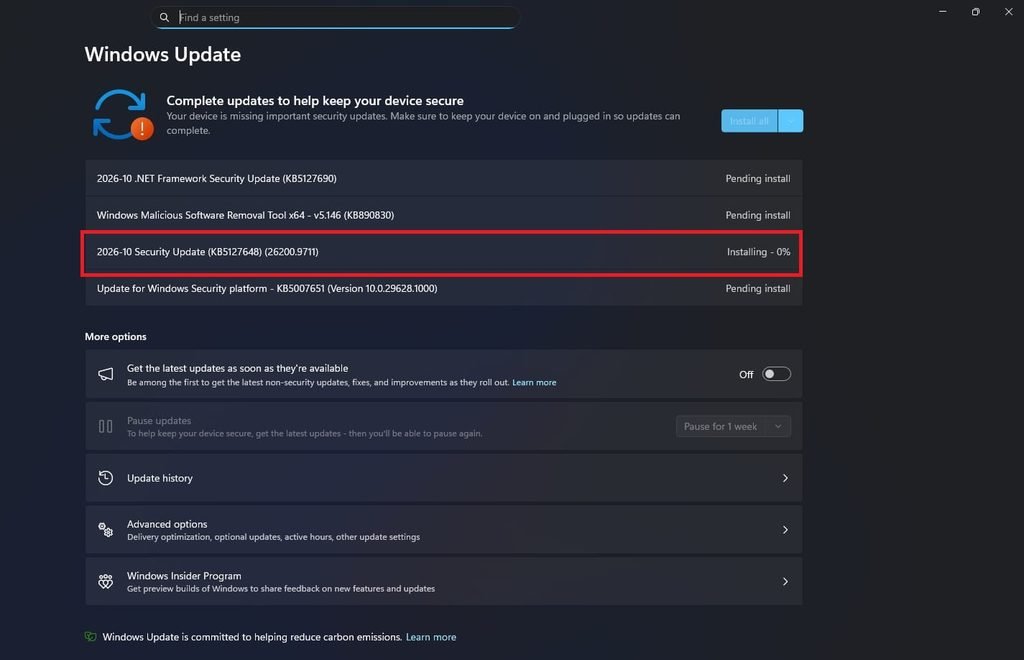
Method-1: Install the update (KB5127648) from Microsoft Update Catalog
- Go to the Microsoft Update Catalog.
- You will see various files here. Select the most compatible and latest version based on your system requirements (ARM64 or X64)
Check your system type:
- Click on Start and Open Settings.
- Hover over System and click on About.
- Your system type should be mentioned under Device specifications.
Install the update:
- Go back to downloading your system-compatible file from the Update Catalog. Click Download next to the the file.
- Click the link consisting of KB5127648.
- Go to the file where the download is completed.
- Open the file.
- Go through and follow the on-screen steps to complete the installation.
If you are still facing the problem, follow the next methods.
Method-2: Fix the problem using Windows Update
- Click on Start.
- Go to Settings.
- Hover to the left-hand side and click System.
- Scroll to the right panel and go to Recovery.
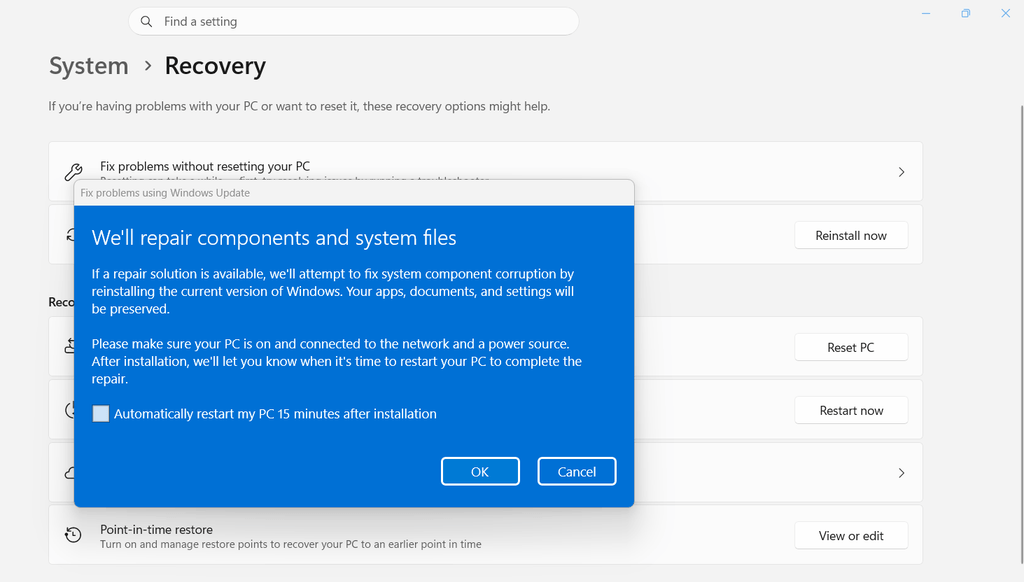
- Select Reinstall now beside Fix problems using Windows Update.
- Tick the box for Automatically restart my PC 15 minutes after installation.
- Select OK.
- Wait for the repair, then open Windows Update in Settings after the restart.
- Select Check for updates.
Method-3: Run Windows Update Troubleshooter
The old version of the troubleshooter works more effectively than the default Get Help process.
- Download the Legacy troubleshooter from Windows Update Troubleshooter (zip)
- Extract the downloaded zip file.
- Go to the extracted folder and Open wu_troubleshoot10.diagcab.
- Select Advanced link and tick Apply repairs automatically option.
- Click Run as administrator.
- Click on Windows Update and select Next.
- Let the app detect the specific problem and repair it. Then follow the on-screen commands.
- Check if the update now installs. If it again fails to install, move to further methods.
Method-4: Reset Windows Update components
- Go to Search
- Enter CMD.
- Run the Command Prompt as administrator.
- If a popup appears for User Account Control. Click Yes
- Enter the following commands one line at a time, hitting Enter after each:
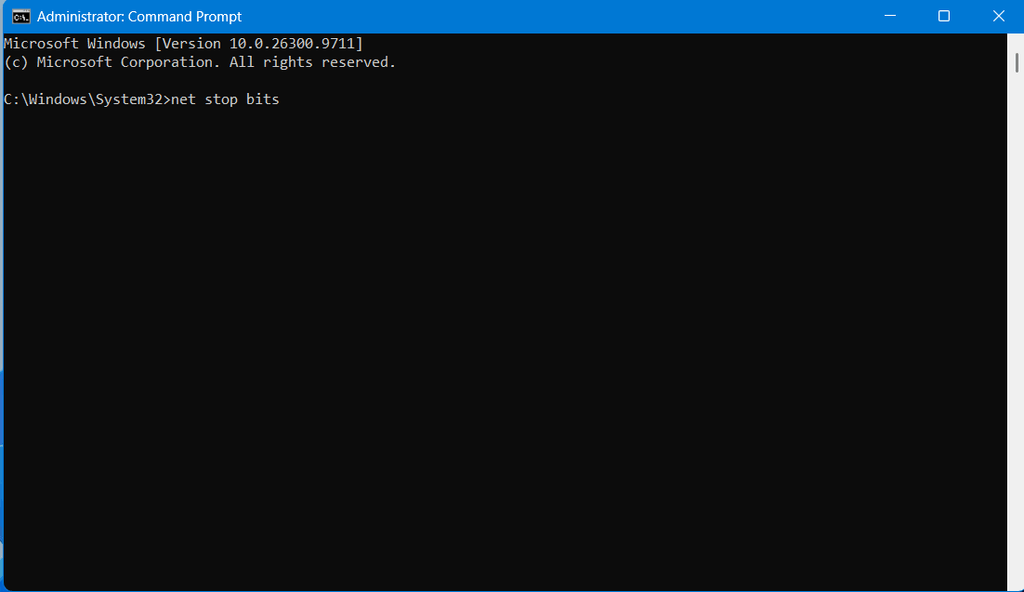
net stop bits
net stop wuauserv
net stop CryptSvc
ren %systemroot%\softwaredistribution softwaredistribution.bak
ren %systemroot%\system32\catroot2 catroot2.bak
net start bits
net start wuauserv
net start CryptSvc- Close the Command Prompt Windows and other tasks, then restart your system.
- Again, click Start > Settings > Windows Update and check for updates.
Method-5: Modify Services
- Go to Search and Enter Services.
- Under the Services interface, search for App Readiness.
- Right-click on it and choose Properties.
- Confirm if Startup type is set to Automatic. If it is not yet set to automatic, click on the dropdown and choose Automatic.
- If the services are stopped. Click on Start.
- Choose Apply and then OK.
- Repeat steps 3 to 6 for Windows Update, Cryptographic Services, and Background Intelligent Transfer Service.
- Close the Services window.
- Go to Settings > Windows Update and try to install the update again.
Method-6: Run DISM tool and System File Checker
- Go to Search and enter cmd.
- Right-click Command Prompt and choose Run as administrator.
- Enter the following command, Hit Enter. Wait until it reaches 100%.
SFC /Scannow- Now, enter the mentioned command and press Enter. Now wait for it to complete.
DISM /Online /Cleanup-Image /RestoreHealth- Restart your system.
- Go to Windows Update settings and try to reinstall the update again.
Method 7: In-place upgrade
If the above methods fail to work, execute an in-place upgrade.
- Go to the Windows 11 download page.
- Go to the section where you can download the Windows 11 Disk Image (ISO) and select the option based on your requirements (ARM64 or x64).
- Choose your Product language when asked. Check it by going to Settings > Time & Language & Region and find the Windows display language.
- Click Confirm, then Download. Let the download finish.
- Right-click on the downloaded ISO file and choose Mount.
- Click Open when the security warning interface appears.
- Right-Click on setup.exe and choose Open.
- At the bottom of the page, under, Untick the box for downloading updates. This will save time.
- Accept the license terms and choose Install.
- Wait till the installation is complete. Your system will restart 2-3 times.
By following the addressed instructions, you should now be able to solve KB5127648 failing to install on Windows 11 24H2, 25H2, 26H2.