Docker Desktop is an application that allows developers to build, share, and run containerized applications on their system. Sometimes, this app throws a message saying “Docker Desktop – Unexpected WSL Error” in Windows 11. Fortunately, there are possible solutions to fix this issue.
First, let’s see why Docker Desktop – Unexpected WSL Error occurs. This common problem triggers the error message when trying to start this application and the computer is not connected to domain/active directory. Docker relies on Windows Subsystem for Linux, specifically WSL2, therefore, when there is an issue with this, the error message appears.
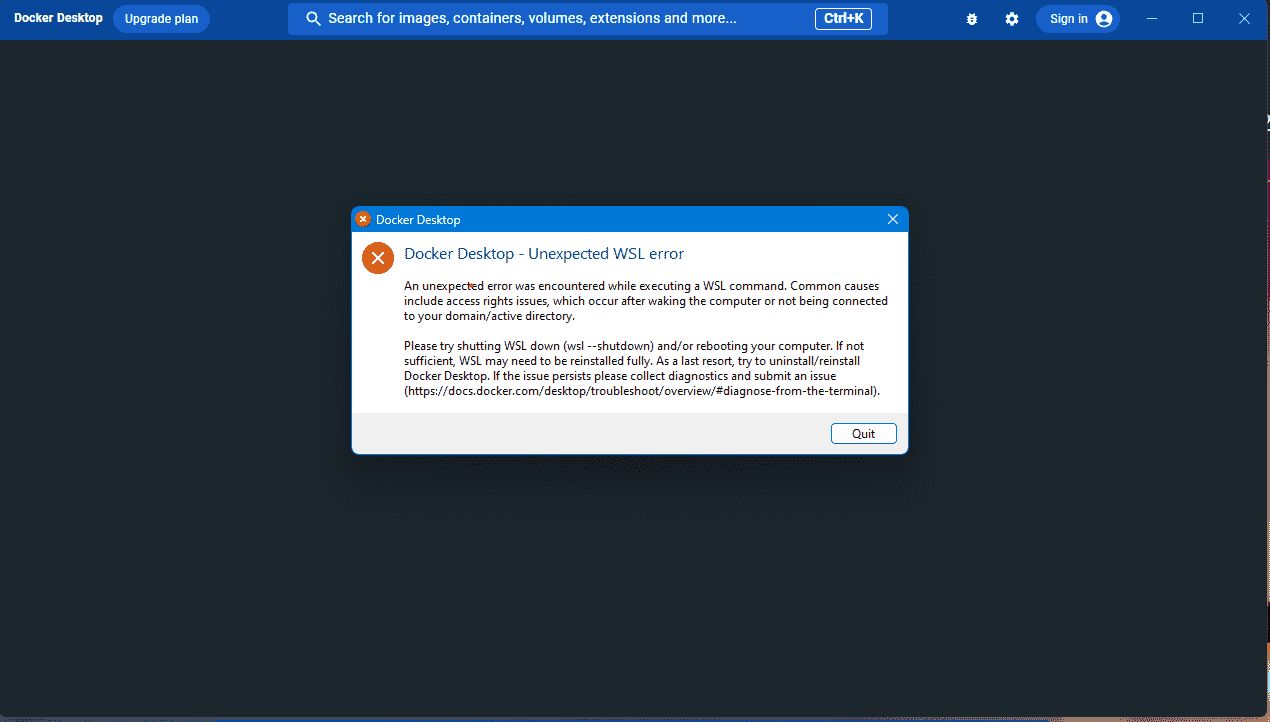
Table of Contents
Docker Desktop Unexpected WSL Error
Here is how to fix Docker Desktop – Unexpected WSL error in Windows 11:
Enable Virtualization from BIOS
I have read users’ feedback, and some of them fixed this issue by enabling Virtualization from BIOS. The Process of enabling Virtualization from BIOS depends on your computer so head to the steps mentioned:
- Restart your computer.
- On Company Logo screen, press the Key F2, F10, Esc, or Delete depending on manufacturer to enter BIOS Setup.
- Navigate the Section, “Virtualization”, “VT-x”, “SVM”, “AMD-V” or similar term using arrow keys or mouse cursor.
- Enable the Virtualization.
- Press F10 or Esc and click Save or a similar option.
See: Fix Docker Desktop Starting forever error in Windows 11 or 10.
The Docker Desktop needs WSL 2 to function properly which is built with Virtualization Technology so if it’s disabled, then you may face errors.
Turn Two Windows Features on
To run Docker application perfectly, “Windows Hypervisor Platform” and “Virtual Machine Platform” must be installed. These options will help to fix the Unexpected WSL Error.
- Press Windows Key+R and type appwiz.cpl.
- Click Turn Windows features on or off from the left panel.
- Check box “Windows Hypervisor Platform” and “Virtual Machine Platform”.
- Click “OK”.
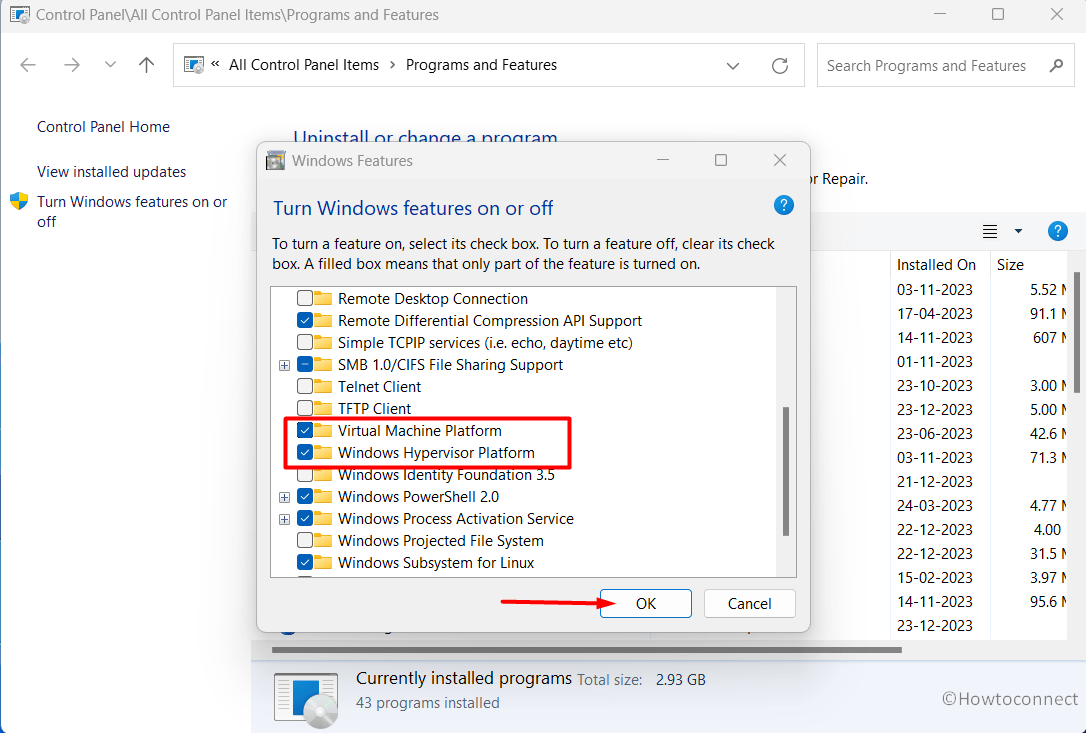
- Wait for Searching and installing. Click “Restart now”.
Docker Desktop recommends WSL2 which runs when Hypervisor Platform and Virtual Machine platform provide a virtualization environment.
Install WSL Manually
If WSL2 is not installing through Windows Features then Microsoft provides a direct download link so there is nothing to worry about. Download the WSL2 Linux kernel update package for x64 machine straight from the official source and manually install using this.
- Visit this Link and click on “WSL2 Linux kernel update package for x64 machine”.
- Open the Downloaded wsl_update_x64.msi file.
- Choose Next and click Yes in User Account Control.
- After installation, click Finish.
Install WSL from CMD
Apart from the previous method, WSL2 can be installed using Command Prompt. Simply, a cmd command line will perform the whole task for this hence, go with the steps:
- Click the Start, type CMD, and Right-click on it.
- Choose Run as administrator and click Yes
- Paste the command:
wsl --installand press “Enter”.
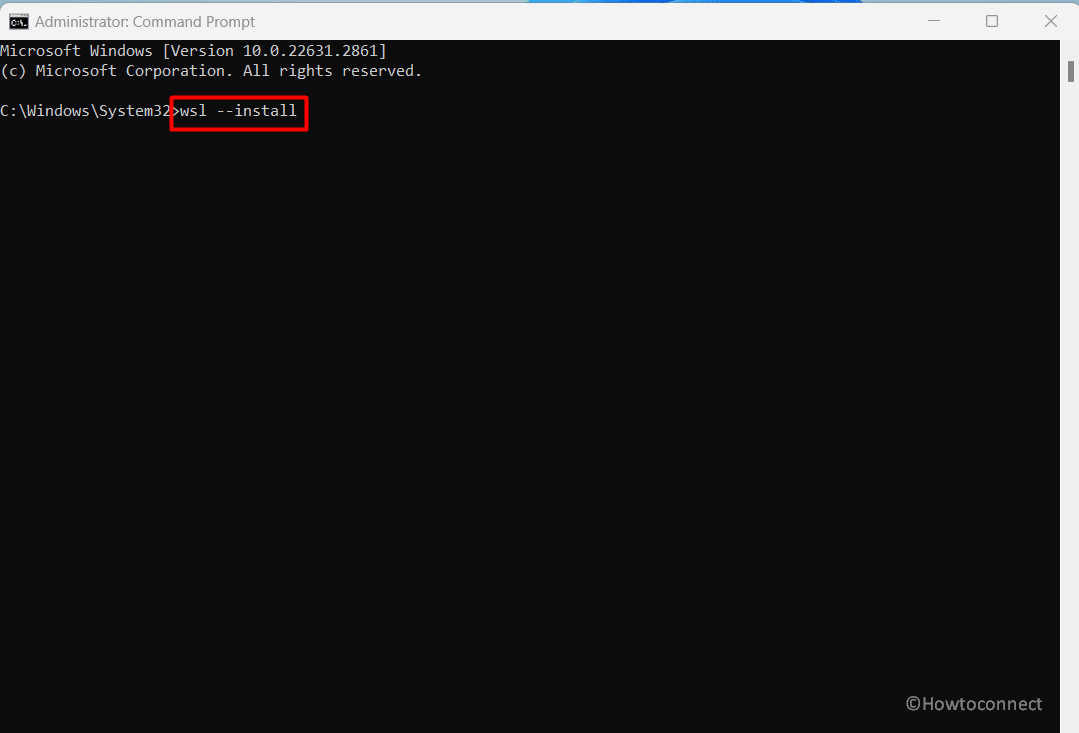
- Wait for Installation.
- After then, restart your Computer.
Update Windows Subsystem for Linux
WSL receives updates on regular basis and the old version of this feature might cause Docker to cause Docker desktop unexpected WSL error. Therefore, install the update using Microsoft Store, Command Prompt, or Windows PowerShell whenever available.
- Press the Windows button and type cmd.
- Select – Run as administrator.
- Enter the following command:
wsl --updateand hit Enter.
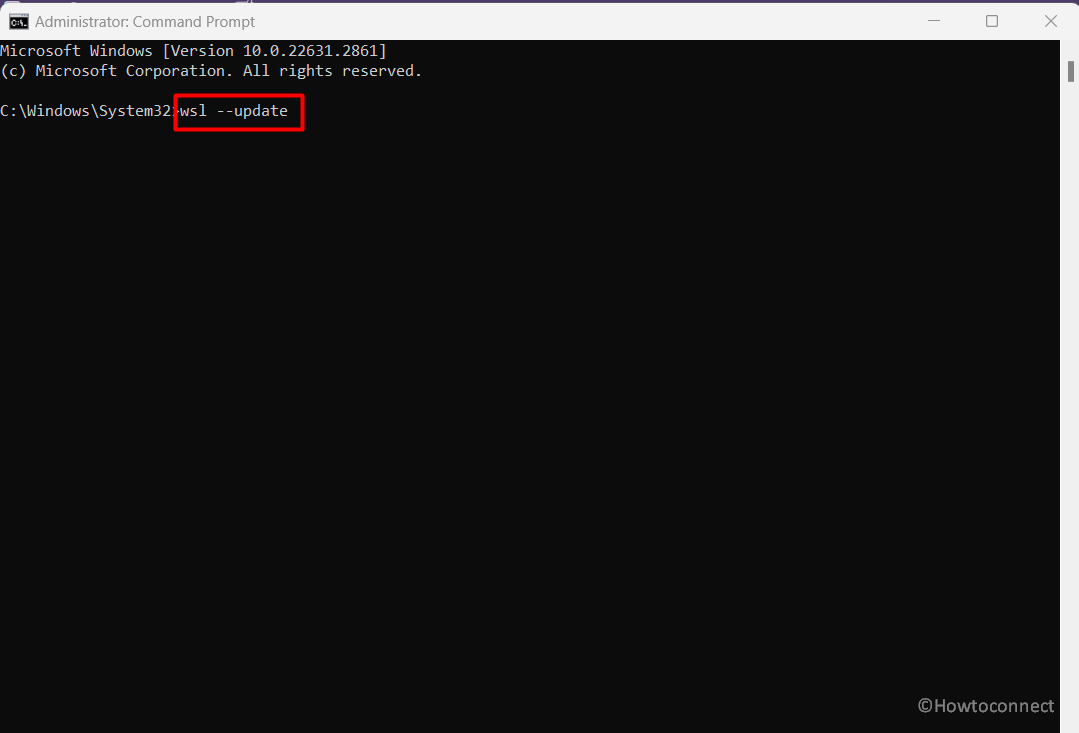
- Click Yes and allow the Update to complete.
- Reboot your PC.
Disable Legacy Console in CMD
Legacy Console is provided to deal with compatibility problems in Windows but this has reverse effect on the latest version. Check if this option is enabled in Command Prompt and disable if it is.
- Launch elevated Command prompt following the steps mentioned in the previous method.
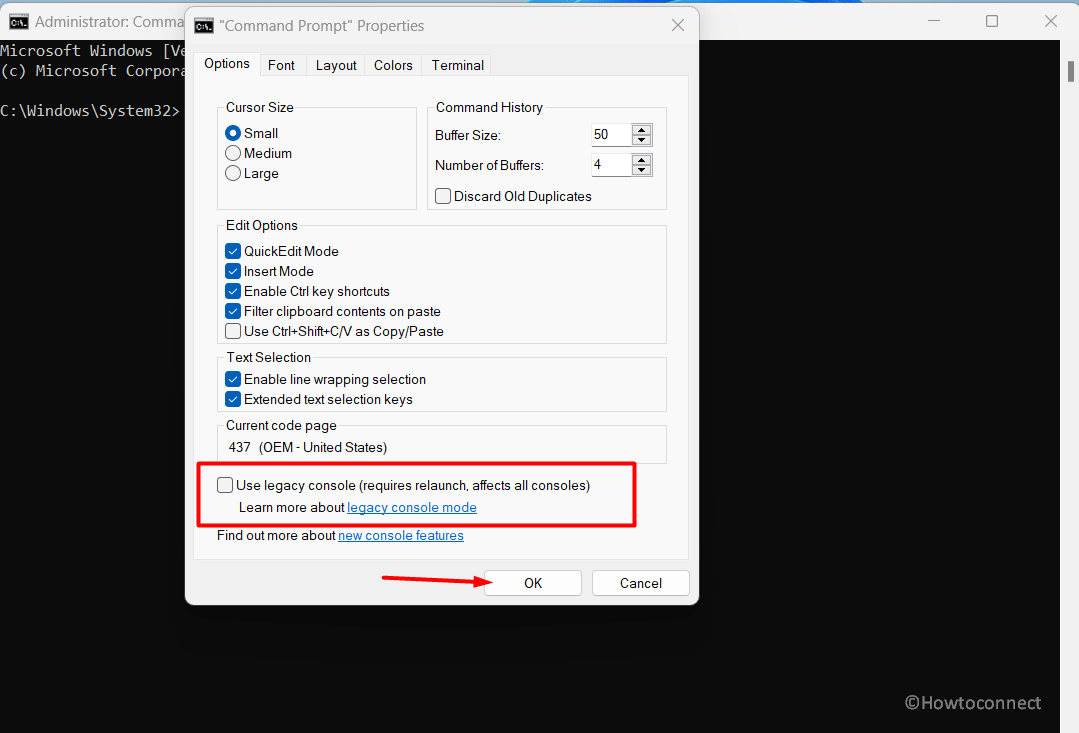
- Right-click the Title Bar and select Properties.
- Uncheck “Use legacy console (requires relaunch, affects all console)”.
- Click OK and reopen Command Prompt.
- Then, try to install or update the WSL2.
Use Powershell cmdlet
Besides using Command Prompt and download link WSL2 can be installed through Windows PowerShell. In case, the Docker Desktop is still showing the error on opening then try installing Windows SubSystem for Linux with this method:
- Type Powershell. in the Search box and select “Run as administrator”. Click Yes.
- Write the following cmdlet (without quotes) and Press the Enter key:
"dism.exe /online /enable-feature /featurename:Microsoft-Windows-Subsystem-Linux /all /norestart"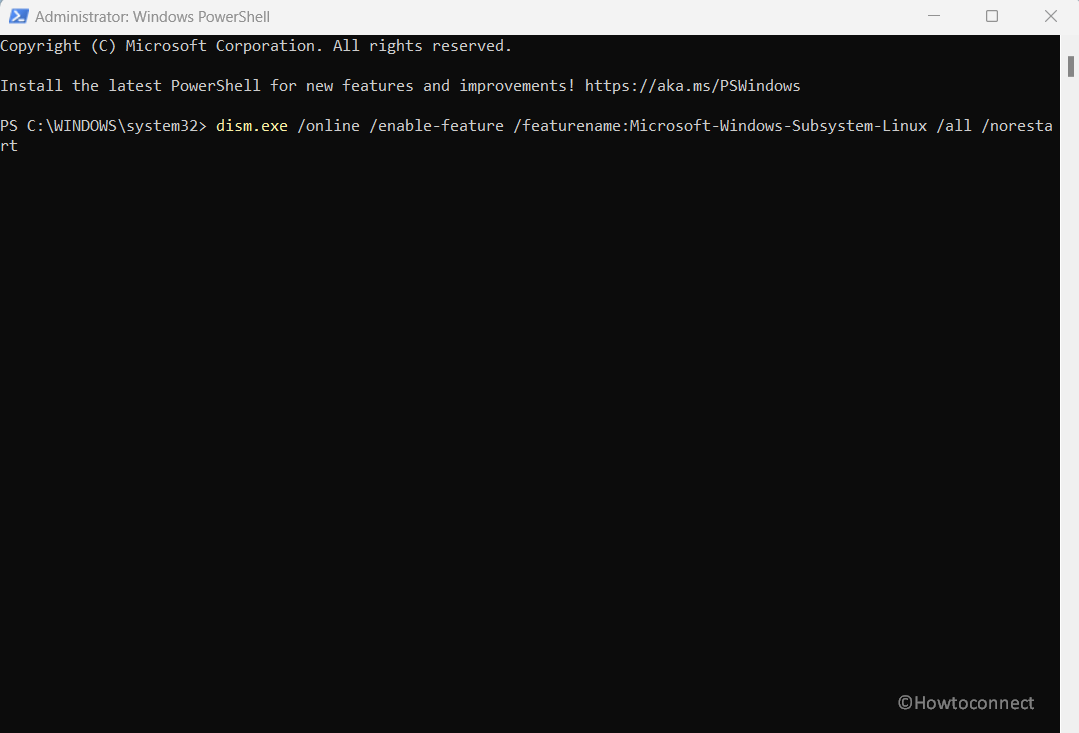
- Let the installation complete and launch Docker once again.
Contact the Docker Desktop Team
You can contact the Docker Desktop team related to your issue:
Docker Support:
You can directly send your message to the Docker Desktop team. Visit this link, and enter your Name, Email, Topic, Subject, and Message. Hit Submit. Your message will be sent to the Docker Desktop team.
Docker Forums:
Docker has a Forum where you can ask questions and review answers. This is very helpful to get the answer to your query from other users.
Docker Slack Community:
Fortunately, Docker has a Slack Community where the Developers share knowledge and information.
Methods:
Enable Virtualization from BIOS
Turn Two Windows Features on
Install WSL Manually
Install WSL from CMD
Update Windows Subsystem for Linux
Disable Legacy Console in CMD
Use Powershell cmdlet
Contact the Docker Desktop Team
That’s all!!