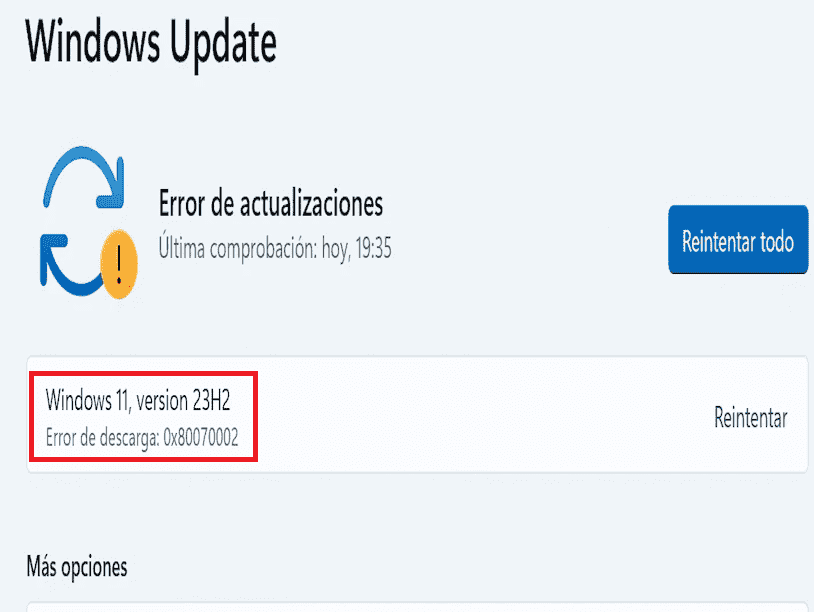
Several users are reporting that they can not install Windows 11 23H2 due some some certain codes. These are commonly 0x80246019, 0x800f081f, 0x80248007, 0x80070002, and some other that prevent the update or enablement process. This issue is the result of nothing more than generic causes such as corrupted Windows update cache, third-party antivirus or firewall programs interfering with the connection between local computer and Microsoft Server. The good news is you can fix Windows 11 23H2 failed to install with some easygoing changes in the system.
Rarely, 23H2 error appears because of damaged System Files, not enough free storage space., interrupted internet, and incorrect Services settings. You can repair these flaws easily but in the rare of rarest cases, you may need to Windows 11 Installation Assistant. Let’s proceed with the methods:
Table of Contents
Windows 11 23H2 failed to install
Here is how to fix Windows 11 23H2 failed to install:
Make sure that Get the latest updates as soon as they’re available is turned on
Windows Update settings include an option named “Get the latest updates as soon as they’re available” and enabling this is a mandatory condition to install version 23H3. So, first enable this throgh the steps:
- Click on Search and type updates.
- Press Enter to directly reach the Windows Update settings page.
- Make sure that Get the latest updates as soon as they’re available is enabled.
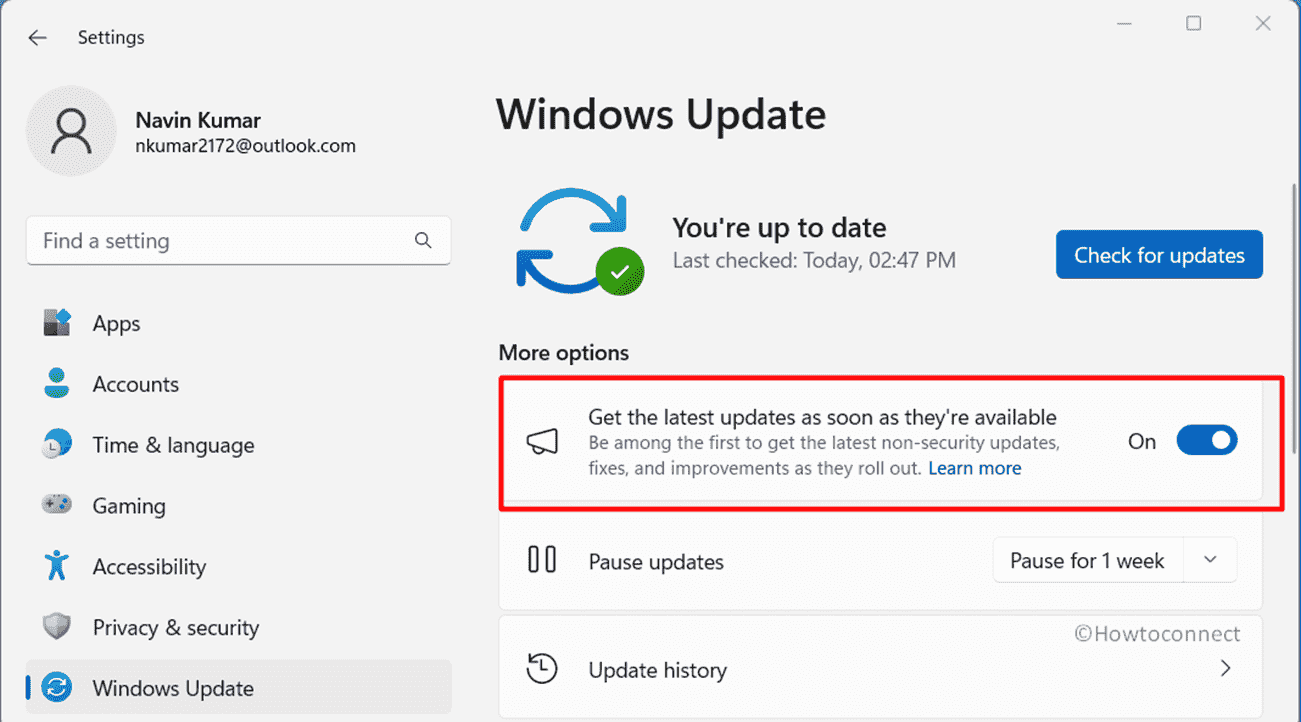
- If it is not, turn on this and click on Check for updates.
- After any update is found, download and install it and restart your system.
Use Enablement Package
Since Windows 11 23H3 is not a major update, an enablement package provided by Microsoft can install this version. This is sufficient for the installation computer so move forward with the instructions:
- Click the following link depending on your PC specs:
a] Enablement package x64
b] Enablement package ARM64
- Right-click on the downloaded file and select Open.
- After completing the installation, restart your system
- Go to Settings > System > About and check if Windows 11 23H2 is enabled now.
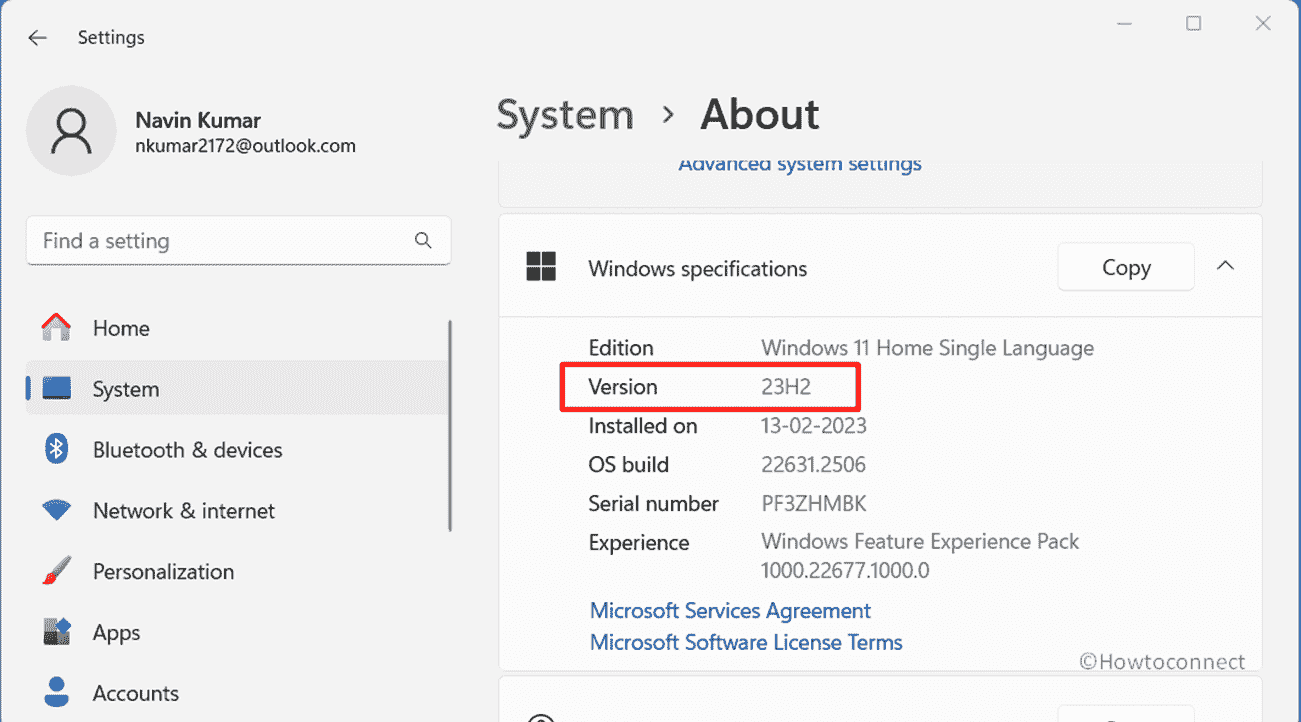
- Then navigate to Settings > Windows Update > Check for updates and install if any pending is available.
Windows 11 23H2 Enablement Package KB5027397 (Download)
Utilize Windows Update Troubleshooter
Windows offers a built-in update troubleshooting tool designed to resolve various update problems, including the Windows 11 23H2 failed to Install issue.
This user-friendly tool can efficiently address common update-related problems and enhance your system’s performance.
- Press the Windows key + X.
- Select Settings.
- Go to System > Troubleshoot > Other troubleshooters.
- Find Windows Update and click Run.
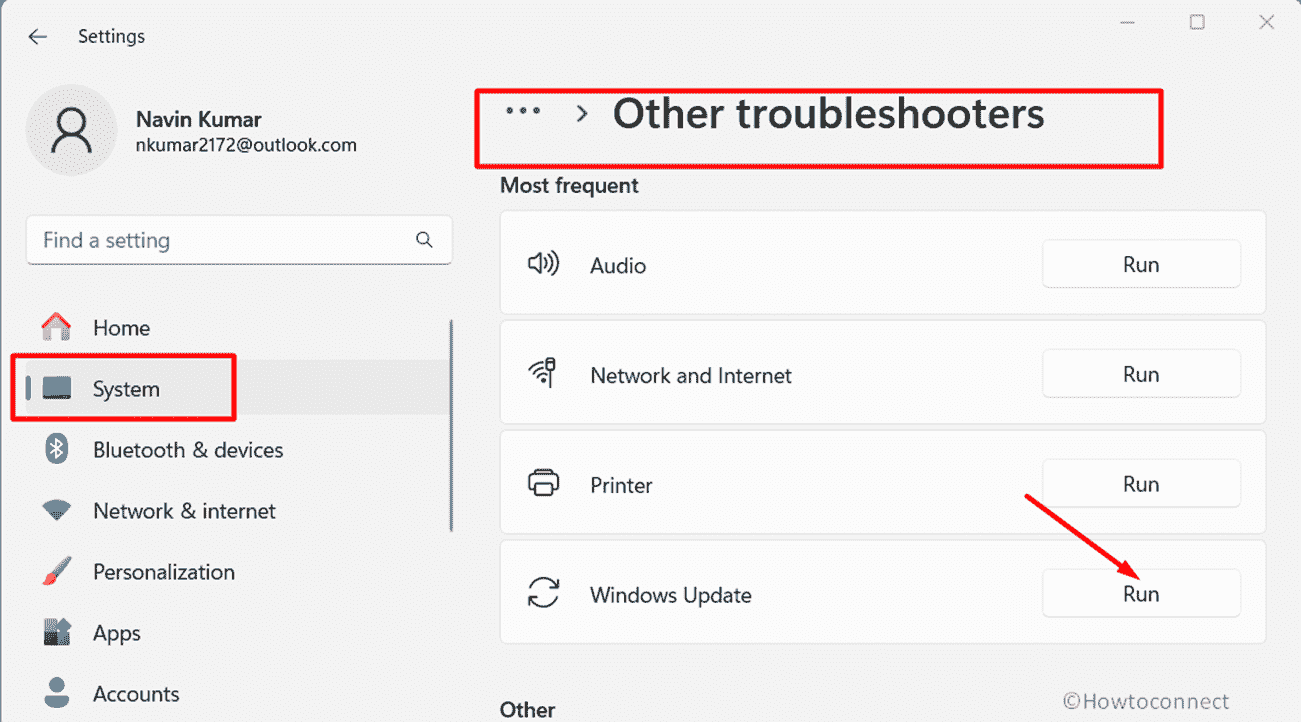
- Let it detect and fix issues. Be patient until it’s done.
- After troubleshooting, restart your PC and retry the Windows 11 23H2 update.
Reset Windows Update Cache
If the above solution does not address the problem and you continue facing the installation issue, then, you should attempt manually repairing faulty Windows Update Components.
This procedure entails stopping Windows update services, deleting the update cache, and instructing Windows to retrieve new files from Microsoft’s servers. This particular solution has the potential to be successful in tackling persistent update issues:
- Press the Windows key + R.
- Then, enter services.msc to open the service console.
- Locate Windows update, right-click, and stop it.
- Open File Explorer with Windows key + E, and go to C:\Windows\SoftwareDistribution\Download
- Delete all files and folders.
- After that, find Windows Update on the Services window, right-click, and Start.
- Open Settings > Windows Update.
- Click on Check for updates.
- Select Download and Install then reboot your PC.
Execute SFC Scan and DISM Commands
System File Checker (SFC) and Deployment Image Service and Management Tool (DISM) are important Windows tools that find and fix damaged system files and make the system more stable. SFC checks for and fixes broken system files, and DISM fixes Windows pictures.
This can help fix problems that might be stopping updates like the Windows 11 23H2 update from installing properly. These statements are strong ways to protect your system and fix any issues that might come up during the update process:
- Click on Start and type cmd.exe.
- Choose Run as administrator.
- Type
SFC /SCANNOWand press Enter. - Wait for the scan to complete.
- Run the commands consecutively:
DISM /Online /Cleanup-Image /CheckHealth
DISM /Online /Cleanup-Image /ScanHealth
DISM /Online /Cleanup-Image /RestoreHealth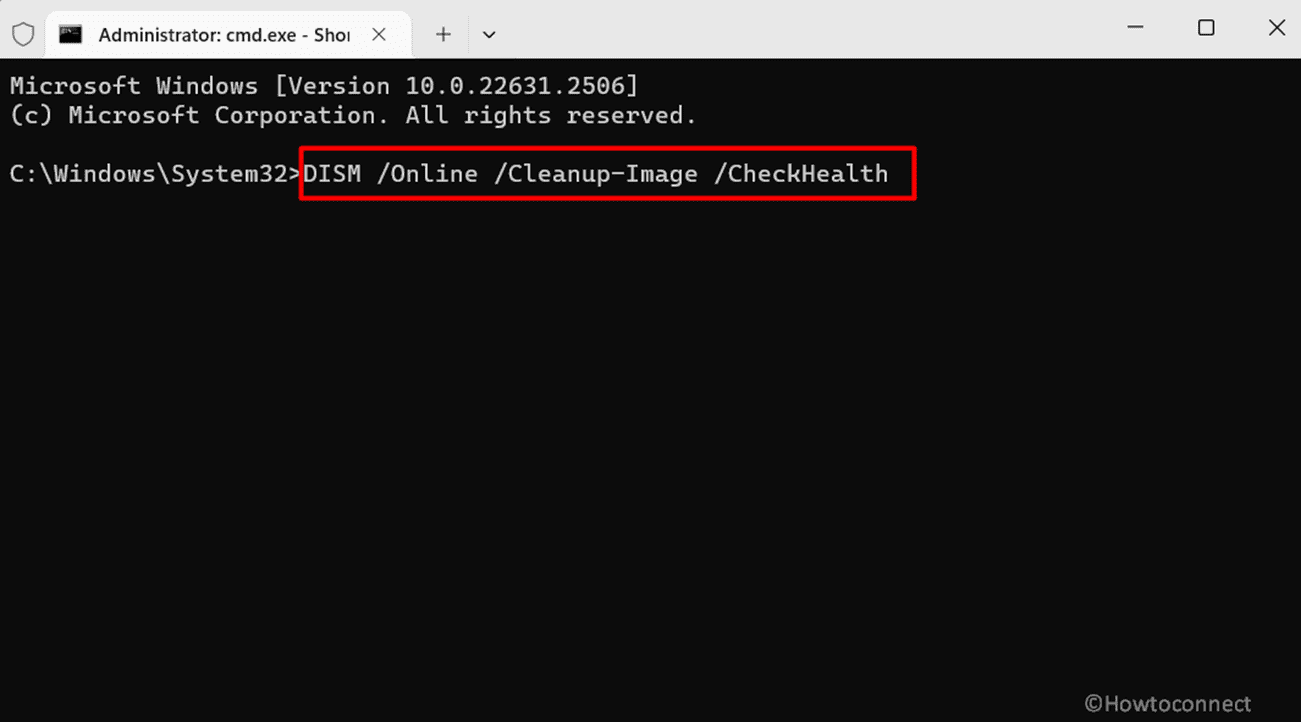
- Allow the processes to finish.
- Restart your PC.
Reset entire components of Windows Update
Still, you can not install 23H2 means there may be something wrong with any other components of Windows updates. In this scenario you should go for resetting all of them using below method:
- Launch elevated command prompt as mentioned in the previous method.
- Run the following commands sequentially:
net stop bits
net stop wuauserv
net stop cryptsvc
Del "%ALLUSERSPROFILE%\Application Data\Microsoft\Network\Downloader\qmgr*.dat"
Ren %Systemroot%\SoftwareDistribution\DataStore DataStore.bak
Ren %Systemroot%\SoftwareDistribution\Download Download.bak
Ren %Systemroot%\System32\catroot2 catroot2.bak
sc.exe sdset bits D:(A;CI;CCDCLCSWRPWPDTLOCRSDRCWDWO;;;SY)(A;;CCDCLCSWRPWPDTLOCRSDRCWDWO;;;BA)(A;;CCLCSWLOCRRC;;;IU)(A;;CCLCSWLOCRRC;;;SU)
sc.exe sdset wuauserv D:(A;;CCLCSWRPLORC;;;AU)(A;;CCDCLCSWRPWPDTLOCRSDRCWDWO;;;BA)(A;;CCDCLCSWRPWPDTLOCRSDRCWDWO;;;SY)
cd /d %windir%\system32
regsvr32.exe atl.dll
regsvr32.exe urlmon.dll
regsvr32.exe mshtml.dll
regsvr32.exe shdocvw.dll
regsvr32.exe browseui.dll
regsvr32.exe jscript.dll
regsvr32.exe vbscript.dll
regsvr32.exe scrrun.dll
regsvr32.exe msxml.dll
regsvr32.exe msxml3.dll
regsvr32.exe msxml6.dll
regsvr32.exe actxprxy.dll
regsvr32.exe softpub.dll
regsvr32.exe wintrust.dll
regsvr32.exe dssenh.dll
regsvr32.exe rsaenh.dll
regsvr32.exe gpkcsp.dll
regsvr32.exe sccbase.dll
regsvr32.exe slbcsp.dll
regsvr32.exe cryptdlg.dll
regsvr32.exe oleaut32.dll
regsvr32.exe ole32.dll
regsvr32.exe shell32.dll
regsvr32.exe initpki.dll
regsvr32.exe wuapi.dll
regsvr32.exe wuaueng.dll
regsvr32.exe wuaueng1.dll
regsvr32.exe wucltui.dll
regsvr32.exe wups.dll
regsvr32.exe wups2.dll
regsvr32.exe wuweb.dll
regsvr32.exe qmgr.dll
regsvr32.exe qmgrprxy.dll
regsvr32.exe wucltux.dll
regsvr32.exe muweb.dll
regsvr32.exe wuwebv.dll
netsh winsock reset
proxycfg.exe -d
net start bits
net start wuauserv
net start cryptsvc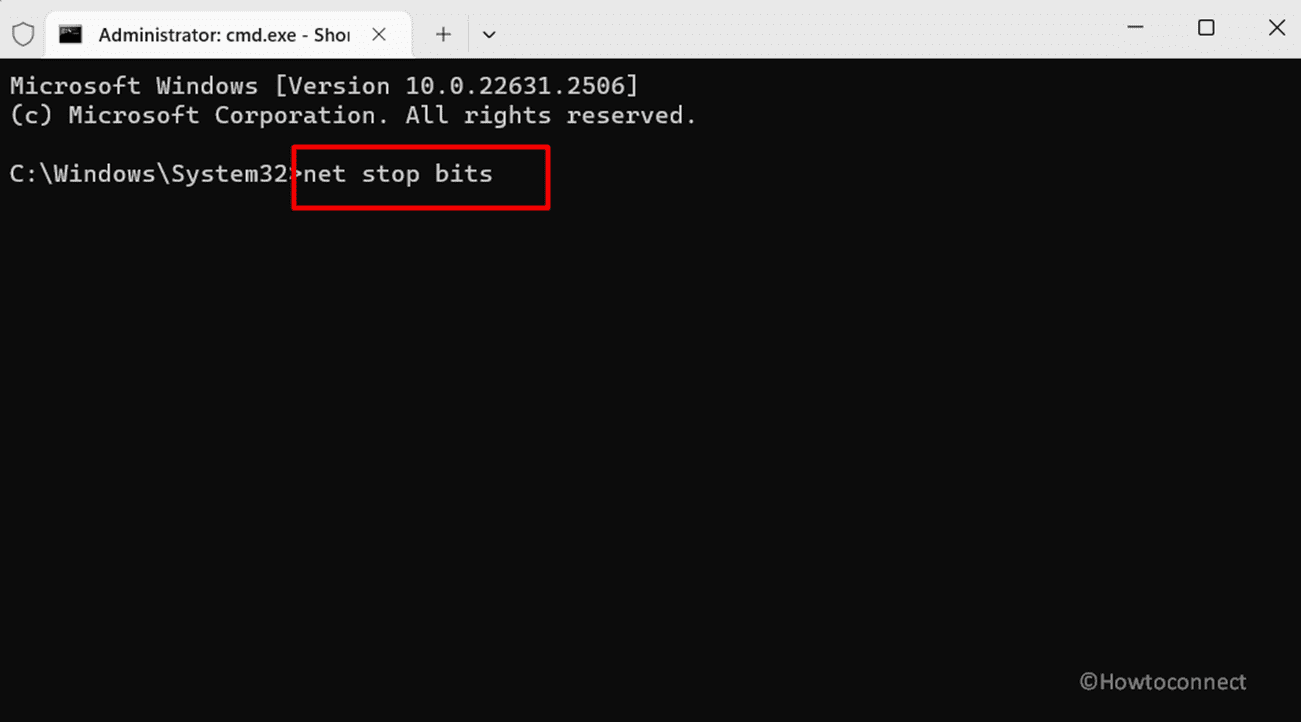
- Finally, restart your system and try installing the update.
Ensure Adequate Disk Space
Before proceeding with the Windows 11 23H2 update, it’s crucial to have sufficient space on your system drive, typically the C drive. Insufficient space can lead to update failures. Here are the steps to follow:
- Check available storage on your system drive (C drive).
- Make sure you have at least 5 to 10 GB of free room.
- If space is limited, consider moving large files to an external disk or uninstalling unused programs and files.
- After freeing up space, attempt the Windows 11 23H2 update installation again.
Change DNS Settings
An alternative approach to resolving the Windows update issue involves adjusting your computer’s DNS server address. Many users have found this solution particularly helpful when dealing with the aforementioned Windows 11 issues that are stuck during the download process.
Changing your DNS server settings can often improve the update experience. Follow these steps:
- Press the Windows key + R.
- Then, type ncpa.cpl to open network settings.
- Right-click on your active network adapter (WiFi or Ethernet) and select Properties.
- Choose Internet Protocol Version 4 (TCP/IPv4) and click Properties.
- Select Use the following DNS server address and set:
Preferred DNS to 8.8.8.8
Alternate DNS to 8.8.4.4- Click OK, then Apply and OK to save changes.
- Check for Windows updates again.
Temporarily Remove External Devices
Another effective way to fix this issue is to troubleshoot Windows 11 23H2 update issues by unplugging external peripherals like printers or scanners (excluding your keyboard and mouse) and then restarting your PC.
By doing this, you can effectively pinpoint any hardware or driver conflicts that might be hindering the update process, potentially resolving the problem and enabling a smooth update installation.
Ensure Stable Internet Connection
A reliable internet connection is essential for downloading the Windows 11 23H2 update from Microsoft’s servers. Most of the time, an unstable internet connection can be the reason for witnessing such frustrating errors:
- Check internet speed at https://www.speedtest.net/.
- Then, test the connection with ping google.com -t (using Command Prompt).
- Disconnect VPN and disable/uninstall third-party antivirus.
- Go to Windows Update.
- Then, click Check for updates to Install the Windows 11 version 23H2.
Try Windows 11 Installation Assistant
If you’re still battling with the Windows 11 23H2 Failed to Install problem then Windows 11 Installation Assistant can help. This program makes it easier to update Windows 11 and fixes issues that may arise as a result of unsuccessful or blocked upgrades. Here are the steps:
- Download the Windows 11 Installation Assistant.
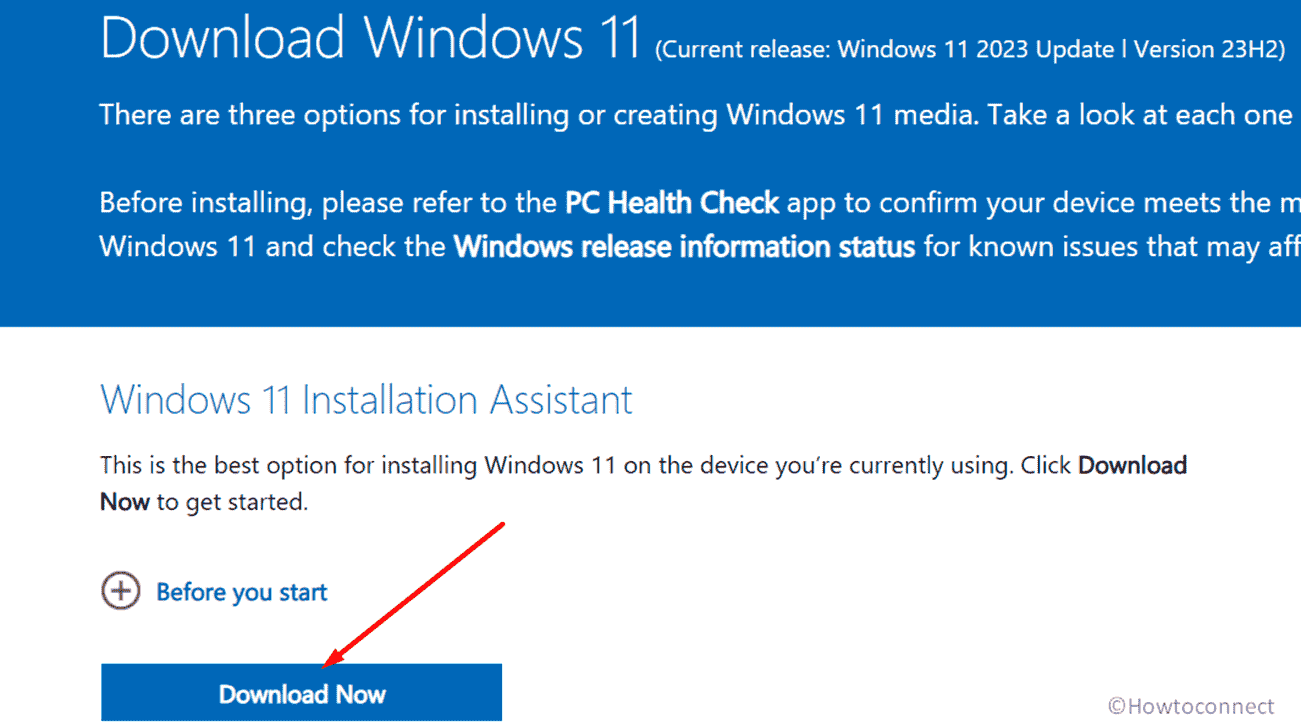
- Open the installer, accept the license terms, and click Accept and Install.
- Let it download and install files.
- Your computer will restart in 30 or more minutes or choose Restart now.
- Wait a few moments; Windows 11 version 23H2 to appear on your desktop.
Methods:
Make sure that Get the latest updates as soon as they’re available is turned on
Use Enablement Paackage
Utilize Windows Update Troubleshooter
Reset Windows Update Cache
Execute SFC Scan and DISM Commands
Reset entire components of Windows Update
Ensure Adequate Disk Space
Change DNS Settings
Temporarily Remove External Devices
Ensure Stable Internet Connection
Try Windows 11 Installation Assistant
That’s all!!
